![]()
Door/Window Sensor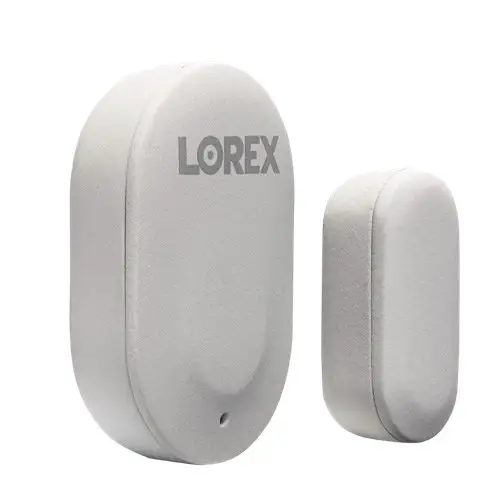
AK41TK SeriesQuick Start Guidelorex.com
Package Contents
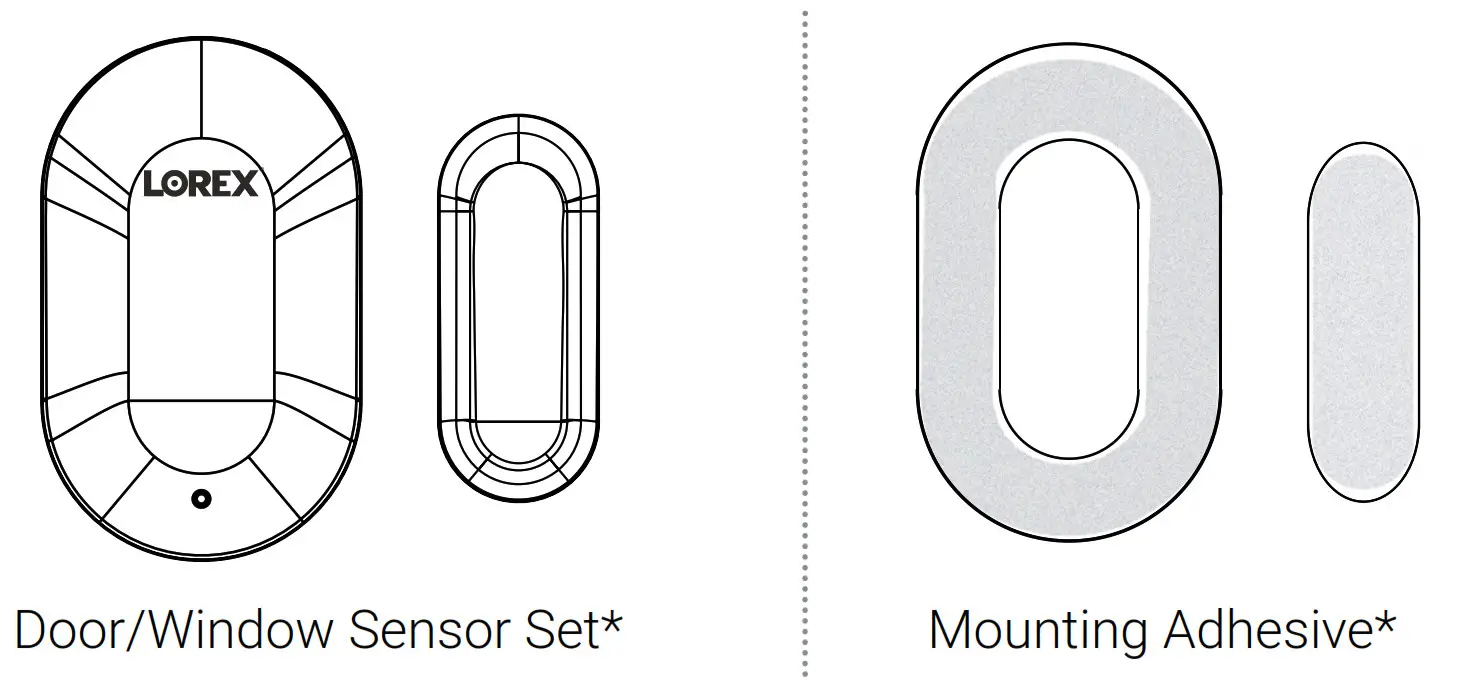
 *May include one or more, depending on the package purchased.To purchase additional sensors, visit lorex.com and/or authorized resellers.
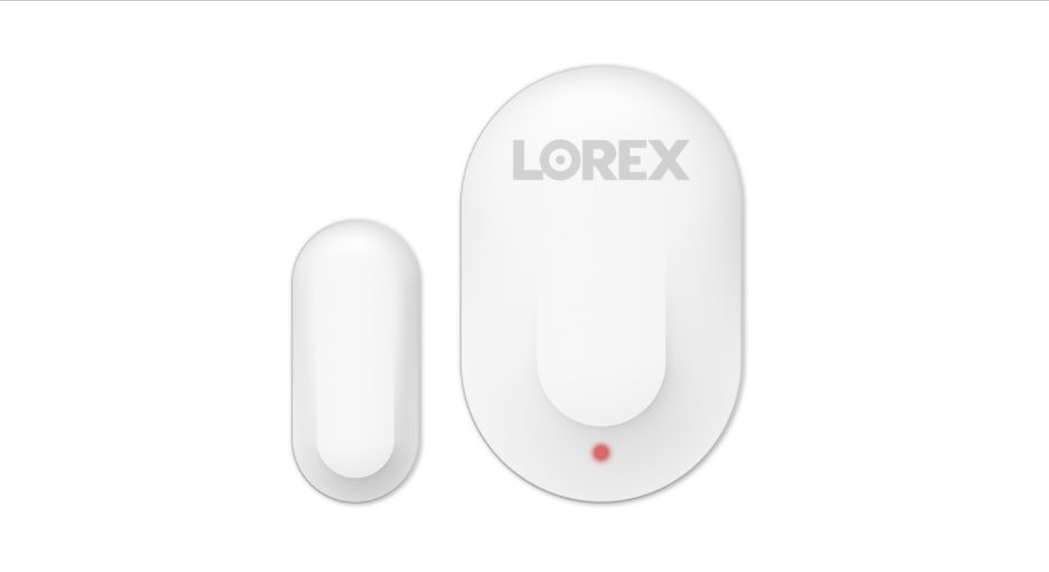
Overview
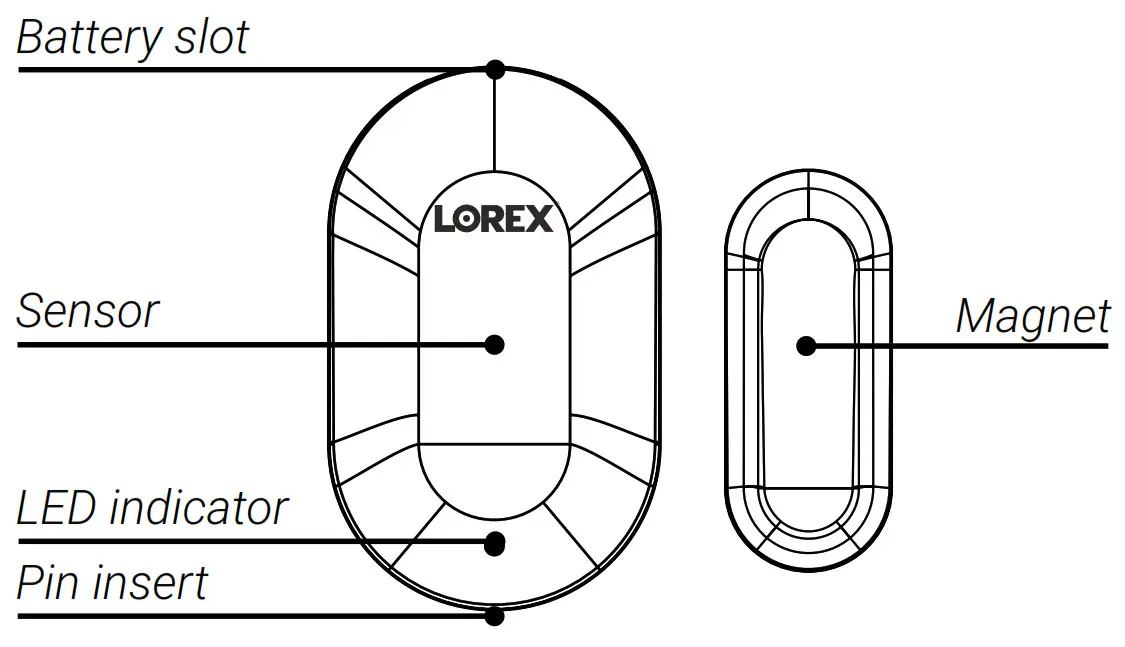
Specifications
- Environment: Indoor
- Max detection distance: Less than 3/4”
- Operating temperature: 14°F~113°F
- Operating humidity: 0-95%RH
- Battery: CR1632
- Protocol: Bluetooth 5.0
LED Behavior
See the table below for definitions of the sensor’s LED behaviors:
| Behavior | Meaning |
| Powered on. | |
| Ready to pair. | |
| Pairing successful. | |
| Pairing failed. Try repeating the setup. | |
| Alarm has been triggered. | |
| Firmware upgrade in progress. |
![]() WARNING:CHOKING HAZARDKEEP OUT OF REACH OF CHILDRENLorex products come with a standard 1-year warranty. For more information about Lorex’s warranty policy, visit lorex.com/warranty.
WARNING:CHOKING HAZARDKEEP OUT OF REACH OF CHILDRENLorex products come with a standard 1-year warranty. For more information about Lorex’s warranty policy, visit lorex.com/warranty.
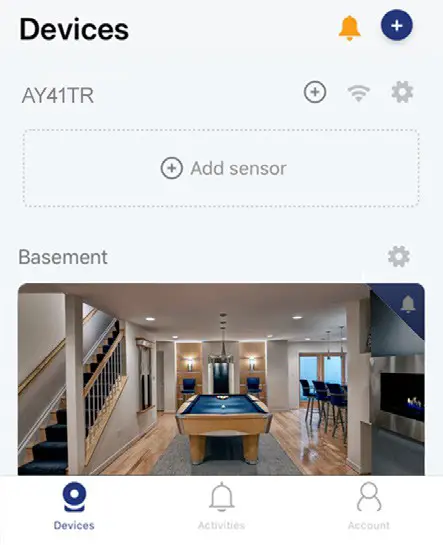
STEP 1: Pairing to Your Device
To connect the sensor to your device:
- Tap the Lorex Home icon to launch the app.
- In the Devices tab, press + Add sensor to set up the sensor.Tap the + icon on the top right of the screen to add more sensors.
 NOTE: the screen to the left is taken from the Sensor Hub.
 - Follow the on screen prompts to complete the rest of the setup. The Lorex Home app will walk you through the process, step by step.
 NOTE: the screen to the left is taken from the Sensor Hub.
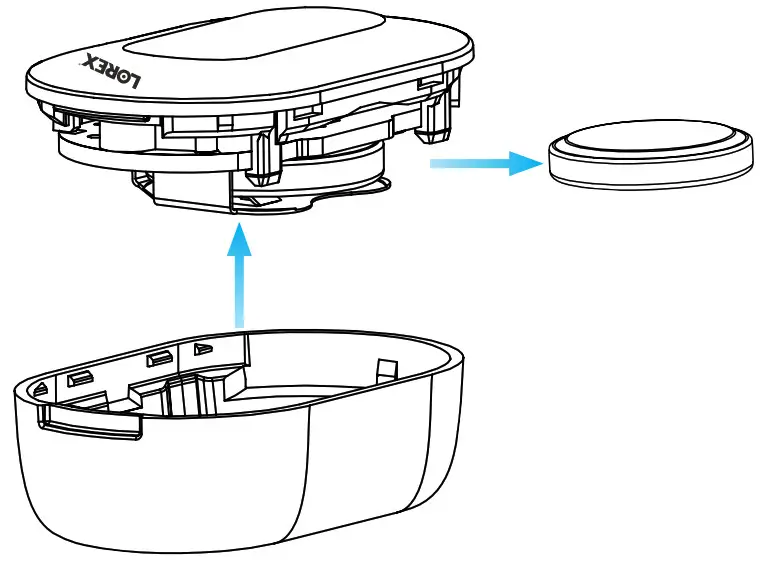
Changing the Battery
To change the sensor’s battery:
- Make sure your system is disarmed.
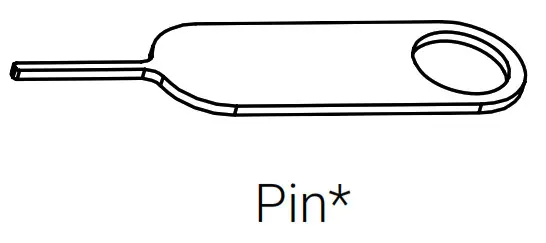
- Use the wide part of the pin to open the sensor from the battery slot.
- Slide the old battery out and replace it with the new one.NOTE: This sensor uses a CR1632 battery.
- Snap the sensor closed with the battery slot meeting the Lorex logo at the top.
STEP 2: Installing the Sensor
Location tips:
- The sensor can be installed indoors, on any door or window.
- If you’re using a door, place the sensor at the top of your door to keep safe from being bumped and out of reach from children and pets.
- The sensor and magnet line up together and must be installed that way.
- The sensor and magnet can be no more than 3/4” apart to send a signal to the hub.

- Pick an area for the sensor to be placed.
- Ensure that the bluetooth connection is steady to the hub before mounting.TIP: test by setting the different modes for the sensors in the app.
- IMPORTANT: Install the magnet to the right of the sensor.Peel the mounting adhesive and stick it to the frame. Attach the sensor. Repeat this step for the magnet and attach it to the door/window.
- Open and close your door/window, the sensor should stay in place.
References
[xyz-ips snippet=”download-snippet”]