
MAIWO 4bay Hdd Docking Station
Product Introduction
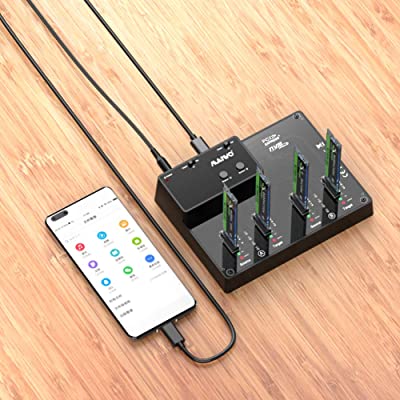
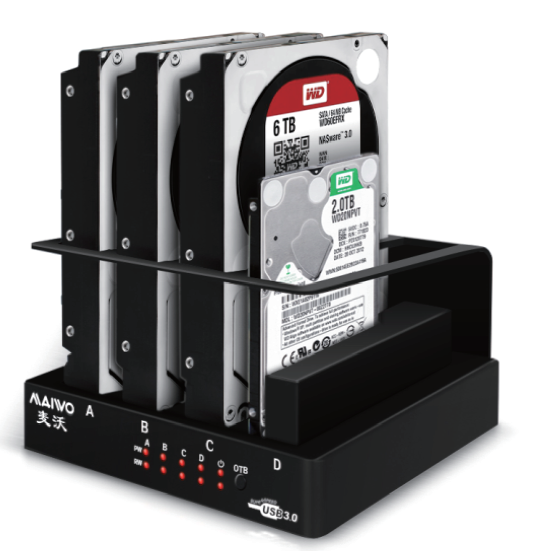
This is a portable storage device using USB3.0 high performance and high speed chip, and supporting four pieces of 2.5inch or 3.5inch SATAIII disks or Solid Stale Disks. It is very easy to use and only need to insert or pull out 2.5 or 3.5inch hard disk directly. And the same time, it has OTB function too.
Product use matters needing attention
Thanks for your choice lo buy this product. In order lo be convenient for you lo use all functions of this product, please read carefully this manual before using , which includes the matters to attent and instruction lo use. the product in This manual had patents. Any counterfeiting is a tort and shall assume legal responsibility. There is label with a number on our product and giftbox, it is efficient voucher to repair .Never split or damage this number, otherwise, manufacture wouldn’t responsible for any free service to repair. This unit can be exchange within three mother after purchase and free service within one year.Not all using environment is suitable to our products. We will provide with free service for any quality problem itself, but do not responsible for any data lost or other responsibilities when using this unit.
Warnings
- Please put the device carefully in case falling down and broken
- Please do not lay the device under the sun or high temperature directly otherwise the using time will be shortened
- Please far away from the hot temperature sources such as irradiation
- Please do not expose the device in the rain, water, or moist places such as bathroom or kitchen room where easy to be get wet
- Please do not try to take apart the device
- Please backup your data. We will not take responsibility for data loss unless if it caused by our serious mistake
- We are only in charge to try our best to recovery the data no matter the data loss caused by any reasons
Introduction of the product interface
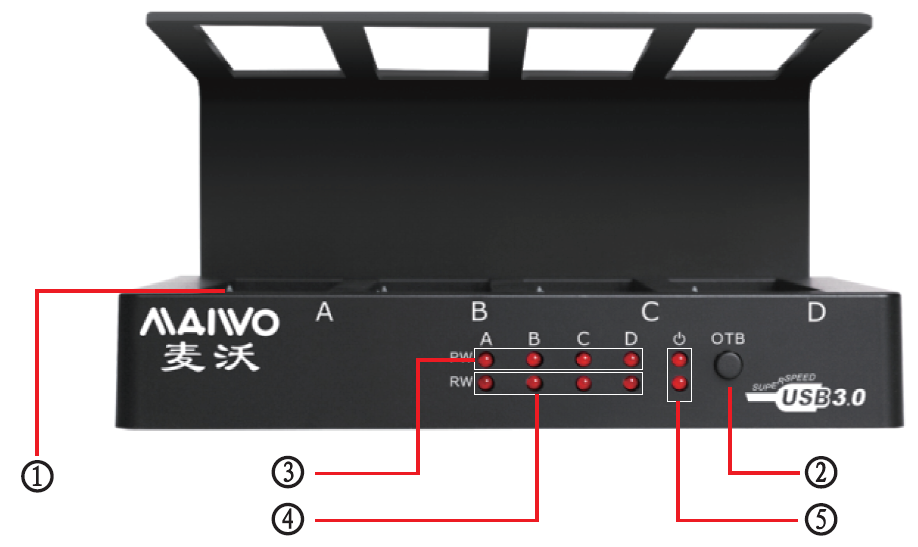
- Docking for SATA Disk
- Button of OTB
- LED for docking slots
- LED signal lights for HDD disk writing and reading
- LED indicator for power
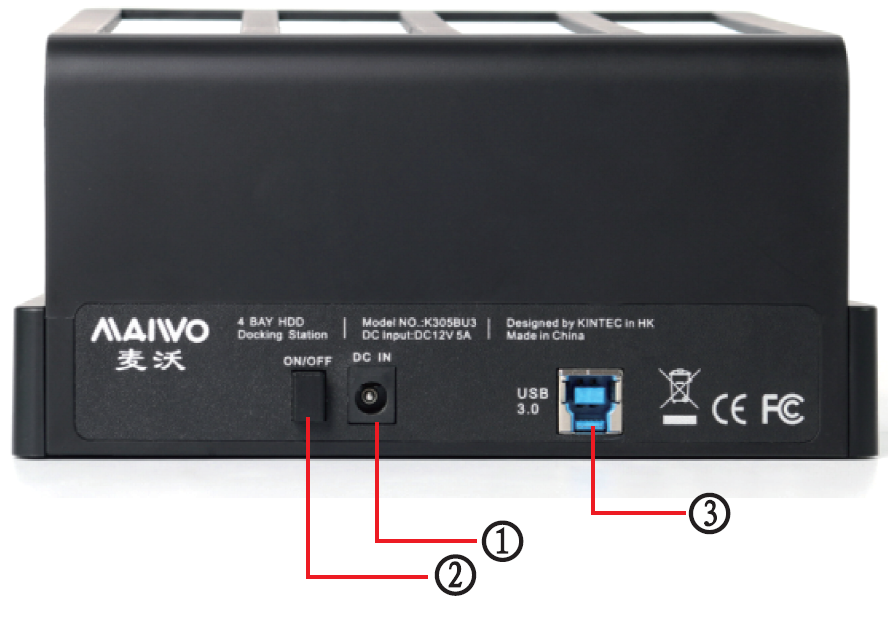
- DC Jack
- Power on/off switch
- USB3.0 port
OTB function Pls Contact us for OTB Software. (Win XP or above, not support Mac OS)
Connecting to device
- Please connect the DC jack to the HDD docking, and the other to wall-plug
- Connect the USB cable with both the docking station and the computer
- It is able to come up OTB function once HDD A is stand by, so there are several
choice to install:
- Putting in a disk in A slot
- Putting in disks both in each A and B slots
- Putting a disk in each A,B,C slot
- Putting a disk in each A,B,C,D slot.
When the hard disks put well, please turn on the power of the docking station.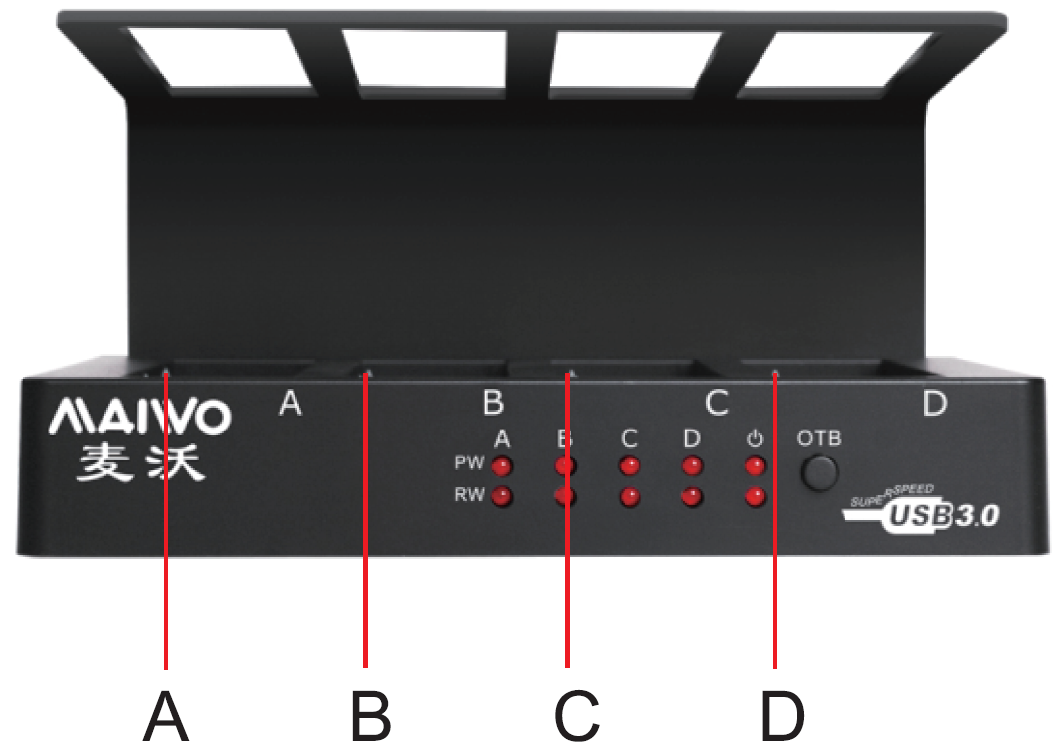
Install the software on computer (cainet-1.12-setup.exe)
Starting to backup data
- Please click the buttons one by one as the steps, start, all programs, Cabinet, and then run the software.
- Click the button of backup, Please click the button, you want to backup on the add a new project, then a new window as picture3 will follow. Please choose the files or file folders left of the window and choose the target disk you want to save the data on the right of the window.
- After clicking the button of next page in the window as picture 3,a new window as picture4 will show up. Make sure everything correct, please click next and then enter into step5 as picture5,putting in the content of planning name, planning notes, and finally choose the option of OTB in the window otherwise the button on the docking station will not work
- Clicking next in the window as picture5, a new window as picture 6 follows. The window as picture 1 will show up again, if pressing the button of up page. At this lime, please press the OTB button on the docking station, and then backup starts automatically and a window as picture? shows you a progress bar and the copy content
Data recovery
- Finished backup, please check the button of recovery in the picture1, following a new window as picture8.lf the button of the planning name is clicked, the button of planning delete will be available; if the button of planning notes is clicked, the buttons of version delete and next page will be available as picture9. Please choose the button of version delete, and then click next page.
- Please choose the files or files folders which needed lo recover on the left of the window as picture10 and choose the position where to keep the files or file folders on the right of the window and then click the button of next page to start recovery with process bar and the recovery content showing up.

[xyz-ips snippet=”download-snippet”]