MAJORITY MY-1000000386 Atlas Computer Sound bar
BOX CONTENTS
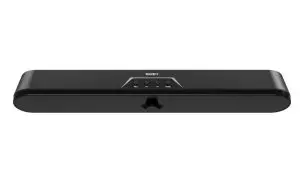
WHAT’S IN THE BOX
A. Majority Atlas PC Sound bar B. Power Adapter
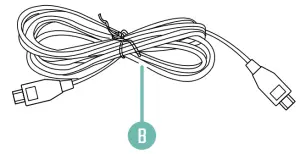 C. Instructions Guide
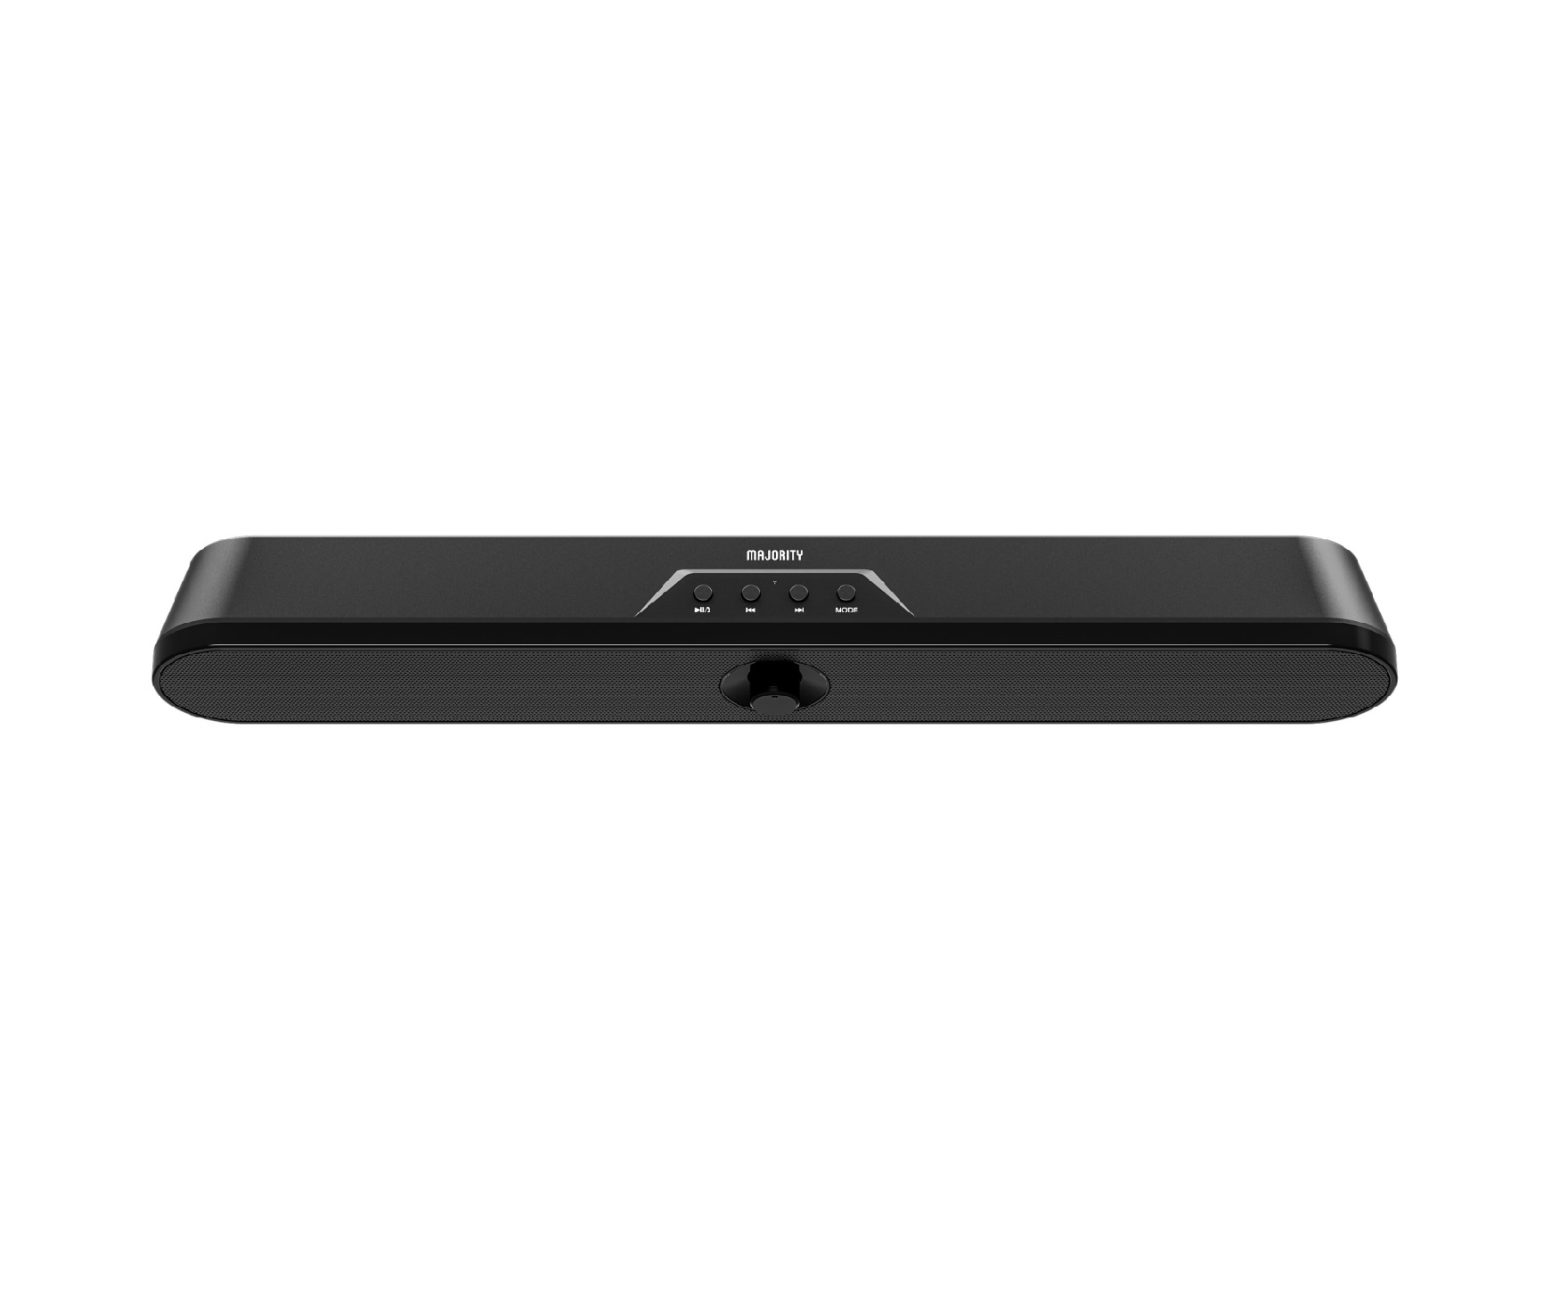
CONTROLS & FUNCTIONS
TOP VIEW

 Play/Pause
- Previous/Rewind
- Indicator light
- Next/Fast forward
- ModeFRONT VIEW
- On/Off/VolumeBACK VIEW
- SD card slot
- DC 5V power input
- USB slot
- AUX input


SETTING UP YOUR MAJORITY ATLAS
Please note that the instructions in this manual will refer to the sound bar button number e .g (Ref.*number*) in accordance with the diagrams on pages 2-3.
Connecting and powering the unitUsing the USB to Mini USB power cord provided, plug the mini USB connector into the back of the unit (Ref.8) and plug the other end into a USB power supply (mains adaptor or other USB power supply).
Rechargeable BatteryWhen the unit is not fully charged, the indicator light (Ref.3) will display as red. When the unit has reached full power, the red light will disappear.
Switch on your Majority Atlas Sound barSwitch the unit on by rotating the On/Off/Volume dial clockwise until the dial clicks into place and the sound bar is powered on (Ref.6). To switch the unit off, rotate the dial (Ref.6) anti-clockwise until the dial will not rotate any further.
Basic operationsUse the On/Off/Volume dial (Ref.6) to switch the unit on or off and change the volume.
In Bluetooth, SD, or USB mode, use the ![]() button to play or pause a track, and use the
button to play or pause a track, and use the ![]()
![]() (Ref.2)/(Ref.4) buttons to skip tracks or fast forward/rewind (press and hold to rewind or fast forward) (see page 5).Press the `MODE’ button (Ref.5) to change modes between SD card, Bluetooth, AUX and USB mode.
(Ref.2)/(Ref.4) buttons to skip tracks or fast forward/rewind (press and hold to rewind or fast forward) (see page 5).Press the `MODE’ button (Ref.5) to change modes between SD card, Bluetooth, AUX and USB mode.
BLUETOOTH, SD & USB CONTROLS
Please note that the following controls and functions relate to Bluetooth, SD card and USB mode only. For AUX controls and functions, please see the section titled `AUX Mode’ (page 10).
Note: in the table below, (H) = `Press and hold’.
| Sound bar button | Function | Reference |
| Previous/next track | (Ref.2)/(Ref.4) | |
| (H) |
Rewind/Fast forward | (Ref.2)/(Ref.4) |
| |
Play/Pause | (Ref.1) |
| MODE | Change mode | (Ref.5) |
| On/Off/Volume Dial | Power On/Off/Volume+/- | (Ref.6) |
BLUETOOTH MODE
Connecting a Bluetooth deviceTo connect an external device to the Atlas sound bar, ensure that the sound bar is in `Bluetooth’ mode. Select `Bluetooth’ mode manually by using the `MODE’ button (Ref.5).
The sound bar will sound with the phrase `Bluetooth mode’ to indicate that Bluetooth mode is now active.
The sound bar indicator light (Ref.3) will flash until successfully connected to a Bluetooth device.
Switch Bluetooth on for your external device. Select `Majority Atlas’ from the list of devices.
When connected, the indicator light (Ref.3) will remain static blue.
When your external device is connected, the sound bar will sound with the phrase `Connected’ to indicate successful connection. You can now play audio through the speakers. When disconnected, the sound bar will sound with the phrase `Disconnected’.
If the unit is switched to a different mode while Bluetooth is connected, Bluetooth will automatically be disconnected.Controls and Functions Please see page 5.
USB & SD CARD MODE
USB and SD CardWhen a USB or SD card is inserted, the unit will automatically switch to the correct mode and begin playing audio. If necessary, select `USB’ or `SD’ mode using the `MODE’ button (Ref.5).
USBInsert a USB drive into the USB port at the back of the unit (Ref.9). When USB mode is selected, the soundbar will sound with the phrase `USB driver mode’. Maximum compatible storage: 64GB.
Micro SD cardInsert a micro SD card into the `SD’ port at the back of the unit (Ref.7). When SD card mode is selected, the soundbar will sound with the phrase `SD card mode’. Maximum compatible storage: 64GB.Controls and Functions Please see page 5.
AUX MODE
Use the included 3.5mm to 3.5mm AUX cable to connect an external device to the `AUX’ input of the Majority Atlas (Ref.10).
Switch to AUX modeWhen an AUX cable is plugged in to the AUX port at the rear of the speaker (Ref.10), the unit will automatically switch to AUX mode (indicated with `Line in mode’). If necessary, select `AUX’ mode using the `Mode’ button (Ref.5).
Controls and Functions – AUX
| Sound bar button | Function | Reference |
| |
Play/Pause | (Ref.1) |
| MODE | Change mode | (Ref.5) |
| On/Off/Volume Dial | Power On/Off/Volume+/- | (Ref.6) |
TROUBLESHOOTING
| Observation | Potential Cause/Solution |
| No power/function | Check whether the power is switched on or off at the wall.Check that the power adaptor is properly connected to the power outlet. |
| No sound | Check whether MODE is correctly selected. If you are connected via Bluetooth or AUX, turn up the volume on your device. |
| Function disturbance | Switch off and unplug the unit. Leave it for 2 minutes and switch it on again. |
| Bluetooth not connecting | Ensure that the sound bar is in Bluetooth mode and the Bluetooth on your device is switched on. Select the Bluetooth device ‘Majority Atlas’ and you should now be able to play audio. |
SUPPORTIf you require further assistance with your new sound bar, please contact our support team on the Majority website: www.majority.co.uk/support
SPEC & WARRANTY
SPECIFICATION
| Power Supply | DC 5V |
| Mode: | Bluetooth3.5mm AUX-inUSB readerSD card reader |
| Power consumption | 10W (working) |
| Dimensions | 45 x 6 x 5 cm |
| Weight | 0.80 kg |
| Speakers | 2*2” full range + 2 diaphragm |
| Bluetooth Version | 5.0 |
| Bluetooth range | up to 10 meters |
| Compatible file types | MP3, WMA, FLAC, MAV, APE |
| Maximum compatible USB/SD storage | 64GB |
WARRANTYAll products come with a standard 12 month warranty. All items must be registered on www.majority.co.uk for the warranty to be valid. Once on the web page, use the menu to find “Register Your Product”. You will also be given the chance to extend your warranty for an additional 24 months, free of charge.
SAFETY INFORMATION
- Read these instructions
- Keep these instructions. Instructions are also available for download at www.majority.co.uk
- Heed all Warnings
- Follow all instructions
- Do not clean the apparatus near or with water
- Do not block any ventilation openings. Install in accordance with the manufacturer’s instructions
- Do not install near any heat sources such as radiators, heat registers, stoves, or other apparatus (including amplifiers) that produce heat.
- Protect the power from being walked on or pinched particularly at plugs, convenience receptacles, and the point where they exit from the apparatus.
- Only use attachments/accessories specified by the manufacturer.
- Unplug this apparatus during light storms or when unused for long periods of time.
- Refer all servicing to qualified service personnel. Servicing is required when the apparatus has been damaged in a way, such as power-supply cord or plug is damaged, liquid has been spilled or objects have fallen into the apparatus, the apparatus has been exposed to the rain or moisture, does not operate normally or has been dropped.
- No naked flame sources, such as lit candles, should be placed on the apparatus.
- Dispose of used electrical products and batteries safely according to your local authority and regulations.
ADDITIONAL WARNINGSThe apparatus shall not be exposed to dripping or splashing and no objects filled with liquid, such as vases, shall be places on the apparatus.Main plug is used to disconnect device and it should remain readily operable during intended use. In order to disconnect the apparatus from the main mains completely, the mains plug should be disconnected from the main socket outlet completely.Battery shall not be exposed to excessive heat such as sunshine, fire or the like.
RECYCLING ELECTRICAL PRODUCTS![]() You should now recycle your waste electrical goods and in doing so help the environment. This symbol means an electrical product should not be disposed of with normal household waste.Please ensure it is taken to a suitable facility for disposal when finished with.
You should now recycle your waste electrical goods and in doing so help the environment. This symbol means an electrical product should not be disposed of with normal household waste.Please ensure it is taken to a suitable facility for disposal when finished with.
IMPORTANT: Please read all instructions carefully before use and keep for future reference.
![]() Risk of electric shock. Do not open
Risk of electric shock. Do not open
![]() Read all instructions carefully before use and keep for future reference
Read all instructions carefully before use and keep for future reference
![]() When servicing, use only identical replacement parts
When servicing, use only identical replacement parts
 report this ad
| IMPORTANT: Please read all instructions carefully before use and ! keep for future reference |
References
[xyz-ips snippet=”download-snippet”]