MAKER FACTORY Touchscreen For Raspberry
Introduction
To all residents of the European UnionImportant environmental information about this productThis symbol on the device or the package indicates that disposal of the device after its lifecycle could harm the environment. Do not dispose of the unit (or batteries) as unsorted municipal waste; it should be taken to a specialized company for recycling. This device should be returned to your distributor or to a local recycling service. Respect the local environmental rules.If in doubt, contact your local waste disposal authorities.Please read the manual thoroughly before bringing this device into service. If the device was damaged in transit, do not install or use it and contact your dealer.
Safety Instructions
- This device can be used by children aged from 8 years and above, and persons with reduced physical, sensory or mental capabilities or lack of experience and knowledge if they have been given supervision or instruction concerning the use of the device in a safe way and understand the hazards involved. Children shall not play with the device. Cleaning and user maintenance shall not be made by children without supervision.
- Indoor use only.Keep away from rain, moisture, splashing and dripping liquids.
- Familiarize yourself with the functions of the device before actually using it.
- All modifications of the device are forbidden for safety reasons. Damage caused by user modifications to the device is not covered by the warranty.
- Only use the device for its intended purpose. Using the device in an unauthorised way will void the warranty.
- Damage caused by disregard of certain guidelines in this manual is not covered by the warranty and the dealer will not accept responsibility for any ensuing defects or problems.
- The dealers cannot be held responsible for any damage (extraordinary, incidental or indirect) – of any nature (financial, physical…) arising from the possession, use or failure of this product.
- Due to constant product improvements, the actual product appearance might differ from the shown images.
- Product images are for illustrative purposes only.
- Do not switch the device on immediately after it has been exposed to changes in temperature. Protect the device against damage by leaving it switched off until it has reached room temperature.
- Keep this manual for future reference.
Overview
resolution …………………………………………………………………………………………….. 320 x 480LCD type ……………………………………………………………………………………………………… TFTLCD interface …………………………………………………………………………………………………. SPItouch screen type ……………………………………………………………………………………… resistivebacklight ………………………………………………………………………………………………………. LEDaspect ratio ……………………………………………………………………………………………………. 8.5
Pin Layout
| pin no. | symbol | description |
| 1, 17 | 3.3 V | power positive (3.3 V power input) |
| 2, 4 | 5 V | power positive (5 V power input) |
| 3, 5, 7, 8, 10, 12, 13,
15, 16 |
NC | NC |
| 6, 9, 14, 20, 25 | GND | ground |
| 11 | TP_IRQ | touch panel interrupt, low level while the panel detects touching |
| 18 | LCD_RS | instruction/data register selection |
| 19 | LCD_SI/TP_SI | SPI data input of LCD/touch panel |
| 21 | TP_SO | SPI data output of touch panel |
| 22 | RST | reset |
| 23 | LCD_SCK/TP_SCK | SPI clock of LCD/touch panel |
| 24 | LCD_CS | LCD chip selection, low active |
| 26 | TP_CS | touch panel chip selection, low active |
Example
Required Hardware
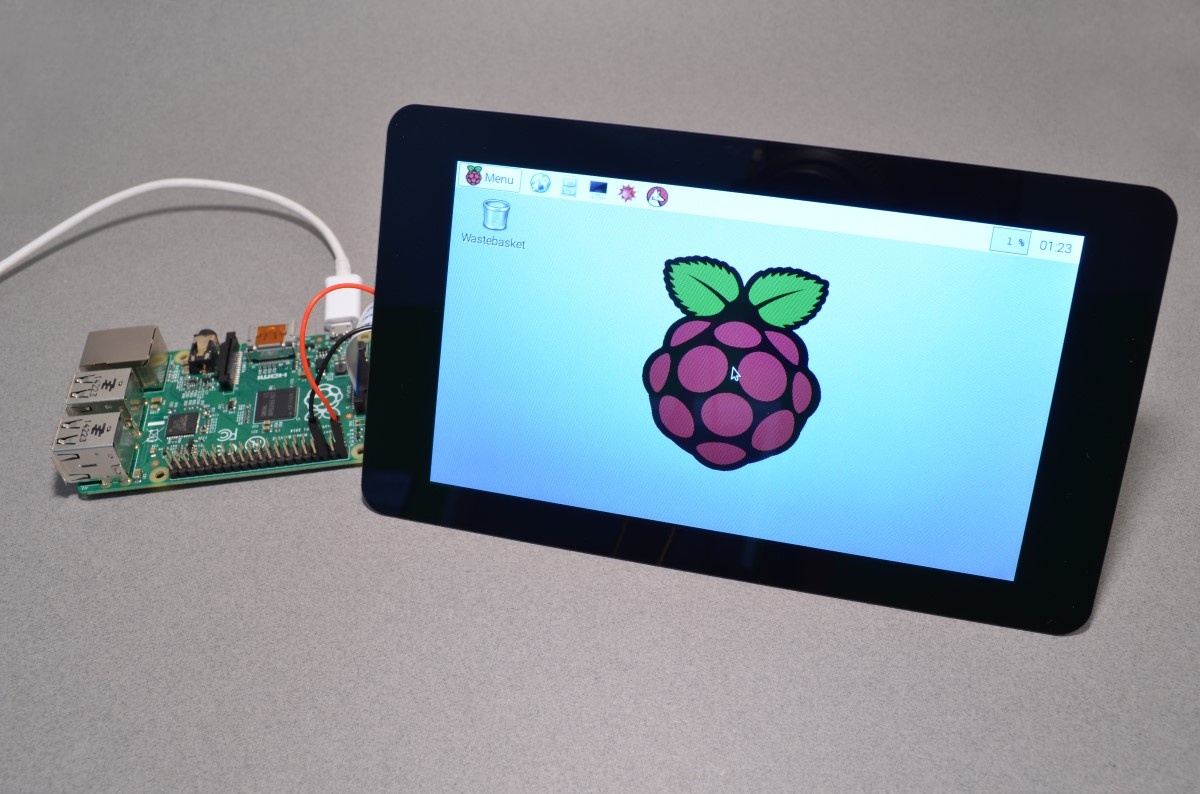
- 1 x Raspberry Pi® 1/2/3 main board
- 1 x microSD card (> 8 GB, image file ± 7.5 GB)
- 1 x microSD card reader
- 1 x micro USB cable
- 1 x USB keyboard
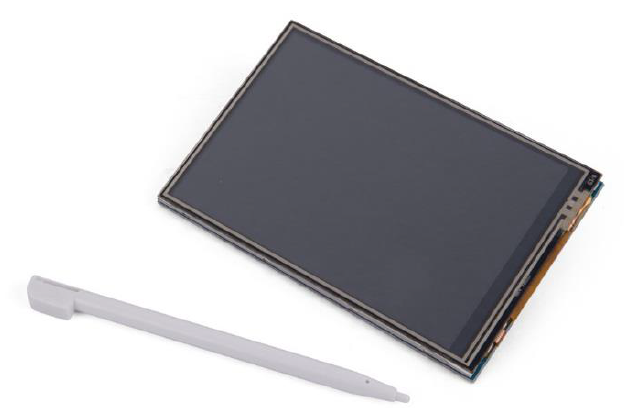
- 3.5” LCD module (VMP400)
Required Software
- SD formatter
- Win32Disklmager
- Raspberry Pi® OS IMAGE
- LCD Driver
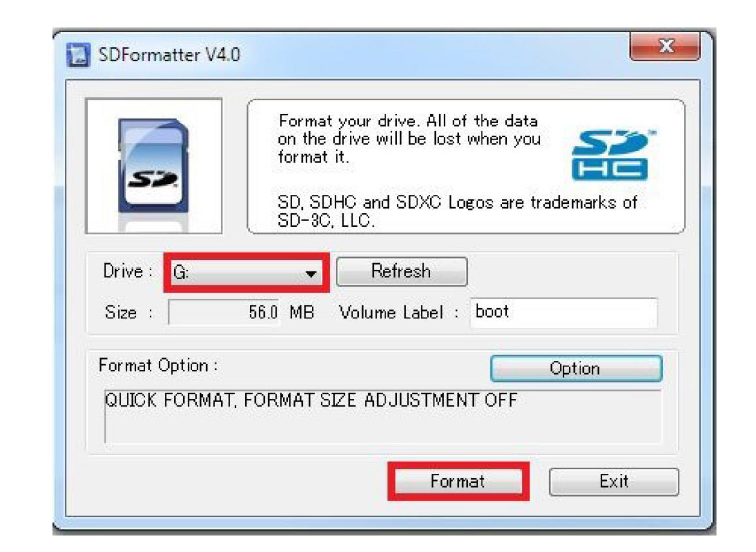
- Format the SD card. Open SDFormatter, select your SD card and click <Format>.

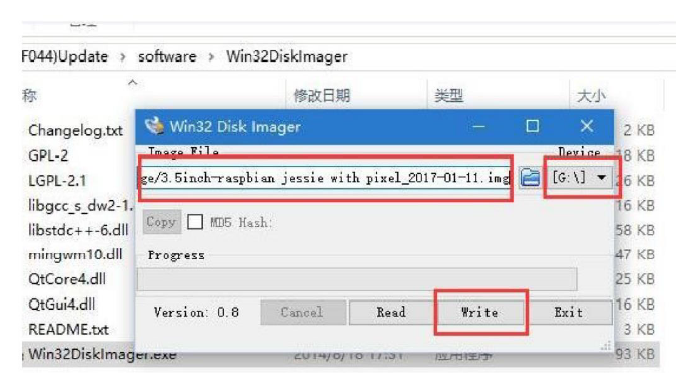
- Burn the Raspberry Pi® OS IMAGE onto the SD card. Open Win32Disklmager, select the file and SD card, and click <Write>. The burning process may take a few minutes.
- Make the hardware connection. Connect the VMP400 screen to the Raspberry Pi®. Wait for the device to switch on.

Driver Installation
Install the Raspbian official IMAGE.
Download the latest Raspbian IMAGE from the official website https://www.raspberrypi.org/downloads/.Format the TF card with an SDFormatter.Burn the official image onto the TF card using Win32DiskImager.
Obtain the LCD driver.
Online InstallationLog onto the Raspberry Pi® user system to command line (initial user name: pi, password: raspberry).Get the newest driver from GitHub (the LCD should be connected to the Internet).
Offline InstallationExtract from the included CD-ROM or ask your seller.Copy the LCD-show-160701.tar.gz drive to the Raspberry Pi® system root directory. Copy flash the driver directly onto the TF card after installing the Raspbian IMAGE, or copy by SFTP or other remote copy methods. Unzip and extract the driver files as the following command:
Install the LCD driver.The corresponding execution for this 3.5” LCD:Wait for a moment after executing the above command before you can use the LCD.
This is a publication by Conrad Electronic SE, Klaus-Conrad-Str. 1, D-92240 Hirschau (www.conrad.com).All rights including translation reserved. Reproduction by any method, e.g. photocopy, microfilming, or the capture in electronic data processing systems require the prior written approval by the editor. Reprinting, also in part, is prohibited.This publication represents the technical status at the time of printing.Copyright 2019 by Conrad Electronic SE.![]()
References
[xyz-ips snippet=”download-snippet”]