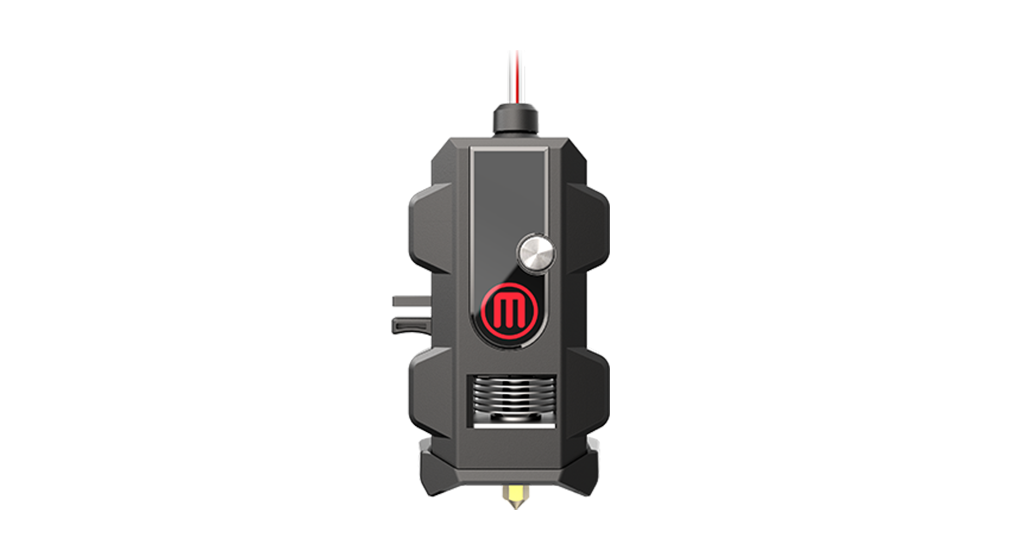
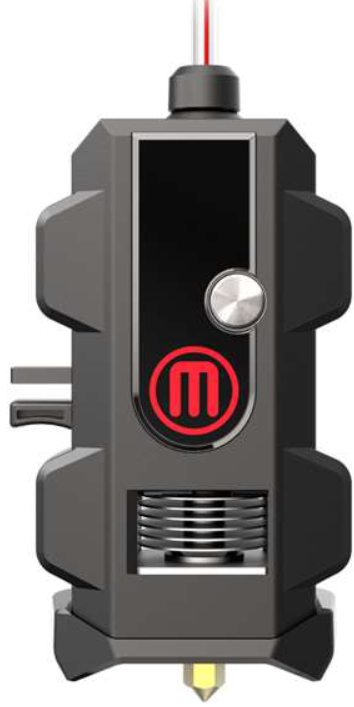
MakerBot Smart Extruder+
The MakerBot Replicator+ is optimized for large (0.90 kg) and small (0.22 kg) spools of MakerBot PLA filament.
Installing a Filament Spool
Open the filament drawer by pulling up the back section of the frame of the MakerBot Replicator+. Position the filament spool so that it will unwind counterclockwise and fit the spool onto the filament spindle. Be careful not to let the filament loosen or tangle on the spool.
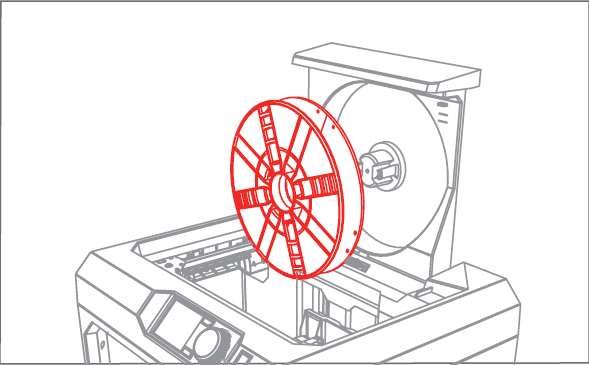
Detach the free end of the filament from the spool and insert it into the filament guide tube at the upper right corner of the filament drawer. Push filament through the tube until the free end emerges from the end of the guide tube.

Hold the top of the filament drawer with one hand and depress the latch on the filament drawer. Slide the filament drawer closed.
Loading Filament into the Smart Extruder+
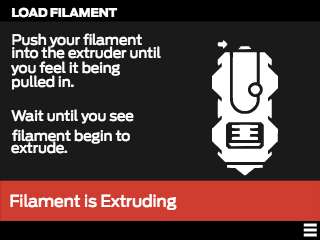
1. Use the control panel dial to select Filament > Load Filament.2. Wait for the extruder to heat to 215 degrees. The printer will let you know when it is ready for filament to be loaded as indicated in the image below.
3. Once prompted, cut the end of your filament to create a clean edge. You can use scissors or wire cutters to cut a clean edge on the end of your filament. You don’t want to load anything with a bulged, twisted or sharp edge.4. Grasp the top of the extruder assembly and push the filament into the extruder’s loading tube until you can feel the motor pulling the filament in. If you’re running into a problem during this process, unload the filament and repeat step 3. It may help to press the lever on the side of the extruder and gently feed filament towards the hot end at this point.


5. Wait until you see plastic emerging from the extruder nozzle before pressing the control panel dial to finish the filament load process.6. Fit the filament guide tube securely into the extruder’s loading tube.
Why to Calibrate
Every MakerBot Smart Extruder+ and 3D printer we send out is tested in our factory, but there may be small variations between individual 3D printers and extruders. If you are connecting a new extruder to your MakerBot Replicator+ for the first time, you will need to perform some calibration steps to compensate for any differences.You should follow these steps before printing whenever you install an extruder for the first time. Once your extruder is set up for a specific MakerBot 3D printer, you can attach and detach it as many times as you like without going through this process again.
Install the extruder
Locate and unwrap the Smart Extruder+ and press it against the back of the extruder carriage, with the connector pins facing the front of the MakerBot Replicator+. Magnets will lock the extruder into place. For more information about installation, click here.
Update Firmware
It’s important to always keep your MakerBot 3D printer’s firmware up to date. Firmware updates often include improvements to Z-axis homing, and your extruder may not home correctly if you don’t have the newest version.
Start a Print
Monitor the first layer of your print carefully. If the extruder nozzle scrapes against the build plate, or if you receive a homing error, the extruder is too close to the plate. If the plastic coming out of the extruder doesn’t adhere well to the build plate, the extruder is too far from the plate. In either case, you can recalibrate the Z-axis offset or manually adjust the Z-axis offset to correct the starting height of the build plate.
How to Change Filament
The easiest way to change the filament for your MakerBot Replicator+ is to use the control panel.1. Select Filament > Unload Filament.2. The Smart Extruder+ will start to heat up. When the extruder is fully heated, it will go through a two-part unloading process. Remove the filament from the extruder only when prompted by the control panel.3. Open the filament drawer and remove the old spool. Be careful to keep the spool tightly wound as you pull the filament free of the guide tube. Place the new spool in the filament drawer.4. Select Filament > Load Filament.5. Wait for the Smart Extruder+ to heat.6. Cut the end of your new filament to create a clean edge.7. Grasp the top of the extruder assembly and push the filament into the loading tube in the extruder until you can feel the motor pulling the filament in.8. Wait until you see plastic emerging from the extruder nozzle before pressing the control panel dial to finish the filament load process.Note: If you’re changing colors, you’ll need to run the extruder for a few moments to clear out the old color before finishing the filament load process.
Changing Filament During a Print
To replace a spool that’s running low, or to create a print with layered colors, you can change filament during a print. Go to Menu > Print and select Change Filament. This will pause your print and take you directly to the Filament menu. Then follow the steps above before resuming your print.If you’re up to date with the latest firmware and software, you can also allow your Smart Extruder+ to run out of filament. This will cause your MakerBot Replicator+ to run the Unload Filament script. When the extruder has finished unloading, wait for it to cool to at least 50°C. Remove the last piece of filament from the extruder, then select Load Filament. When you have finished the load sequence
References
[xyz-ips snippet=”download-snippet”]