VINTAGE WOODEN AM/FM RADIOWITH BLUETOOTH & AUX-INUSER MANUAL
 MODEL NO.: RAD-V1
IMPORTANT SAFEGUARDS FOR AUDIO PRODUCTS
- Read Instructions – All the safety and operating instructions should be read before the product is operated.
- Retain instructions – The safety and operating instructions should be retained for future reference.
- Heed Warnings – All warnings on the product and in the operating instructions should be adhered to.
- Follow Instructions – All operating and use instructions should be followed.
- Cleaning – Unplug this product from the wall outlet before cleaning. Do not use liquid cleaners or aerosol cleaners. Use a damp cloth for cleaning.
- Attachments – Do not use attachments not recommended by the product manufacturer as they may cause hazards.
- Water and Moisture – Do not use this product near water, for example, near a bathtub, washbowl, kitchen sink, laundry tub, in a damp basement, or near a swimming pool, etc.
- Accessories – Do not place this product on an unstable cart, stand tripods, bracket or table. The product may fall and could cause serious injury to a child or an adult, and serious damage may occur to the product. Use only with a cart, tripod, bracket or table recommended by the manufacturer or sold with the product. Any mounting of the product should follow the manufacturer’s instructions and only a mounting accessory should be used that is recommended by the manufacturer.
- Ventilation – Slots and openings in the cabinet are provided for ventilation and to ensure reliable operation of the product and to protect it from overheating, and these openings must not be blocked or covered. The openings should never be blocked by placing the product on a bed, sofa, rug, or other similar surfaces. This product should not be placed in a built-in installation such as a bookcase or rack unless proper ventilation is
- Power Sources – This product should be operated only from the type of power source indicated on the marking label. If you are not sure of the type of power supply to your home, consult your product dealer or local power company. For products intended to operate from battery power or other sources, please refer to the operating instructions.
- Power Cord Protection – Power-supply cords should be routed so that they are not likely to be walked on or pinched by items placed upon or against them, paying particular attention to cords at plugs, convenience receptacles, and point where they exit from the product.
- Protective Attachment Plug – The product is equipped with an attachment plug with overload protection. This is a safety feature. See Instruction Manual for replacement or resetting of protective device. If replacement of the plug is required, be sure the service technician has used a replacement plug specified by the manufacturer, with the same overload protection as the original plug.
- Lightning – For added protection for this product during lightning storms or when it is left unattended and unused for long periods of time, unplug from the outlet socket and disconnect the antenna or cable system, where applicable. This will prevent damage to the product due to lightning and power-line surges.
- Power Lines – An outside antenna system should not be located in the vicinity of overhead power lines or other electric light or power circuits, or where it can fall into such power lines or circuits. When installing an outside antenna system, extreme care should be taken not to touch such power lines or circuits as contact with them might be fatal.15. Overloading – Do not overload wall outlets, extension cords, or integral convenience receptacles as this could result in a risk of fire or electric shock. Never spill liquid of any kind on the product.
- Servicing – Do not attempt to service this product by yourself as opening or removing covers may expose you to dangerous voltage or other hazards. Refer all servicing to
- qualified service personnel.
- Safety Check – Upon completion of any service or repairs to this product, ask the service technician to perform safety checks to determine that the product is in proper operating condition.
- Heat – The product should be situated away from heat sources such as radiators, heaters, fireplaces and cookers, and other products (including amplifiers) that produce heat.
- When the plugs is used as the disconnect device, the plug shall remain readily operable.
Protect Your Furniture
This model is equipped with non-skid rubber feet to prevent the product from moving when you operate the controls. These feet are made from non-migrating rubber material specially formulated to avoid leaving any marks or stains on your furniture. However certain types of oil-based furniture polishes, wood preservatives, or cleaning sprays may cause the rubber feet to soften, and leave marks or a rubber residue on the furniture. To prevent any damage to your furniture we strongly recommend that you purchase small self-adhesive felt pads, available at hardware stores and home improvement centers everywhere, and apply these pads to the bottom of the rubber feet before you place the product on fine wooden furniture.
UNPACKING AND SET UP
- Carefully remove the unit from the display carton and remove all packing materials from the unit.
- Unwind the AC power cord and extend it to its full length.
- Unwind the FM Antenna wire and extend it to its full length.
- Place the unit on a stable, level surface, convenient to an AC outlet, out of direct sunlight, and away from sources of excess heat, dust, moisture, humidity, or strong magnetic fields.
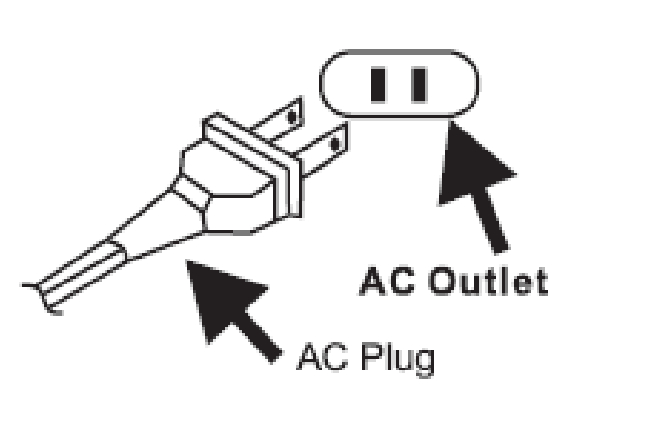
- Connect the plug to your AC outlet.
POWER SOURCE
This system is designed to operate on normal 120V 60Hz AC only. Attempting to operate this system from any other power source may cause damage to the system and such damage is not covered by your warranty.
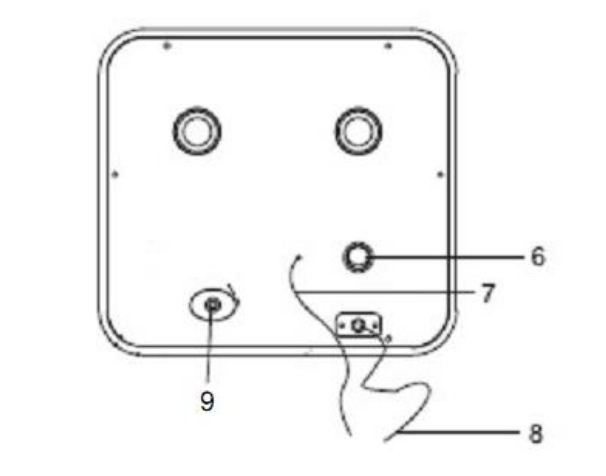
LOCATION OF CONTROLS AND INDICATORS
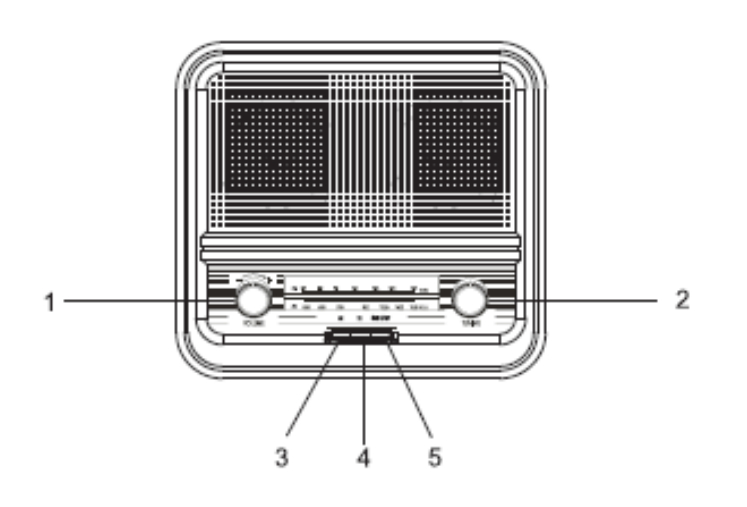
- Volume Control
- Tuning Control
- AM Function Button
- FM Function Button
- RADIO/BT Button
- POWER Button
- FM Wire Antenna (Back Cabinet)
- AC Power Cord
- AUX-IN jack
OPERATING INSTRUCTIONS
Power Operation
- Turn on the unit: Press the “POWER” switch (at the back of the unit) to “I”.
- Turn off the unit: Press the “POWER” switch (at the back of the unit) to “O”.
Radio Operation
- Press the RADIO/BT button to the Radio mode.
- Press AM/FM buttons for the desired band, AM or FM.
- Rotate the TUNING control to select the desired radio station.
- Rotate the VOLUME control to the desired level.
Antenna Information
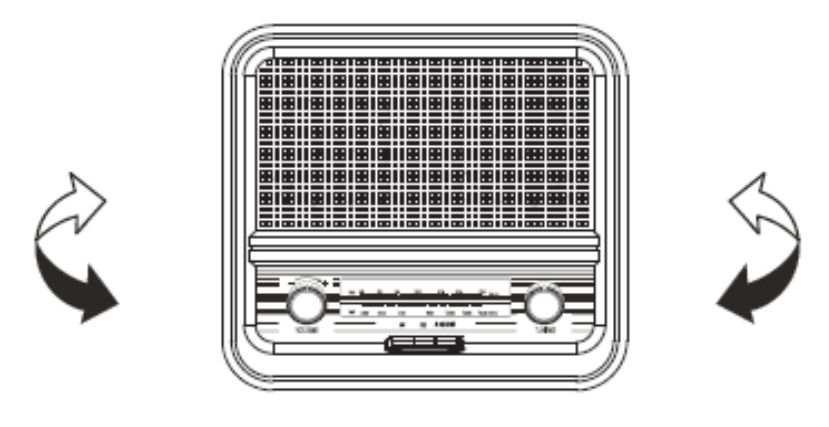
AM – The AM bar antenna is inside the cabinet. If AM reception is unsatisfactory try re-positioning the cabinet slightly until the internal antenna is picking up the strongest signal.
FM – The FM wire antenna is located on the back cabinet. If necessary adjust the position and direction of this antenna until you find the position that provides the reception.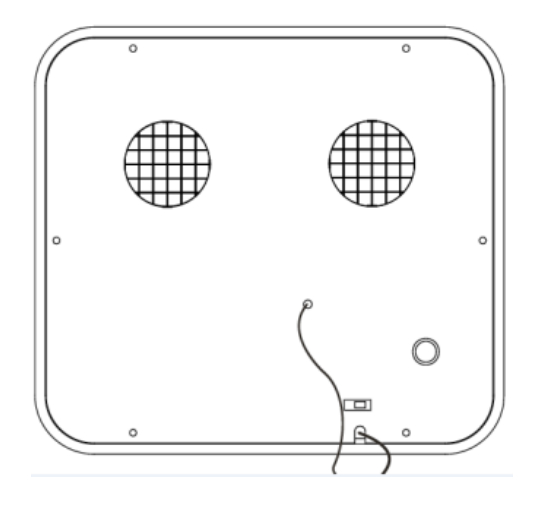 Bluetooth Operation
- Press the RADIO/BT button to the Bluetooth mode, you will hear an activation sound from the unit.
- Turn on the Bluetooth feature of your audio device, search for “MTFUSE1” and pair.
- Once your device is successfully paired with the unit, you will hear a short confirmation sound from the unit.
- Play music from your device to the unit.
- Rotate the VOLUME control to the desired level.Note: Bluetooth version – 4.1
Aux Input ConnectionYou can connect any audio device to this unit and play your music through its speakers. To do this, connect the 3.5mm auxiliary cable between your audio device and the Aux In jack of this unit and start playing the music.
Note: The aux in connection has the highest priority of all the functions. When there is an auxiliary cable plugged in, the aux in connection will automatically override the AM/FM or Bluetooth mode. To resume using the other features of the unit, unplugged the auxiliary cable from the aux-in jack.
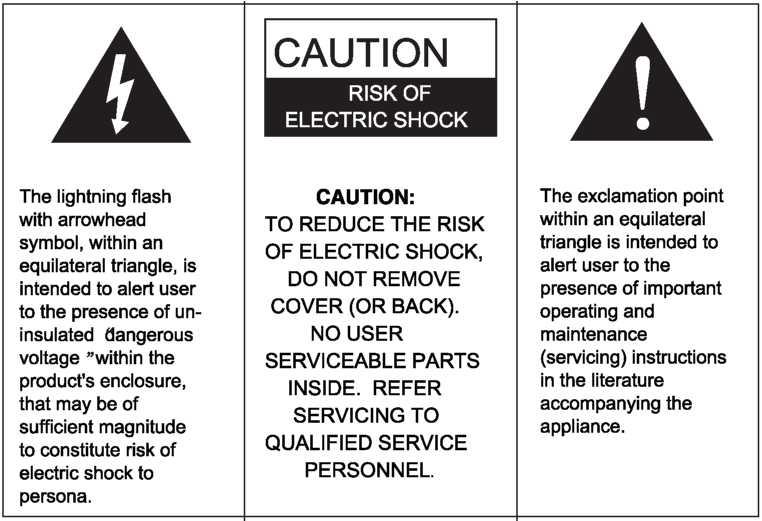
WARNING:
TO PREVENT FIRE OR SHOCK HAZARDS, DO NOT EXPOSE THIS APPLIANCE TO RAIN OR MOISTURE. DO NOT REMOVE THE COVER. PILOT LAMPS SOLDERED IN PLACE. NO USER SERVICEABLE PARTS INSIDE. REFER SERVICING TO QUALIFIED SERVICE PERSONNEL.
SPECIFICATIONS:
| Frequency Range | AM: 530-1700KHz; FM: 88-108MHz |
| Power Source | AC 120V ~ 60 Hz |
| Power Consumption | 9W |
| Antennas | Built-in Ferrite Bar for AM, External Antenna for FM |
| Speaker | 3.5 Dynamic type 5W x 2 |
[xyz-ips snippet=”download-snippet”]