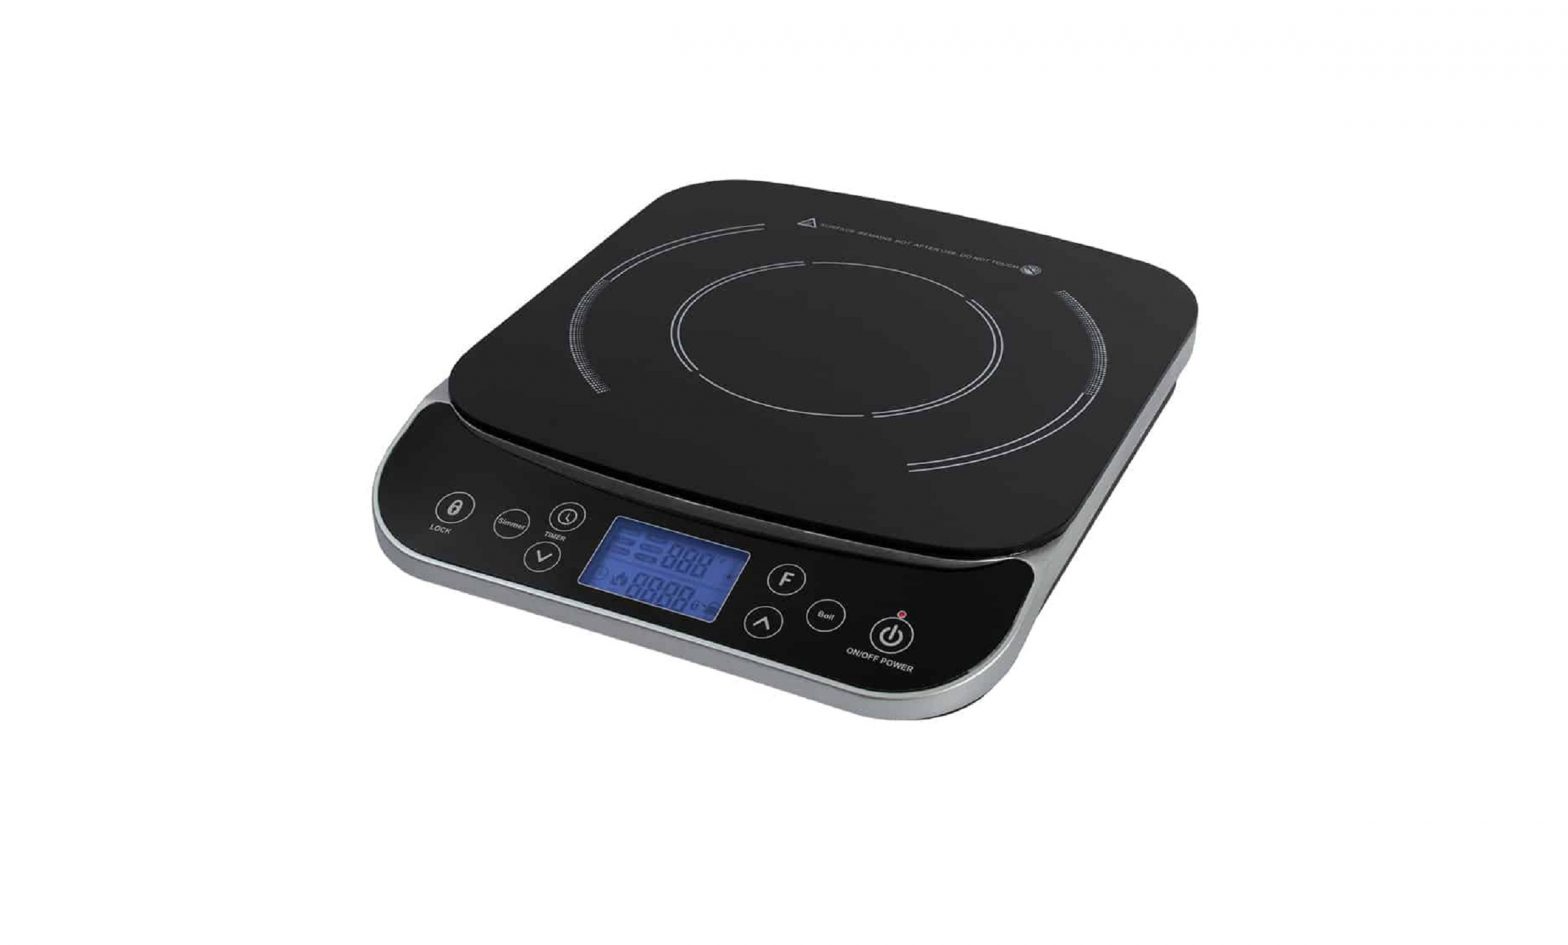
Max Burton Digital Induction Cooktop Instruction Manual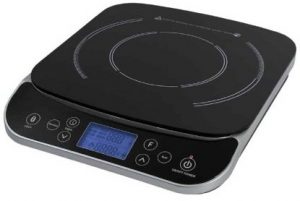

IMPORTANT WARNINGS & SAFEGUARDS
Read all instructions thoroughly before operating this unit to avoid injury to self or property and avoid damage to the unit. Keep instructions handy for reference during use.Caution: This unit emits an electromagnetic field. Persons with cardiac implanted pacemakers or other implantable heart devices should consult with their physician before using.
Electrical Hazards
- Do Not submerge unit or electrical cord in liquid, touch with wet hands, or use in a wet environment
- Do Not use if cooktop is cracked
- Do Not operate if the cord has frayed and wires are exposed
- Do Not let cord hang over the edge of a table or counter
- Never move the unit by pulling on the power cord
Personal Safety
- Do Not touch the hot cooktop surface or cookware. It may remain hot for several minutes after use.
- Do Not move the unit during cooking or with hot cookware on top
- Do Not place metal objects on the cooktop other than metal cookware or our Max Burton Induction Interface Disk.
- Do Not heat unopened cans of food. The container could explode.
- Do Not use in or around flammable or explosive environments
- Administer close supervision when operating around children
- Electric shock hazard. Only a qualified expert may perform repair and maintenance work on this unit. Never attempt to repair yourself.
Product & Property Damage
- Do Not place cookware with contents heavier than 50 pounds on the glass plate
- Do Not block the air inlet or exhaust fan. Keep the rear and sides of the unit at least 4” from walls for proper ventilation.
- Do Not clean in a dishwasher
- Do Not use the unit for other than its intended use
- Do Not place objects with a magnetic strip near the unit while in operation
- Use a dedicated 120V, 15A electrical outlet that is not shared with other appliances to avoid overheating or shutdown.
FCC REQUIREMENTS
Warning: Changes or modifications to this unit not expressly approved by the party responsible for compliance could void the user’s authority to operate the equipment.
NOTE: This equipment has been tested and found to comply with the limits for consumer ISM equipment pursuant to Part 18 of the FCC Rules. These limits are designed to provide reasonable protection against harmful interference. This equipment generates, uses, and can radiate radio frequency energy and if not installed and used in accordance with the instruction manual, may cause harmful interference to radio communications.
If this equipment does cause harmful interference to radio or television reception, which can be determined by turning the equipment off and on, the user is encouraged to try to correct the interference by one or more of the following measures:
- Reorient or relocate the receiving antenna
- Increase the separation between the equipment and receiver
- Connect to an outlet on a circuit different from the receiver
- Consult the dealer or an experienced radio/TV technician for help
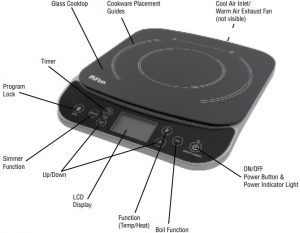
PARTS IDENTIFICATION
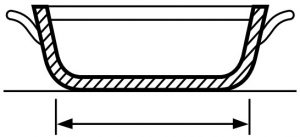
SELECTING THE PROPER COOKWARE
Your induction cooktop will not operate without the proper cookware. Size, shape, and construction are all factors for suitable cookware.
- Suitable Cookware: the base of the cookware must be made of ferrous magnetic materials including cast iron, carbon steel, magnetic stainless steel or cast aluminum with an induction rated base.
- Unsuitable Cookware: will cause an E0 error and will not operate.
- In general, if a magnet will stick to the bottom of suitable cookware, it will work on your induction cooktop. A magnet is included for you to use to test your cookware.
- If proper cookware is not available we offer an Induction Interface Disk (#6010) that will provide the necessary connectivity between the induction cooktop and your non-suitable cookware. It is normal for reduced efficiency when using the Interface Disk.
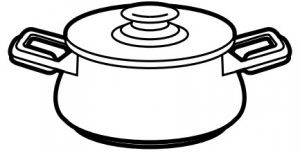
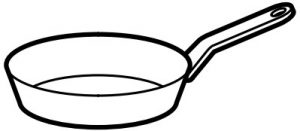
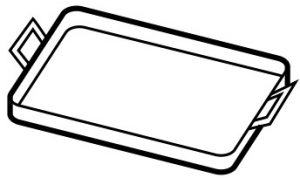
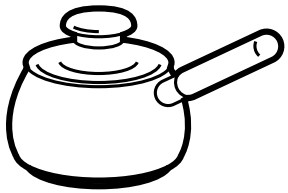
SUITABLE COOKWARE
- Cast Iron Pot

- Magnetic Stainless Steel Pot
- Magnetic Stainless Steel/Enamel
- Iron/Steel Frying Pan
- Iron Tray/Grille
- Iron Enamelware

Size and Form
- Diameter 4.5” minimum
Cookware should have a flat surface.
UNSUITABLE COOKWARE

Material:
- Glass
- Ceramic
- Copper
- Aluminum
- Non Magnetic Stainless Steel
Unsuitable Size and Form
Cookware of which the height from induction plate is over 1.5” and the bottom diameter is less than 4.5”.
OPERATING INSTRUCTIONS
If the unit doesn’t operate as intended, please see the Troubleshooting Guide. Caution: Always use a dedicated outlet. This unit is designed to operate on 120V and will require 15A. For optimum performance of your unit, use only one appliance per outlet.
Setup
- Place the unit on a dry, level surface at least 4 inches away from other objects to allow proper ventilation from the COOL AIR INLET and WARM AIR EXHAUST FAN.
- Plug the POWER CORD into a dedicated 120V/15A electrical socket. The red POWER INDICATOR LIGHT will illuminate.
- Before turning the unit on, make sure the ingredients are in the proper cookware, place on the glass plate, and center it over the COOKWARE PLACEMENT GUIDES.
- Touch the ON/Off symbol to turn the unit on. The cooling fan will run and the LCD display will default to the HEAT mode and PL-1 setting.
NOTE: It is normal for the cooling fan to operate for up to 2 minutes after the unit has powered off.
Touchpad Controls
All operations are easily controlled using the touchpad. Separate HEAT and TEMP modes provide different cooking functions for greater flexibility and the LOCK will set your cooking program so accidental changes cannot be made. Use the TIMER to automatically turn off all programming within 1-180 minutes.
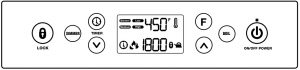
HEAT Mode (10 settings)
This mode adjusts the wattage (power) applied to the cookware. This mode is used for quick heat-up and where close temperature control is not a requirement. Use the TEMP mode if strict temperature control is required.
- Touch the FUNCTION symbol to select the HEAT mode. The default PL-1 will appear in the LCD display along with the Heat icon. Use the symbols to increase or decrease the power as needed.
- The one-touch BOIL function will instantly select the PL-10 setting.
- Touch the LOCK symbol at any time to lock in your desired setting. To unlock, touch and hold the LOCK symbol for 2 seconds or power the unit off.
- The power level is adjustable from 500 to 1800 watts. Maximum power levels may not be achieved with some cookware if it is approaching the unsuitable size and form restraints listed on pg. 3. For example a pan with a 4.5” to 6” diameter base will reach a maximum 1000-1200 watts but using a pan with more than a 6” base will achieve higher watts.
TEMP Mode (15 settings)
This mode is best when more accurate cooking temperature control is needed. It is important to realize that the following settings measure the temperature of the base of your cookware and not the temperature of the food you are cooking.
- Touch the FUNCTION symbol to select the TEMP mode. The default temperature is 100°F(simmer). Use the symbols to increase or decrease the temperature as needed.
- The one-touch SIMMER function will instantly select the 100°F setting.
- Touch the LOCK symbol at any time to lock in your desired setting. To unlock, touch and hold the LOCK symbol for 2 seconds or power the unit off.
|
SIMMER |
100º |
| LOW |
125º-150º |
|
MED-LOW |
175º-250º |
| MEDIUM |
275º-325º |
|
MED-HIGH |
350º-400º |
| HIGH |
425º-450º |
TIMER
180-minute timer is adjustable in 1-minute increments.
- Touch the TIMER symbol. 1 minute will display in the LCD window. Use the symbols to increase or decrease the time as needed.
- The time will count down until the set time has elapsed. The unit will beep and all cooking operations will shut down.
- All functions are still operational when the timer is set. Every 5 seconds the programmed function and the remaining time will alternate in the LCD window.
- To reset or turn off the timer, touch the TIMER symbol.
CARE AND MAINTENANCE
- Do Not clean with metal scouring pads, abrasives, or solvents
- Do Not immerse cord or unit in water or other liquids
- Unplug when not in use and before cleaning
- Allow unit to cool before storing
- Do Not use if glass cooktop or power cord is damaged
- Keep away from other sources of heat
- Unplug and let cool before cleaning. Use a mild liquid detergent with a moist cloth to wipe off grease and stains. Let dry. Cover the unit to protect it from dust when being stored.
TROUBLESHOOTING GUIDE & CUSTOMER SERVICE
If after reviewing the troubleshooting guide the problem is not resolved, do not attempt to repair yourself. Contact your dealer or call our Customer Service Department at 1-800-227-0196 for additional information.
- The Power Indicator light does not illuminate and/or the exhaust fan is not running.
- The power plug may be loose in the electrical outlet or there might be a 120V power supply fault. Reset the circuit breaker and retry.
- E3 error code means the 120V input power supply is too high or too low voltage and shuts down after one minute. Unplug from the power receptacle and use a voltage sensor to verify that the voltage is 110/120V AC. If not, switch electrical outlets or correct before operating the unit.
- The fan is not running and the cookware is not heating up. E0 or E2 error code may be displayed.
- The cookware may be unsuitable and it is preventing operation (see Selecting the Proper Cookware)
- The cookware needs to be centered on the glass plate
- The glass plate may be cracked
- The induction cooktop suddenly stops heating during operation and shuts down. E1 or E2 error code may be displayed.
- The overheating sensor detected an excessive high glass top temperature and caused it to automatically shutdown. Heating empty cookware may cause this. Remove cookware and let everything cool down and retry.
- The air inlet or exhaust fan is blocked and caused it to overheat. Make sure the unit is at least 4” from walls and other objects and all vents are clear.
- The fuse or circuit breaker has malfunctioned or the unit is unplugged.
Note: If any of the above remedies fail to correct the problem, please contact Customer Service at 1-800-227-0196.
SPECIFICATIONS
| POWER SOURCE | 120V 15k 60 Hz |
| WATTAGE RANGE | 500 -1800 watts |
| TEMPERATURE RANGE | 100°F – 450°F |
| WEIGHT | 6 lbs. (2.72 kg) |
| DIMENSIONS | 12.75″ x 11.55″ x 2.5″ (32.385 x 29.34 x 6.35 cm) |
| CORD LENGTH | 5 ft. (1.52 m) |
| GLASS COOKTOP DIMENSIONS | 11.5″ x 11.5″ (29.21 x 2921 cm) |
| SAFETY FEATURES | Non-suitable cookware detection Overheat protectionImproper voltage supply detection |
| APPROVALS | ETL US (conforms to UL STD 1026) household use FCC Part 18 |
PRODUCT WARRANTY
(see warranty card included)
Aervoe Industries, Inc. warrants that this product shall be free from all defects in material and workmanship for 1 year from date of purchase. All merchandise must be returned to the original place of purchase to be processed according to the retailer return policy. A warranty card must be on file with Aervoe Industries, Inc. within 30-days of purchase and proof of purchase is required to obtain warranty performance.
References
[xyz-ips snippet=”download-snippet”]