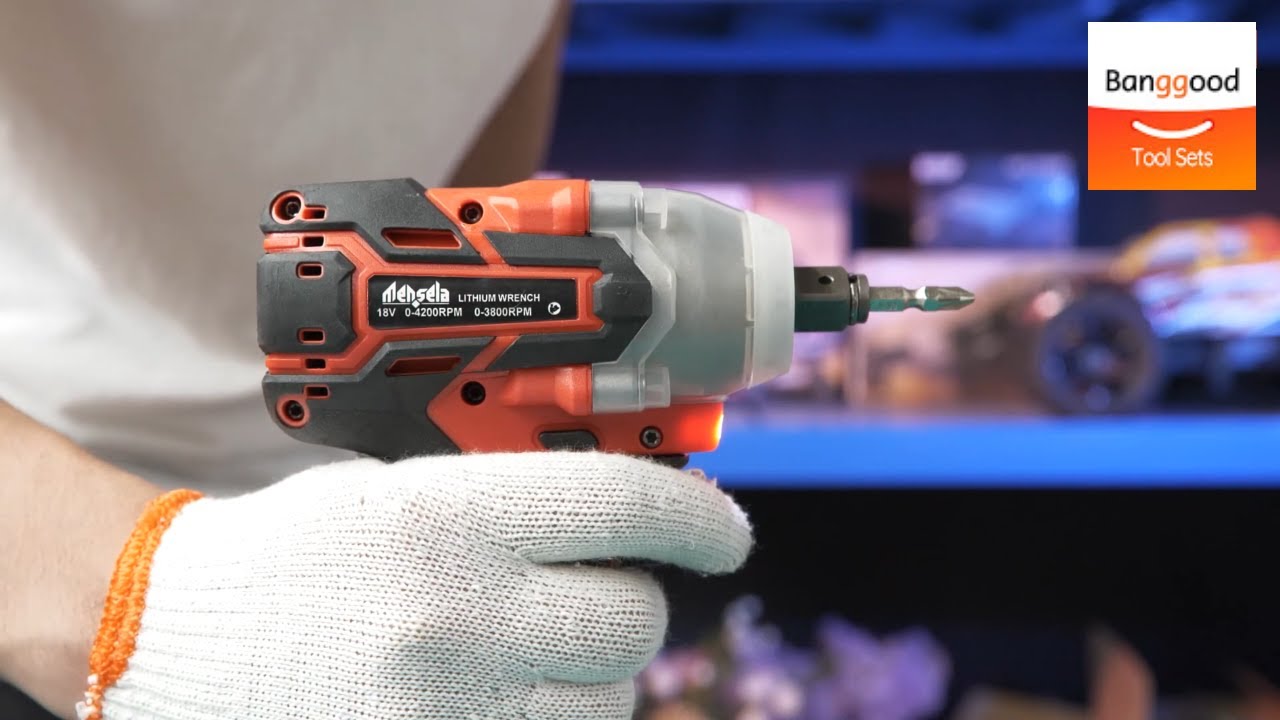
Mensela ID-L1 Cordless Impact Driver

SAFETY INSTRUCTIONS FOR LITHIUM ELECTRIC DRIVER
WARNING: Read and understand all instructions. Failure to follow all instructions listed below, may result in electric shock, fire and / or serious personal injury.
Keep your work area clean and well lit. Cluttered benches and dark areas invite accidents. Do not operate power tools in explosive atmospheres, such as in the presence of flammable liquids, gasses, or dust. Power tools create sparks which may ignite the dust of fumes Keep bystanders, chlidren, and visitors away while operating a power tools. Distractions can cause you to lose control.
Personal Safety
Stay alert, watch what you are doing, and use common sense when operating a power tool. Do not use tool while tired or under the influence of drugs, alcohol, or medication. A moment of inattention while operating power tools may result in serious personal injury.Dress properly. Do not wear loose clothing or jewelry, contain long hair. Keep your hair, clothing, and gloves away from moving parts. Loose clothes, jewelry, or long hair can be caught in movAvoid accidental starting. Be sure switch is in the locked or off position before inserting battery pack. Carrying tools with your finger on the switch or in setting the battery pack into a tool with the switch on invites accidents.
Tool Use and Care
Use clamps or other practical way to secure and support the workplace to a stable platform. Holding the work by hand or against your body is unstable and may lead to loss of control. Do not force tool. Use the correct tool for your application. The correct tool will do the job better and safer at the rate for which it is designed.
Electrical Safety
- A battery operated tool with into gral batteries or a separate battery pack must be recharged only with the specified charger for the battery.
- A charger that may be suitable for one type of battery may create a risk of fire when used with another battery.
- Battery operated tool only can be used with specifically designated battery pack. Using any other batteries may create a risk of fire.
- Remove adjusting keys or wrenches before turning the tool on. A wrench or a key that is left attached to a rotating part of the tool may result in personal injury.
- Do not overreach. Keep proper footing and balanced at all times. Proper footing and balance enable better control of the tool in unexpected situations.
- Use safety equipment. Wear eye protection. Dust mask, non-skid safety shoes, hard hat, or hearing protection must be used for appropriate conditions.
- Do not use tool if switch does not turn it on or off. A tool that cannot be controlled with the switch is dangerous and must be repaired.
- Disconnect battery pack from tool or place the switch in the locked or off position before making any adjustments, changing accessories ,or storing the tool. Such preventive safety measures reduce the risk of starting the tool accidentally.
Step 1: For tools with general sleeves

- Driver head
- Sleeve
When installing the driver head, pull the sleeve in the direction of the arrow and insert the driver head all the way to the innermost end of the sleeve. Then loosen the sleeve to secure the driver head. For tools with one touch sleeve, when installing the driver head, insert it into the sleeve and push it to the bottom as far as possible.
Step 2: In addition to the above step (1), insert the driver element into the sleeve And the tip of the barrel is toward the inside of the sleeve.
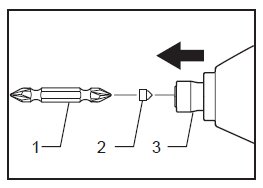
- Driver head
- Driver head element
- SleeveWhen removing the driver head, pull the sleeve in the direction of the arrow and pull the driver head out.
Notes:
- If the driver head is not fully inserted into the sleeve, the sleeve will not return to its original position and the driver head will not be fixed. At this time, the driver head should be re inserted according to the above instructions
- When it is difficult to insert the driver head, please pull the sleeve and insert the driver head into the sleeve to push it as far as possible.
- After inserting the driver head, make sure it is tight. Do not use if it comes off. a hook.

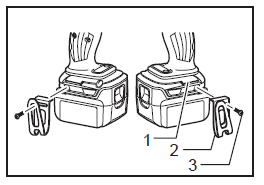
- groove
- a hook
- Screw
The hook is convenient for temporarily hanging tools. It can be installed on either side of the tool. To install the hook, insert it into the groove on either side of the tool housing and screw it down. To remove the hook, loosen the screw and take it out.
Operation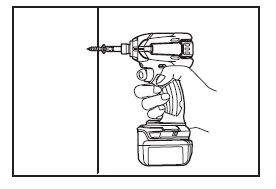
The appropriate tightening torque varies with the type or size of the screw / bolt and the material of the workpiece to be tightened. The relationship between tightening torque and tightening time is shown in the figure.
If the impact force is too strong and the time of tightening the screw exceeds the time shown in the figure, the screw or the tip of the driver head will be damaged by excessive pulling, squeezing, pressing, etc. Before starting work, be sure to carry out test operation to determine the appropriate tightening time of screws used. The tightening torque is affected by the following factors. After tightening, make sure to confirm the torque with a torque wrench.
- when the battery pack is about to be completely exhausted, the voltage will It will decrease and the tightening torque will decrease.
- driver or sleeve driver Using a properly sized or sleeve screwdriver will reduce the tightening torque.
- bolts Even though the torque coefficient and bolt grade are the same, the required tightening torque is different due to different diameters. Even though the diameter of the bolt is the same, the required tightening torque varies with its torque coefficient, grade and length.
- The way of holding the tool or the material on the screw will also affect the torque.
- Low speed operation of the machine will also reduce the tightening torque.
![]()
References
[xyz-ips snippet=”download-snippet”]