![]() METERES-2Electrical Conductivity + Temperature
METERES-2Electrical Conductivity + Temperature

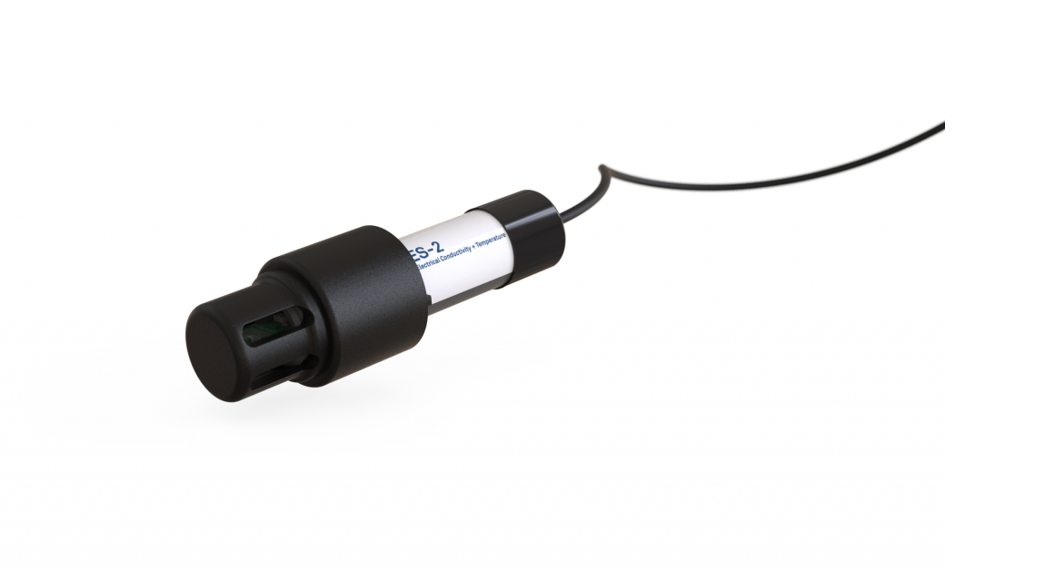
ES-2 QUICKSTART
The ES-2 is designed to measure the electrical conductivity and temperature of water-based solutions.
PreparationConfirm that ES-2 components are intact. Gather the necessary pipe fittings and glue or suspension setup for the desired installation type as well as the necessary items for the data acquisition system installation.Read the full ES-2 User Manual at metergroup.com/es2-support. All products have a 30-day satisfaction guarantee.Before going to the field, connect the ES-2 to the data acquisition system and ensure proper communication.
Compatibility
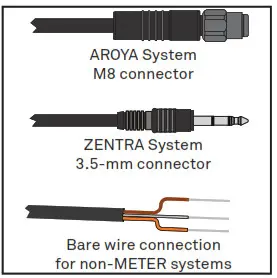
ES-2 sensors are fully integrated into the METER system of plug-and-play sensors used with both the METER AROYA System and software for horticulture and the METER SENTRA System and software for science and agriculture.Refer to the AROYA Hardware QuickStart and the AROYA User Manual at aroya.io/support for specific details on how to use the ES-2 with the AROYA System.Refer to the SENTRA Setup Support Video at metergroup.com/ Sentra-setup for specific details on how to use the ES-2 with the SENTRA System.Information for use with non-METER data acquisition systems can be found in the ES-2 Integrator Guide at metergroup.com/es2-support.![]() ATTENTIONFor best results, use the latest versions of METER software and firmware for the computer or mobile device, products, and sensors.
ATTENTIONFor best results, use the latest versions of METER software and firmware for the computer or mobile device, products, and sensors.
Installation
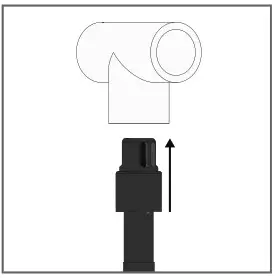
1Install Sensor Pipe Installation. Apply PVC glue to the outside of the end cap, following the manufacturer’s instructions. DO NOT apply glue to cap slots. Slide the ES-2 into a 1-in Tee socket pipe fitting, ensuring the end cap alignment notch is in the direction of flow. Orient the cable end down or to the side. Secure and protect cables with PVC casing or flexible conduit.
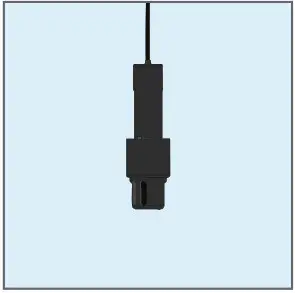
Tank or Water Body Installation.Suspend the sensor in the tank or water body away from the sides of the tank or water body as much as possible. Secure and protect cables with PVC casing or flexible conduit.
2. Check Sensor OperationConnect the sensor to the data acquisition device and check sensor operation.
3. Configure Software
Use the application software to apply appropriate settings to the sensors plugged into the data acquisition device. Review data and check values.
SUPPORT
Have a question or problem? Our support team can help. We manufacture, test, calibrate, and repair every instrument in the house. Our scientists and technicians use the instruments every day in our product testing lab. No matter what your question is, we have someone who can help you answer it.
| Email:support.[email protected]Phone: +1.509.332.5600Email: [email protected]Phone: +1.509.332.5844 | EUROPEEmail: [email protected]Phone: +49 89 12 66 52 0 |
References
[xyz-ips snippet=”download-snippet”]