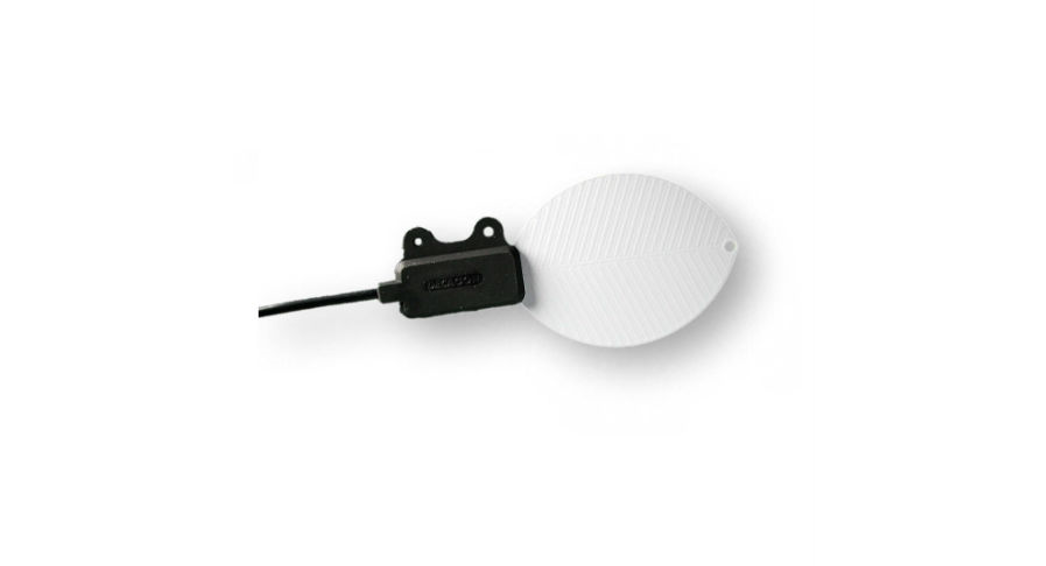
PHOTOS 31LEAF WETNESS SENSOR

PHOTOS 31 QUICKSTART
PreparationConfirm that PHOTOS 31 components are intact. For installation, gather a mounting post and either zip ties or 4-40 bolts. Read the full PHOTOS 31 User Manual at metergroup.com/phytos31support. All products have a 30-day satisfaction guarantee.
ConnectingPlug into Data Acquisition SystemConnect the stereo plug connector into any METER data logger and configure it to read the PHOTOS 31 (refer to the PHOTOS 31 User Manual). Select a nonzero measurement interval to ensure data are being logged. To connect to a non-METER data logger, see the PHOTOS 31 User Manual.
Verify ReadingsUse the SCAN function in the software to show a list of readings. A dry sensor should have raw counts between 430−445 counts.
![]() ATTENTIONFor best results, use the latest versions of METER software and firmware for the computer or mobile device, products, and sensors. Please use the software Help menu to find updates. Consult the sensor user manual for more troubleshooting tips.
ATTENTIONFor best results, use the latest versions of METER software and firmware for the computer or mobile device, products, and sensors. Please use the software Help menu to find updates. Consult the sensor user manual for more troubleshooting tips.
Installation
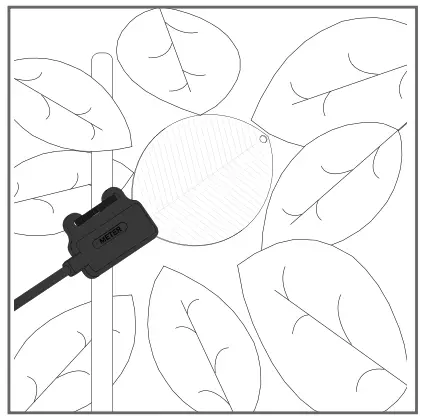
1. Install Sensor to Mounting PostInstall the mounting post. With the PHOTOS 31 electrode traces facing up, thread zip ties or 4-40 bolts through the mounting holes on the sensor body and attach them to the mounting apparatus.NOTE: Wetness duration is affected by the mounting angle. Mount the sensor at the appropriate angle for the desired measurement.

2. Plug Sensor In and Configure LoggerPlug the sensor into the data logger. Use data logger software to apply appropriate settings to the sensors plugged into each data logger port.
SUPPORTHave a question or problem? Our support team can help.We manufacture, test, calibrate, and repair every instrument in the house. Our scientists and technicians use the instruments every day in our product testing lab. No matter what your question
NORTH AMERICAEmail:[email protected]Phone: +1.509.332.5600
EUROPEEmail: [email protected]Phone: +49 89 12 66 52 0
References
[xyz-ips snippet=”download-snippet”]

