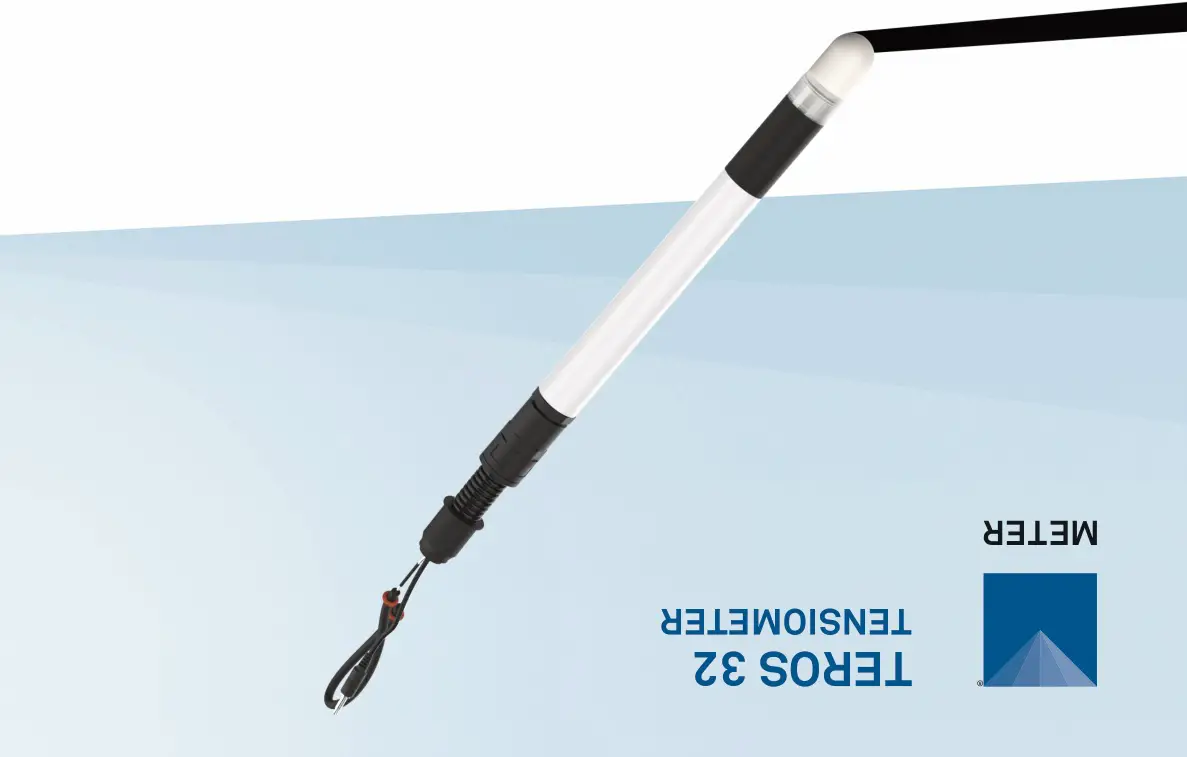
Teros 32 Tensiometer User Guide
SUPPORT
Have a question or problem? Our support team can help.
We manufacture, test, calibrate, and repair every instrument in house. Our scientists and technicians use the instruments every day in our product testing lab. No matter what your question is, we have someone who can help you answer it.
NORTH AMERICA
Email: [email protected]Phone: +1.509.332.5600
EUROPEEmail: [email protected]Phone: +49 89 12 66 52 0
TEROS 32 QUICK START
Preparation
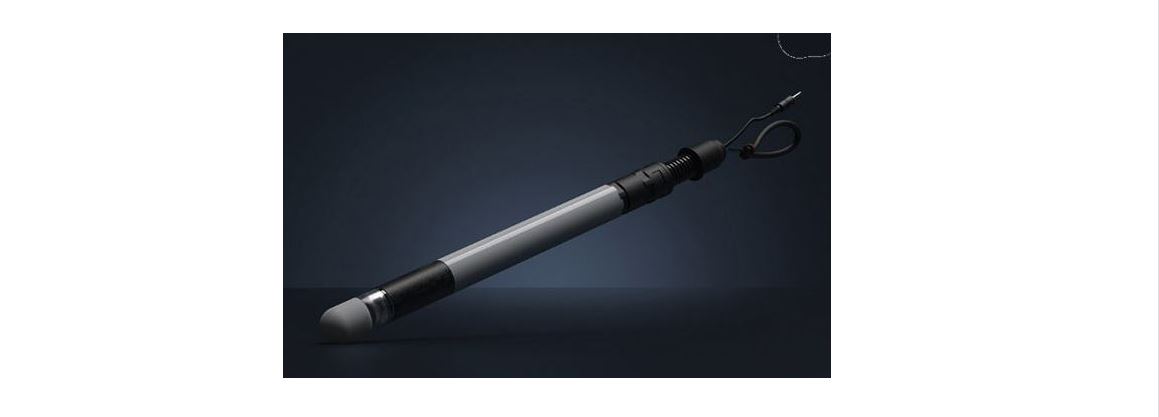
Confirm TEROS 32 components are intact. For installation, gather the tensiometer auger, a dead blow hammer, a refilling syringe (purchased separately), and deionized water.
Determine the desired installation angle and calculate the corresponding installation depth.
METER recommends conducting a system check with a logger prior to installation.
NOTE: A barometric reference sensor is needed as part of the system configuration to accurately measure soil water potential.
Read the full TEROS 32 User Manual at metergroup.com/teros32-support. All products have a 30-day satisfaction guarantee.
What is water potential?
Water potential is a key variable and one of the main controlling factors in the exchange of water between soil, plant, and atmosphere.
Learn more at metergroup.com
![]() ATTENTION
ATTENTION
TEROS 32 requires the most current software and firmware versions. Please make updates as necessary
ZL6 firmware version 2.04 or higherZSC firmware version 1.00 or higherZENTRA Utility version 1.18 or higher
Go to metergroup.com/environment/downloads/ to find the current software or firmware version for the data logger being used.
Installation
1. Insert Sensor
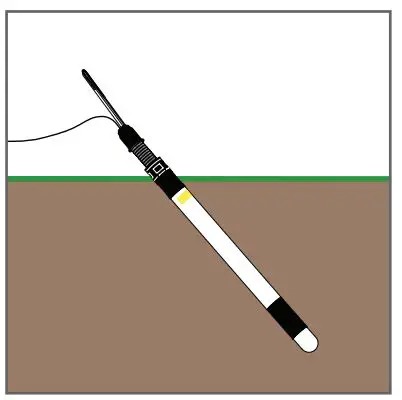
Auger a hole at the proper angle with the auger. Auger to the desired depth in steps to avoid soil compaction.
Insert the TEROS 32 into the borehole firmly, but carefully. Do not touch the ceramic cup.
2. Fill the Tensiometer
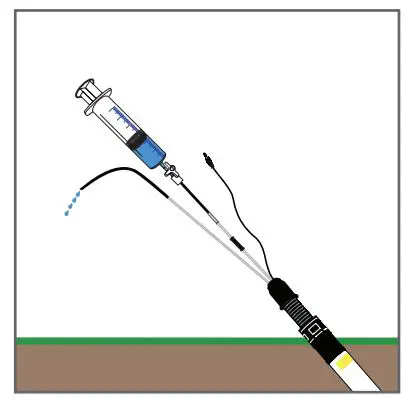
Fill the syringe with deionized water and degas.
Connect the refill syringe to the marked refilling tube and press at least 20 mL of water into the ceramic cup.
Disconnect the syringe and push the refilling hose back onto the refilling tube.
3. Check Sensor and Protect Cables

Plug the sensor into the data logger and use the SCAN function in the software to do a quick check of sensor operation before backfilling.
Secure and protect cables with PVC casing or flexible conduit and backfill the trench or hole.
4. Plug Sensor In and Configure Logger
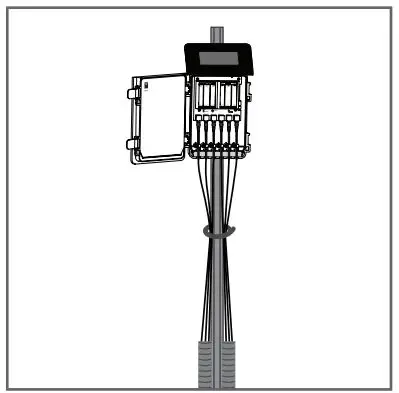
Use data logger software to apply appropriate settings to the sensors plugged into each data logger port.
References
[xyz-ips snippet=”download-snippet”]