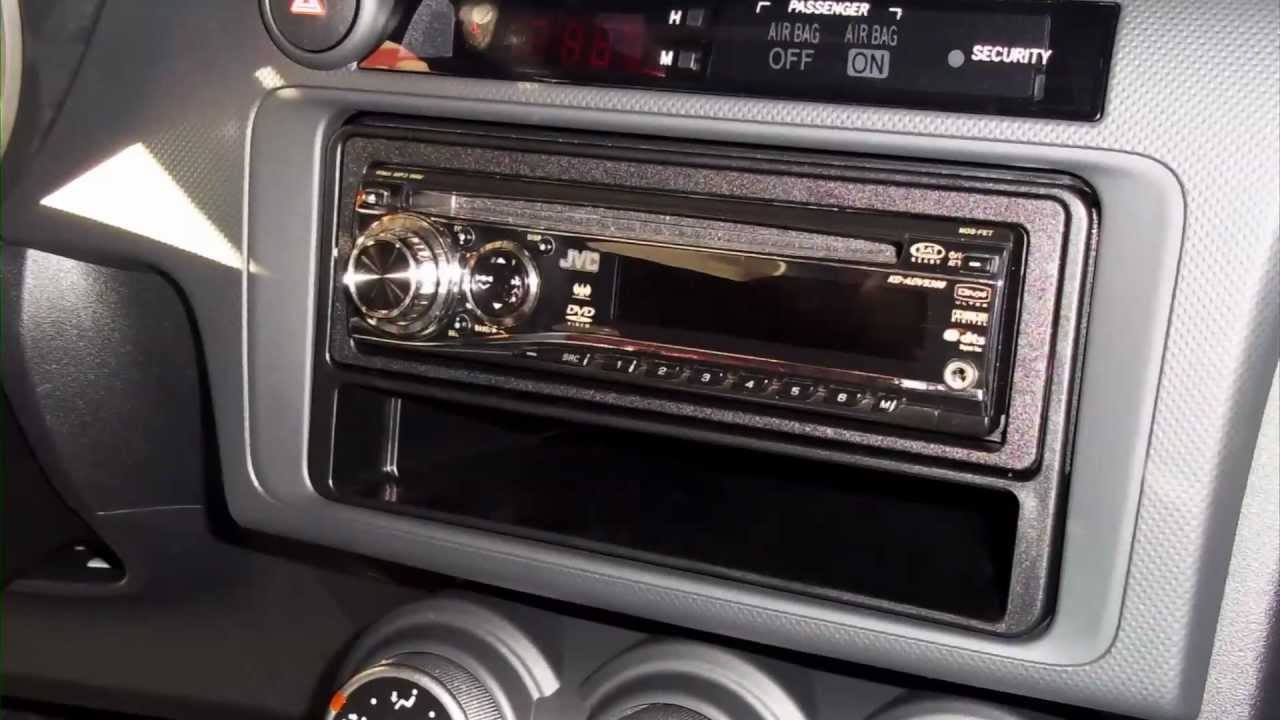
Metra Scion2004-2015
Scion 2004-2015* *(Including xA, xB, tC and xD Models)Visit MetraOnline.com for more detailed information about the product and up-to-date vehicle specific applications
KIT FEATURES
- DIN radio provision with pocket
- ISO DIN radio provision with pocket
TOOLS REQUIRED
- Panel removal tool
- Phillips screwdriver
- Socket wrench
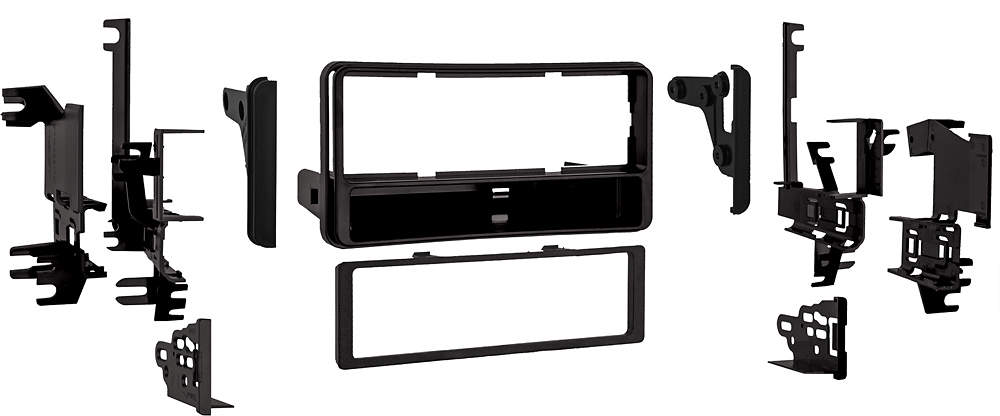
KIT COMPONENTS

- Radio housing
- Bracket Set 1
- Bracket Set 2
- Bracket Set 3
- ISO Snap-in brackets
- Trim plate
DASH DISASSEMBLY
Scion xA 2004-2006
- Unclip and remove the climate control trim panel.
- Unclip and remove the radio trim panel including the climate control vents.
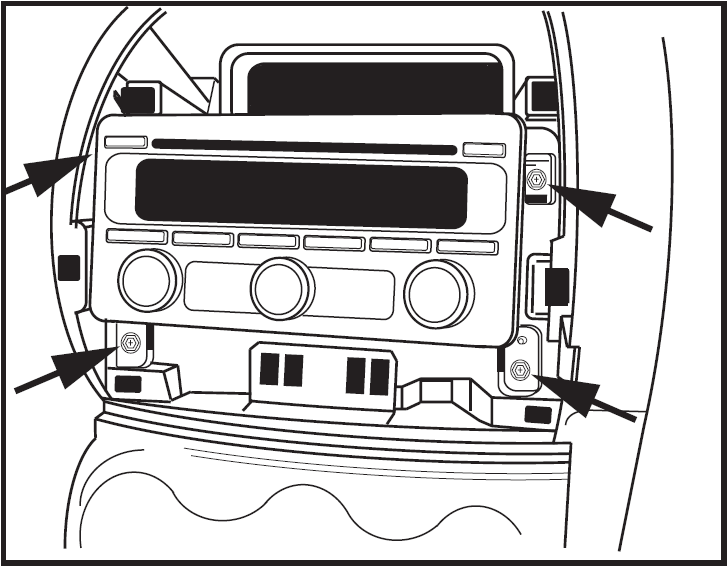
- Remove (4) 10 mm hex head screws securing the factory radio. Unplug wiring and remove radio.

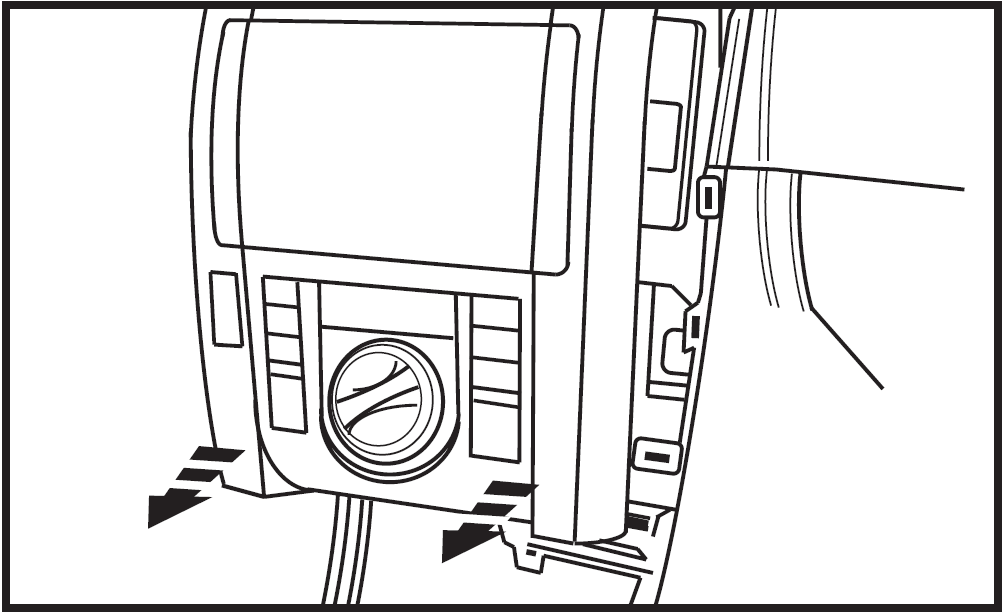
Scion xB 2004-2006
- Pull outward on the (3) climate control knobs and remove.

- Remove (2) Phillips screws from behind the outer (2) knobs.
- Unsnap and remove the entire panel surrounding the climate controls and the radio.
- Remove (4) 10 mm bolts securing the radio. Unplug and remove the radio.


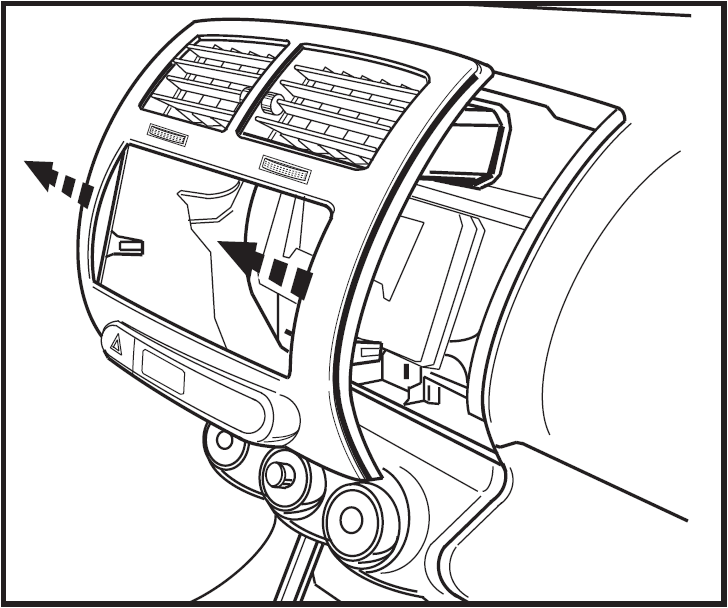
Scion xB 2008-2015
- Unclip and remove the trim panel around the radio including the A/C vents.
- Unclip and remove the trim panel at the bottom edge of the dash cavity.
- Remove (4) 10 mm bolts securing the radio. Unplug and remove the radio.


Scion tC 2005-2010
- Unsnap trim from around shifter, not necessary to completely remove.
- Unsnap and remove panel from around radio, including climate controls and radio door.
- Remove (2) 10 mm bolts from the top mounting locations and (2) Phillips screws from the bottom mounting locations to remove the radio.


Scion tC 2011-2015
- Unsnap and remove the panel from around the radio.
- Remove four 10 mm bolts and remove factory radio.


Scion xD 2008-2014
- Unclip radio trim panel. Unplug and remove panel.
- Remove (4) Phillips screws securing the radio. Unplug and remove radio.
KIT ASSEMBLY
DIN Radio Provision with Pocket
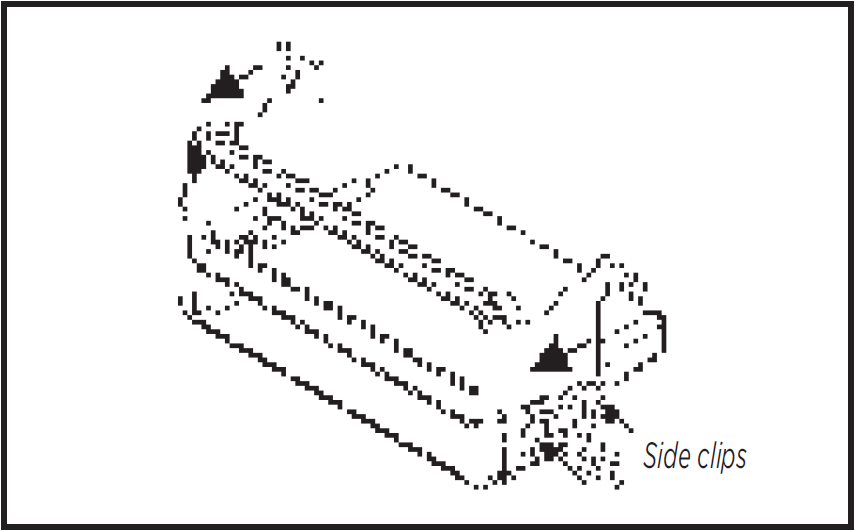
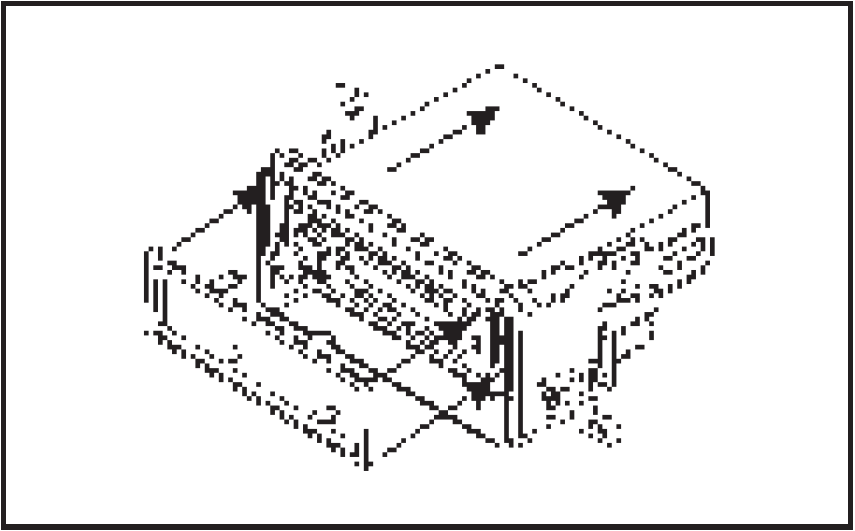
- Slide the mounting brackets onto the sides of the radio housing until the side clips engage.Note: Use Bracket Set 1 for xA, xB 2004-2006, and tC 2005-2010. Use Bracket Set 2 for the 2008-up xB and xD. Use Bracket Set 3 for the tC 2011-up.
- For Bracket Set 1 cut and remove all mounting tabs except the tabs being used for your application.Note: Tabs are marked xA, xB and tC. For Bracket Sets 2 and 3 skip to step 3.
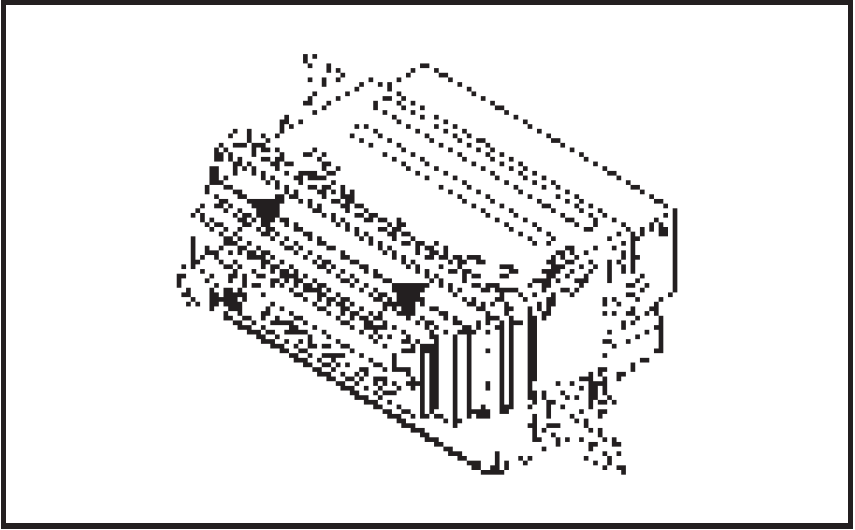
- Slide the DIN cage into the radio housing and secure by bending the metal locking tabs outward.
- Slide the aftermarket radio into the cage until it snaps into place.
- Locate the factory wiring harness in the dash. Metra recommends using the proper mating adapter from Metra or AXXESS.
- Reconnect the negative battery terminal and test the radio for proper operation.
- Reassemble the dash in reverse order of disassembly to complete the installation.
 Note: Use Bracket Set 1 for xA, xB 2004-2006, and tC 2005-2010. Use Bracket Set 2 for the 2008-up xB and xD. Use Bracket Set 3 for the tC 2011-up.
 Note: Tabs are marked xA, xB and tC. For Bracket Sets 2 and 3 skip to step 3.
ISO DIN Radio Provision with Pocket
- Slide the mounting brackets onto the sides of the radio housing until the side clips engage.Note: Use Bracket Set 1 for xA, xB 2004-2006, and tC 2005-2010. Use Bracket Set 2 for the 2008-up xB and xD. Use Bracket Set 3 for the tC 2011-up.
- For Bracket Set 1 cut and remove all mounting tabs except the tabs being used for your application.Note: Tabs are marked xA, xB and tC. For Bracket Sets 2 and 3 skip to step 3.
- Mount the ISO brackets to the radio using the screws supplied with the radio.
- Slide the aftermarket radio into the cage until it snaps into place.
- Snap the trim plate onto the front of the radio housing.
- Locate the factory wiring harness in the dash. Metra recommends using the proper mating adapter from Metra or AXXESS.
- Reconnect the negative battery terminal and test the radio for proper operation.
- Reassemble the dash in reverse order of disassembly to complete the installation.
 Note: Use Bracket Set 1 for xA, xB 2004-2006, and tC 2005-2010. Use Bracket Set 2 for the 2008-up xB and xD. Use Bracket Set 3 for the tC 2011-up.
 Note: Tabs are marked xA, xB and tC. For Bracket Sets 2 and 3 skip to step 3.
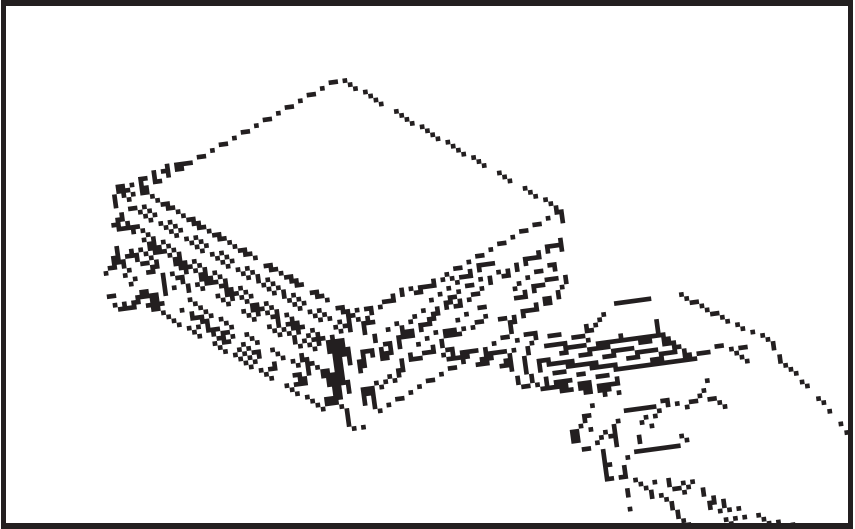
Having difficulties? We’re here to help.
Contact our Tech Support line at: 386-257-1187Or via email at: [email protected]
Tech Support Hours (Eastern Standard Time)
- Monday – Friday: 9:00 AM – 7:00 PM
- Saturday: 10:00 AM – 7:00 PM
- Sunday: 10:00 AM – 4:00 PM
![]()
References
[xyz-ips snippet=”download-snippet”]