![]()
MP Mini Delta V2 3D Printer
P/N 21666Quick Start Guide
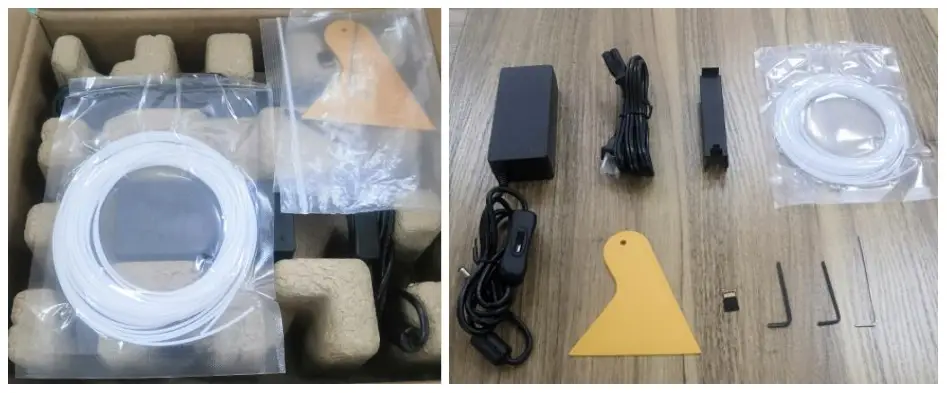
- Unbox the printer. Refer to the PACKAGE CONTENTS section above and verify that you received all parts and accessories.

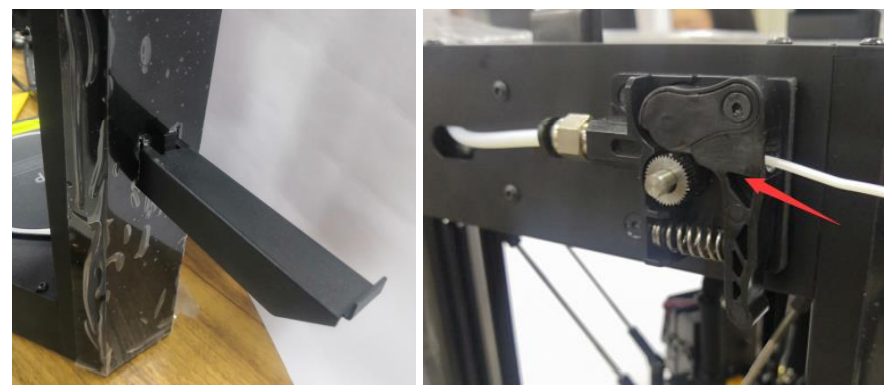
- Using a pair of scissors or wire cutters, remove the security straps from the printer’s Carriage. Lift the Carriage, then remove the protective carton shell.
- Locate the two vertical slots on the side, then install the Filament Holder and place the sample filament on the holder. Press down on the lever on the Filament Extruder Gear, then feed the filament into the hole until you encounter resistance. Release the lever.
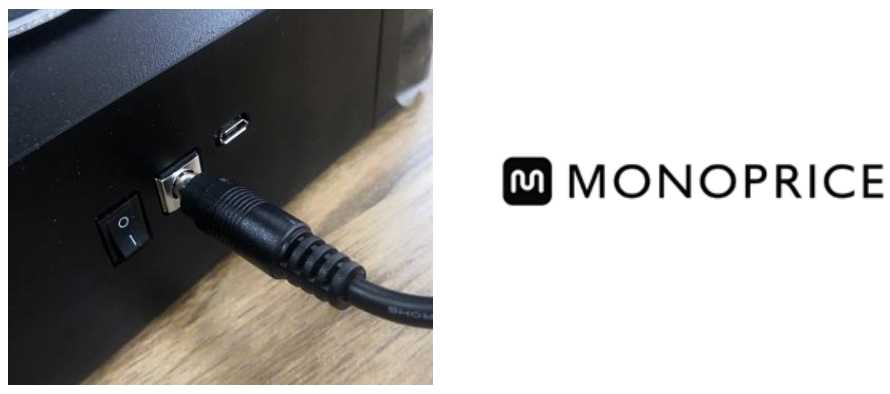
- Plugin and power on the printer.
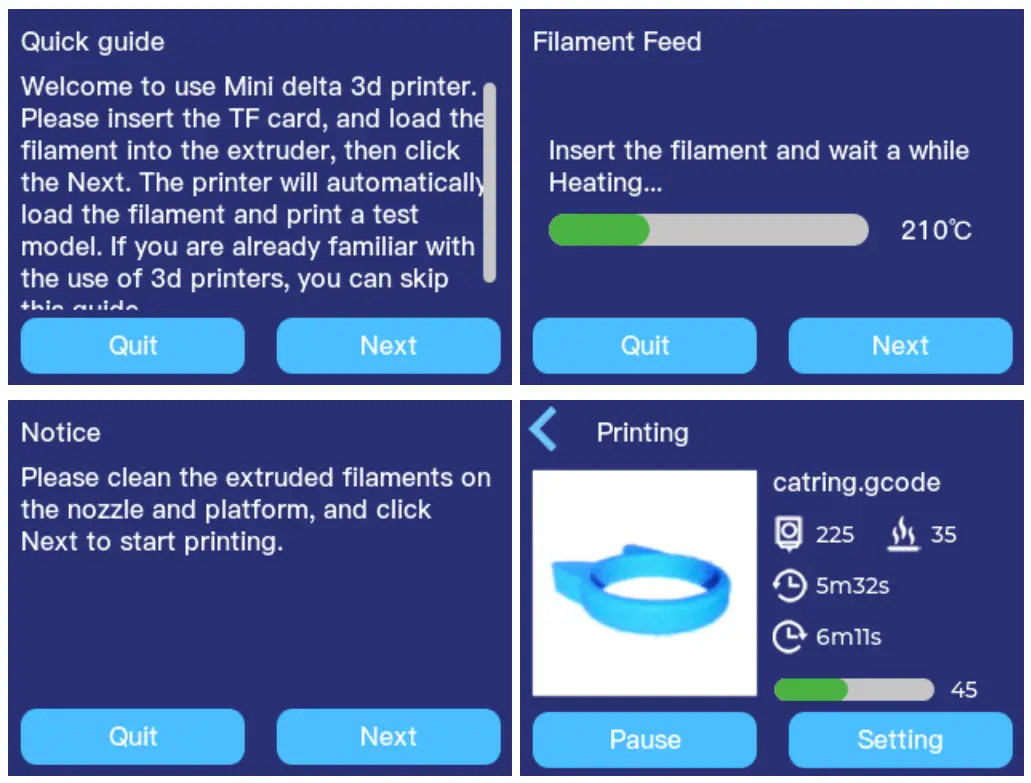
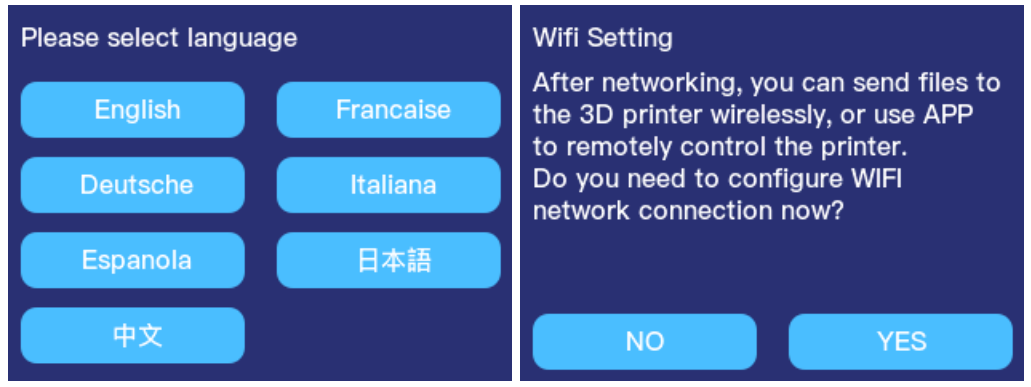
- Select your desired menu language. The printer will then display the Wifi Setting screen. Touch the NO button to continue. The full Wi-Fi setup and an app installation is covered in the POLOPRINT PRO WI-FI SETUP section in the full manual.
- The printer will then display the Quick guide screen. Touch the Next option, then follow the on-screen instructions to print your first model. Otherwise, touch the Quit option to exit to the Main Menu.
Monoprice™ and all Monoprice logos are trademarks of Monoprice Inc.Wi-Fi® and Wi-Fi Alliance® have registered trademarks of Wi-Fi Alliance.
[xyz-ips snippet=”download-snippet”]