Motorola PMLN7397 Earpiece User Manual
ACCESSORIES
RF Energy Exposure and Product Safety Guide for Portable Two-Way Radios
Attention!
These Earpieces, when attached to the radio, are restricted to occupational use only to satisfy FCC/ICNIRP RF energy exposure requirements. Before using this product, read the RF Energy Exposure and Product Safety Guide that ships with the radio which contains instructions for safe usage and RF energy awareness and control for compliance with applicable standards and regulation.
Acoustic Safety
Exposure to loud noises from any source for extended periods of time may temporarily or permanently affect your hearing. The louder the volume, the less time is required before your hearing could be affected. Hearing damage from loud noise is sometimes undetectable at first and can have a cumulative effect. To protect your hearing:
- Use the lowest volume necessary to do your
- Turn up the volume only if you are in noisy
- Turn down the volume before connecting headset or
- Limit the amount of time you use headsets or earpieces at high volume.
- When using the radio without a headset or earpiece, do not place the radio speaker directly against your ear
- If you experience hearing discomfort, ringing in your ears, or speeches that are muffled, you should stop listening to your radio through your headset or earpiece, and have your hearing checked by your doctor
Description
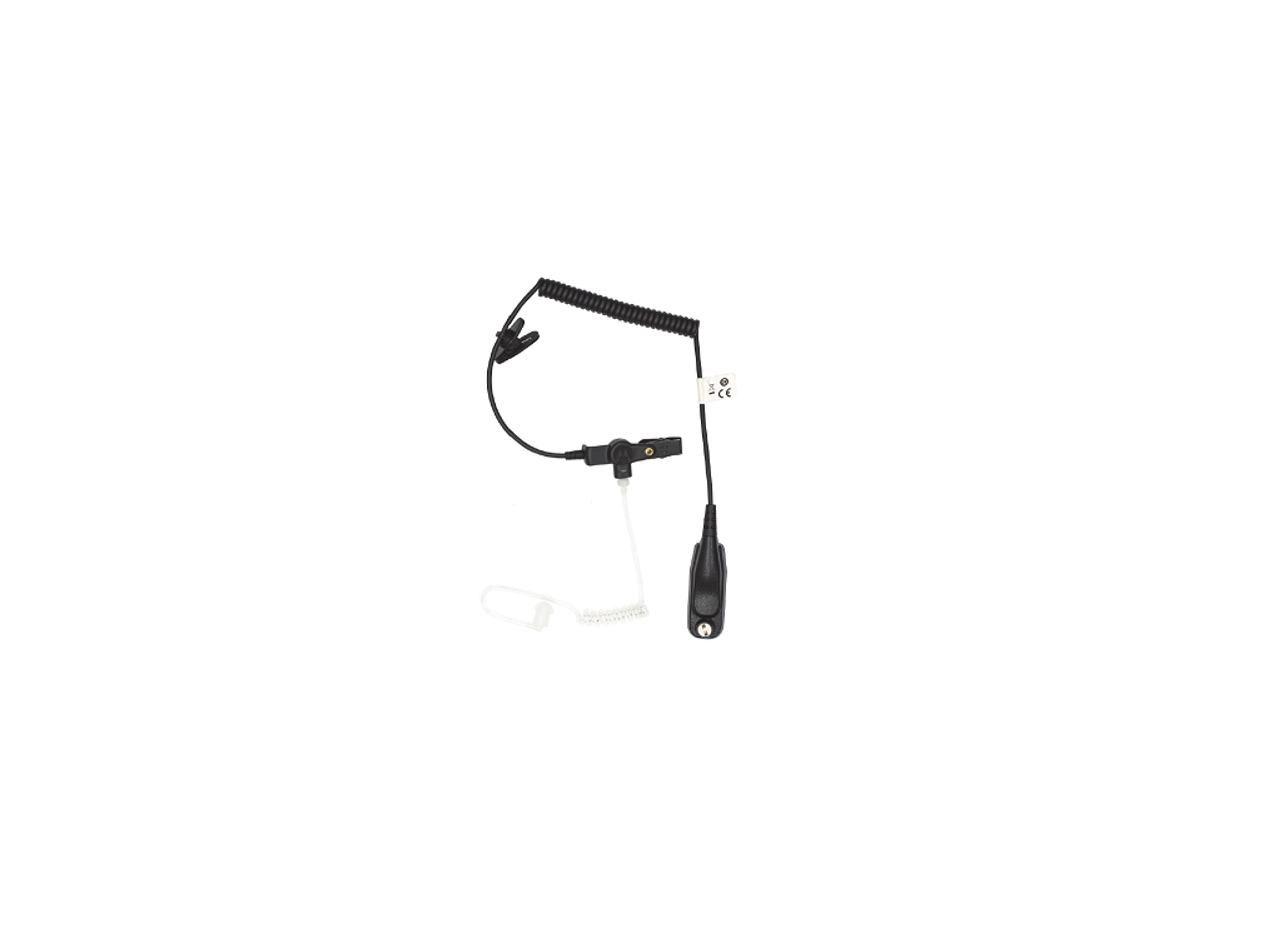
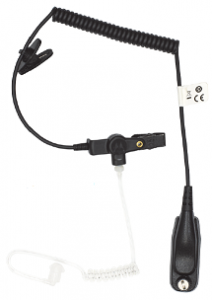
The PMLN7397 Earpiece comes with a 1 Cord Quick Disconnect adapter that allows the user to quickly disconnect the earpiece from the surveillance kit. This feature will enable multiple users to swap earpieces easily. This earpiece also consists of exchangeable rubber ear tip for low noise conditions and foam ear tube plug for extreme noise conditions.
Operation
Attaching the Accessory to the Radio
- Turn the radio
- Attach the kit connector to the radio, and secure the
- Turn the radio on and adjust the audio volume to a comfortable listening
Receiving
When the accessory is connected to the radio side connector, the radio speaker is muted, and the audio is only heard from the earpiece speaker.
Removing the Accessory
Turn the radio off before removing the accessory from the radio side connector.
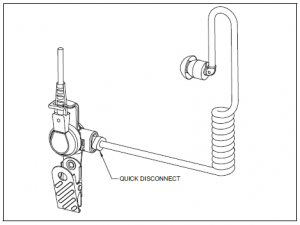
Disconnecting the Transparent Audio Tube
Rotate the Quick Disconnect about 90º and release it from the audio tube adapter. Refer to
Figure 1

Figure 1: Disconnecting the audio tube
Care and Maintenance
Clean the accessory, especially the ear tube and ear tip by:
- washing periodically with a mild liquid soap and rinsing with water.
- wiping off each used part that touched the ear with a
- keeping canal free and clear of
Important: For hygienic reasons, do not return any items once the package seal is broken.
Service
The following replacement parts and alternate configurations are available for the kits.
Table 1: Replacement Parts/Options
| Part Description | Quantity | Part Number |
| Quick disconnect acoustic tube | 1 | RLN6242_ |
| Noise attenuating plugs | 25 | 5080384F72 |
| Ear tip, clear | 25 | 5080370E97 |
Installation
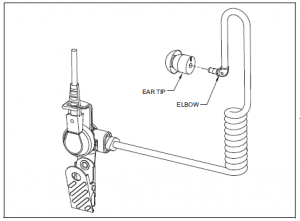
Removing the rubber ear tip
Remove the rubber ear tip by pulling it out and away from the elbow. Refer to Figure 2.
Attaching the foam ear tube plug
- Slip the end of the black tube over the
- Use your fingertips to squeeze the foam ear tube plug fairly tight around the center of the black tube.
 Figure 2: Removing the rubber ear tip
 - While the ear tube plug foam is compressed, insert it into your ear canal far enough to be worn comfortably. Within a few seconds after the ear tube insertion, the compressed foam will conform to the shape of your ear
- To further reduce the noise level, replace the ear tip to the noise attenuating foam earplug. While the foam earplug is compressed, insert it into the other (open) ear canal far enough to be worn comfortably. Within a few seconds after the earplug insertion, the compressed foam will conform to the shape of your ear
Read More About This Manual & Download PDF:
[xyz-ips snippet=”download-snippet”]


 Figure 2: Removing the rubber ear tip