
MUD-UK Tunnel Tray Fitting Instructions
R380 Right Hand Drive
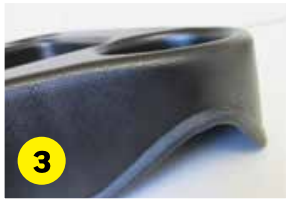
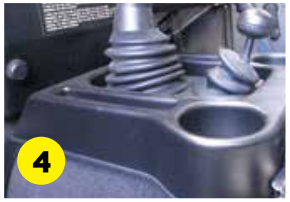
Fit the rubber edging trim around the base of the Tunnel Tray ensuring the longer side of the rubber trim fits to the inside edge of the tray. On the majority of Defenders fit the Tunnel Tray by simply sliding it into place over the rubber gaiter at the base of the gear lever. You may find it easier to remove the fuse box cover before attempting to fit the tray. Press the Tunnel Tray down firmly into place over the rubber gaiter.
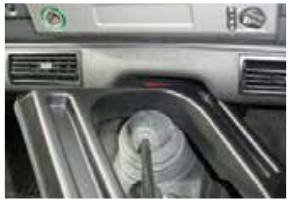
On high-specification Defender models fitted with air-conditioning and carpet, installation of the tray is made trickier due to the extra thickness of the carpet and the added bulk of the air-con housing under the dash. We recommend selecting reverse gear and feeding the Tunnel Tray into position as illustrated below. You will need to keep feeding the gear lever rubber under the plastic as you go, it’s tricky but can be done with a little patience. Honest!
R380 Left Hand Drive


Air Con Models
Installing 12v Sockets
When installing 12v power sockets into the Tunnel Tray, we recommend running the supply wire direct from the fusebox or direct from the battery compartment. lf using the fusebox as the power source, route the wire under the transmission tunnel matting and use the spare fuses within the fusebox to provide a fused supply.
When wiring direct from the battery, run the wiring into the cabin by making a small hole in the seatbox. Fit the hole with a rubber grommet and use an inline fuse in the power supply wire. When wiring multiple sockets into the Tunnel Tray, do not piggy back the supply feed between multiple sockets. Use a separate fused supply for each socket. We recommend wiring the socket via a multi-pin plug and socket connector so that the Tunnel Tray can easily be removed for maintenance. The Marine Grade power sockets are rated at 16 amps max.
[xyz-ips snippet=”download-snippet”]