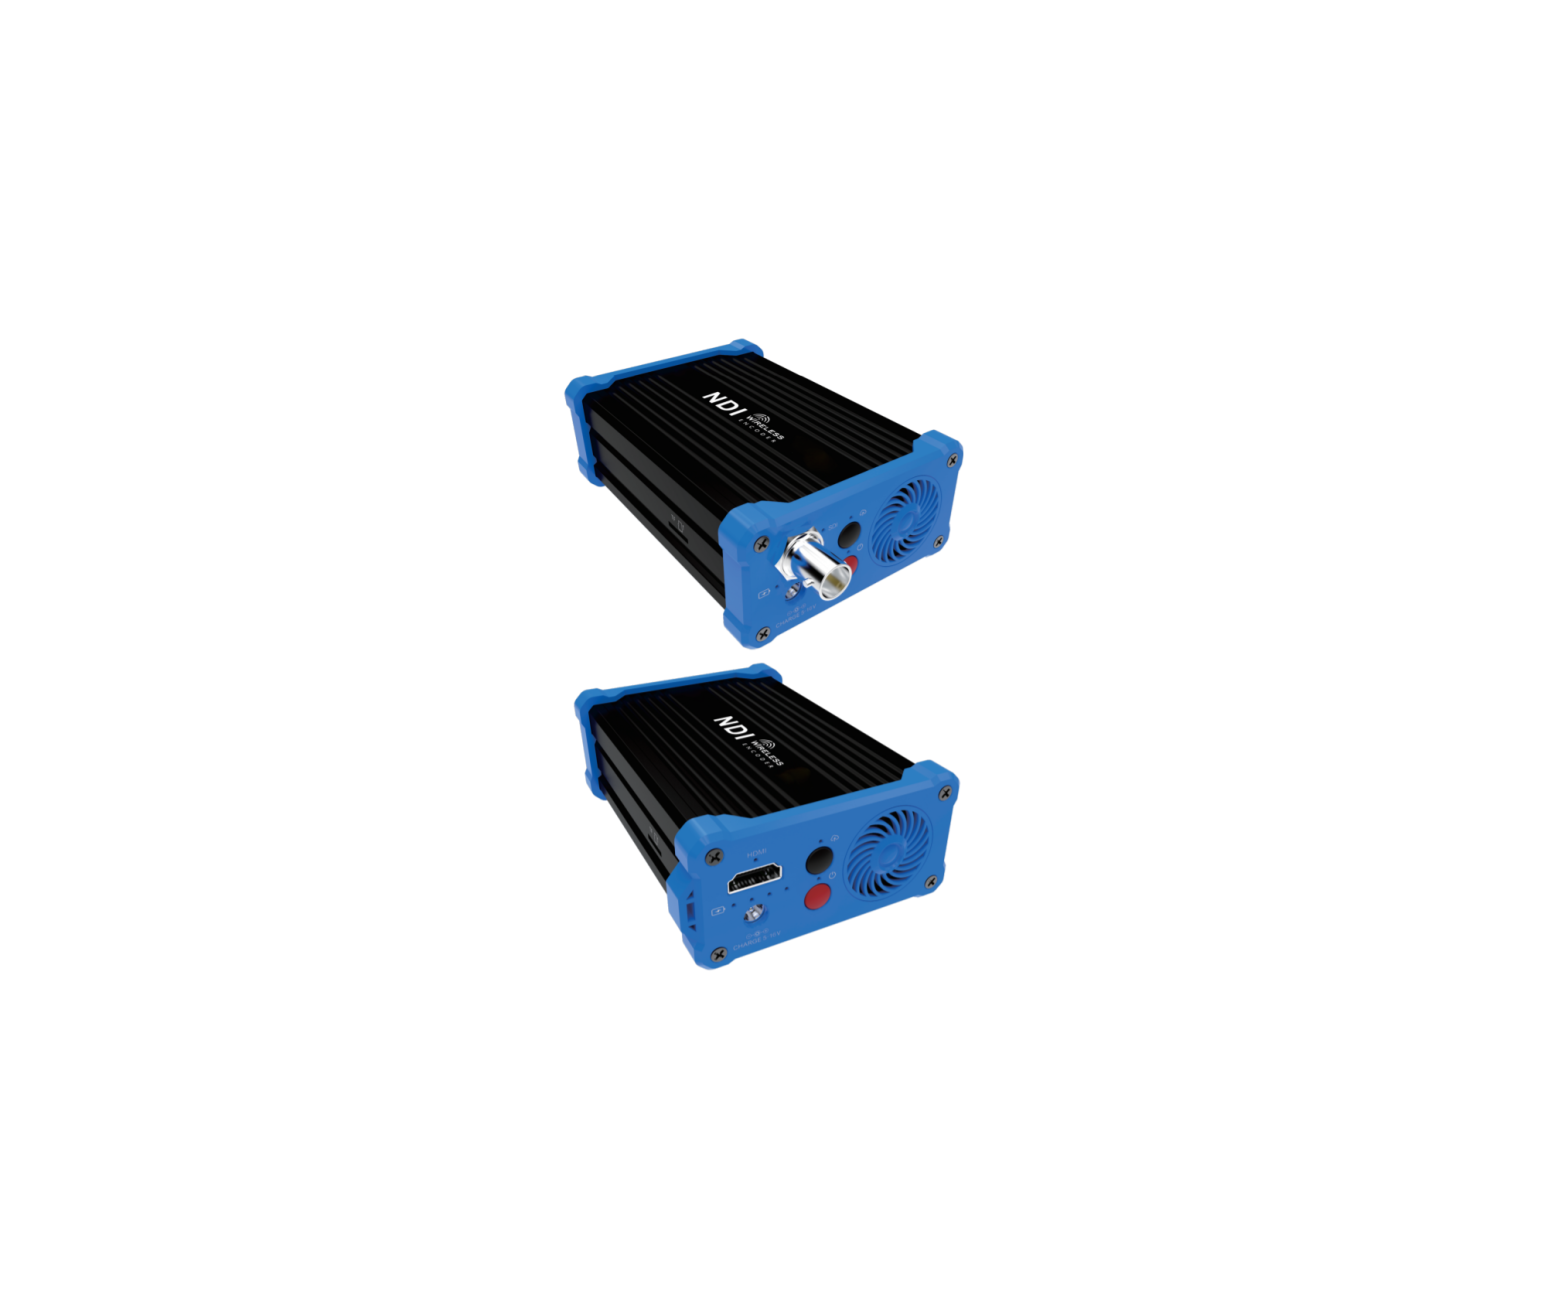
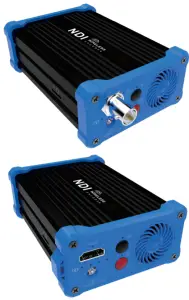
NDI Video Encoder
Packing list
- Encoder*1.
- WIFI antenna*2.
- Adaptor*1.
- USB-DC cable*1.
- USB-RJ45 adaptor*1.
- Hot shoe rack*1.
- Hot shoe bracket *1.
- USB Tally *1.
- Manual *1.
- Warranty card * 1 .

About built-in battery
- While the device is powered on, connected with the power adapter, the device is powered by the adapter. The battery is not charging
- .While the device is powered off, connected with the power adapter, the battery will be charging.
About fan
- While the device is powered on, the fan will start working when reaches a certain temperature.
- While the device is powered off, the fan is working while charging.
Note:There will be some difference because of the updating of the device.
Device interfaces
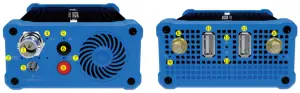
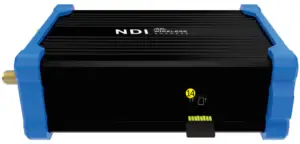
❶ SDI/HDMI input❷ Battery/Charging indicator❸ Power input❹ SDI/HDMI indicator❺ Streaming indicator❻ Streaming switch❼ Power indicator❽ Power switch❾ Antenna gain light❿ WIFI antenna interface⓫ USB external interface⓬ Reset button⓭ WIFI status light⓮ Micro SD/TF card
Note: ❺ and ❻ are only for customized functions
Device installation and connection
Connecting video signal
Connect the SDI/HDMI signal from the source (such as a camera) to the SDI/HDMI input port of the device via a cable
Connect Network
Plug the USB transfer network port (RJ45) cable into the USB port, and connect the network port to the switch. You can also connect directly to the computer network.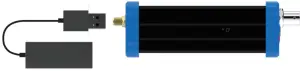
Connect the Power supply
Use the standard power adapter (DC 12v) connected to the power input. After the power is turned on, the device will charge the built-in battery. Press the power switch on the device for more than 3s, and the device will start working immediately.
LED indicator
Long press the switch for more than 3s, the device is turned on, the power light flashes, and the power light is always on. After the device starts up normally, the power light is always on, and the process lasts for 30-40s.
Indicator Status
| Name | Color | Status | Description |
| Power indicator | Red | Flicker | Starting |
| Always on | OK | ||
| Extinguished | Power off | ||
| SDI/HDMI indicator | White | Always on | SDI/HDMI signal locked |
| Extinguished | SDI/HDMI no signal | ||
| Battery indicator | White | Charging status (flashing) | Charging |
| Always on | Normal work | ||
| Extinguished | Shut down | ||
| Streaming indicator | White | Always on | Normal work |
| Flicker | Connecting | ||
| Extinguished | Stop pushing | ||
| WIFI indicator | Red | Always on | Normal work |
| Extinguished | WIFI disconnect | ||
| Antenna gain light | Red | Always on | Normal work |
| Flicker | Connecting | ||
| Extinguished | Disconnect |
USB Tally
This unit supports Tally indication from any NDI switching device by connecting the external Tally device that comes in the package with the USB port of the encoder.
When the NDI source is output to NDI receivers such as VMIX, TriCaster, etc. and when switch to Program or Preview, the encoder receives the notification and changes the color on the “Tally” device, as shown in the figure below: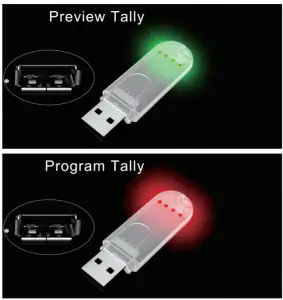
Device login and network configuration
Default IP address and web login
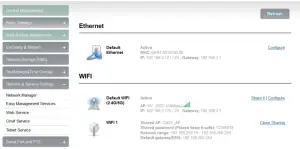
The Failsafe IP address is 192.168.1.168 with subnet mask 255.255.255.0. Normally, you don’t need to modify this IP address.
Login the WEB Console
If login for the first time, please use Failsafe IP address You can access http://192.168.1.168, to login the web console.![]()
IP address configuration
After login, you can configure the IP according to the network, the IP will be use for pushing and device management. You can configure it to manually set the IP or DHCP.( Default set is DHCP )
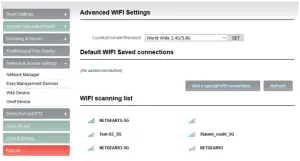
Connect wifi
- Click the “Network and Service Settings” menu on the web interface to enter the “Network Interface Management” interface.

- Select WiFi interface in the WiFi group and click” Configure” button to enter the WIFI parameter configuration interface.
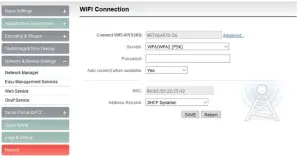
- Select hotspot to connect from the scanned hotspot list, click “Connect”, fill in necessary password option on the interface shown on the right.
NDI discovery and connection
It is compatible with NewTek NDI . When the device is in the same network as the Studio Monitor software(others like OBS, vMix, etc.), the device can be automatically discovered. Modify NDI channel name
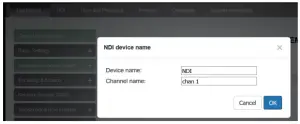
NDI|HX driver installation
Currently our encoders adopt compressed NewTek NDI|HX technology. Before your using, clients need to download NDI NDI|HX driver from https://www.newtek.com/ndi/tools/#.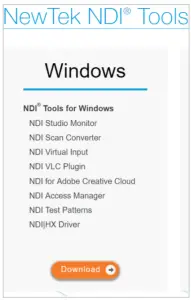
Note:Encoder temporarily does not support RTSP pull. When NDI is connected, the default RTSP channel of the main stream of the encoder is encrypted, and the direct pull-out will be displayed as a mosaic state.A NDI|HX driver is required to install before streaming.When there are several NDI encoders in the same network, as default Channel is the same, clients needs to set different Channels for different devices.
RTMP Live Streaming
Add streaming service
Our device’s H.264 main/sub stream supports adding up to 8 same or different streaming media service, to meet your needs of adopting same/different stream media protocols for multi-goal pushing. On the management interface of “Encoding & Stream-Encoding and Stream Settings”, for main/sub stream to choose “add one stream service”, users can add the needed service type.
Add RTMP pushing streaming service
Currently main video live streaming platforms require “RTMP” service. After adding RTMP pushing service, click set icon to configure RTMP parameters.
Note:This is an example of RTMP to introduce the configuration of push flow. Other push flow methods can be login to the device page for detailed configuration.
Take YouTube for an example
“Streaming point” is RTMP address given by platform ( Take YouTube as an example ). ( Other platforms are similar, if questions please contact platform technical support for help ).
RTMP push-flow must first get a push-flow URL address from the platform Login to YouTube, got below address: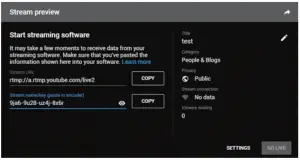
Streaming point should be like Server URL +Stream name/key, for example: rtmp://a.rtmp.youtube.com/live2/9ja6-9u28-uz4j-8x6r
After you get the RTMP URL address, you need to set it up in the encoder. If the platform requires user name and password verification, you also need to fill in the corresponding parameters in the encoder.
Note:In the case of ramps push mode, fill in ramps URL at Push point and set Use old RTMP version to yes, so that it can be supported.
Restore factory settings
If users change parameters that lead encoder couldn’t work(The typical situation is changed network address, so it couldn’t be visited encoder by network), users could restore factory setting to default value.
Two methods for restoring factory settings
Choose” Basic Settings>Restore factory settings” on the web console. Press “Reset” button.Hold the `Reset’ button more than 5 seconds, restoring factory setting will lead to the device reboot, and restarting course will last about 20s.
Note:These parameters will be restored after restoring factory setting:
- Login username and password will be as admin;
- IP address will be restored as 192.168.1.168, subnet mask will be 255.255.255.0;
- All encoding parameters of video and audio will be restored to factory default value;
- Media transmission parameters will be restored as factory default value.
Firmware upgrading
This device supports online firmware upgrading for upgrading software. Select” Basic Settings”, pull downward and click” Update firmware ”. On the page, click” Browse” to select the upgrading file, and click” Upgrade” to upgrade the device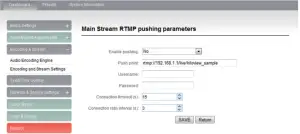
Note:After uploading firmware file successfully, the encoder will automatically restart, this process will take about 30s-60s(the time will be different according to upgrade content), and please be patient.
After the upgrade is complete, via the web interface” system information> version information” to check whether the latest version information in accordance with expected and confirm the upgrade succeeded
Quick reset and reboot
“Quick Reset” function is to reset encoding service, normally used for making changed parameters to effect immediately. The whole process lasts around 3s.“Reboot” function is used for encoder reboot. Device rebooting lasts around 20s.
 report this ad
Note:Select” Quick Reset” ,current encoding will be suspended for a while; Select” Reboot”, the encoder will `warm’ reboot. Under some circumstances, reboot maybe with the help of `cold’ reboot: power down then power up the device.
References
[xyz-ips snippet=”download-snippet”]