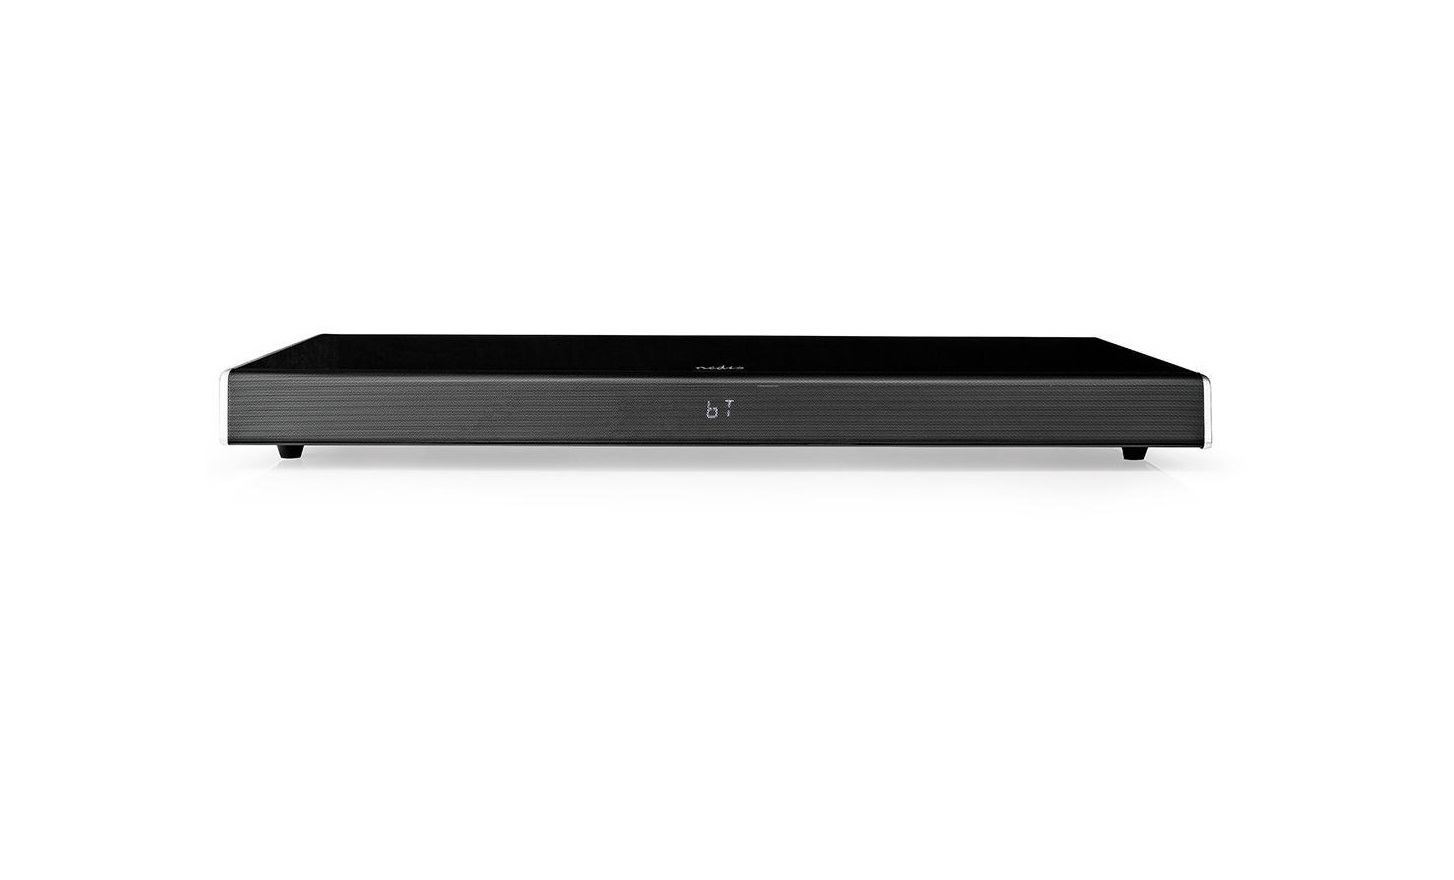
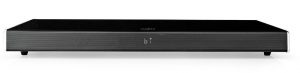
nedis Soundbase with built-in subwoofer
Specifications
- RMS: 70 W (2x 10 W + 50 W Bass)
- Peak power: 210 W (2x 30 W + 150 W Bass)
- Speaker channels: 2.1
- Bluetooth version: 2.1 + EDR
- Frequency range: 2400 – 2480 MHz
- Max. transmission power: 4 dBm
- Subwoofer size: 5.25″
- Connections: Optical, coax, RCA (L, R), 3.5mm aux, USB, 2x HDMI input, 1x HDMI output (with ARC)
- Maximum supported TV weight: 50 kg
- Display: LED
- Power Supply: AC 100-240V ~ 50/60Hz
Description
Soundbase (fig. A)
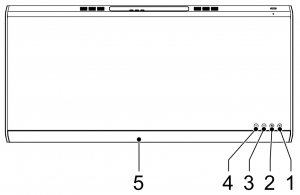

| 1. On/standby button |
Note: If the sound bar is idle and no input signals are being received for about 1 hour, the device will automatically switch to standby mode. |
| 2. Sound effect button |
|
|
|
| 3. Volume + button |
|
| 4. Volume – button |
|
| 5. Display |
Note: The display will go off automatically if the device is idle and no input signals are being received for 5 minutes. Press one of the buttons to light up the display. |
| 6. USB port |
|
| 7. HDMI input (1/2) (5V/1.0A) |
|
| 8. HDMI output (with ARC) |
Note: “ARC” stands for “Audio Return Channel”. ARC transfers a digital audio signal to the HDMI output. The ARC function can be enabled only when the device is connected to a TV that supports ARC and the HDMI cable also supports ARC. |
| 9. Optical input (digital) |
• Connect an optical cable to the optical input and to the TV or other audio device. |
| 10. Coaxial input (digital) |
|
| 11. RCA output | • To use an external amplifier, connect the RCA cable to the RCA output of the device and to the external amplifier. Make sure that each plug of the RCA cable is connected according to the corresponding colour (red/white). |
| 12. AUX input (3.5 mm) (analog) |
|
| 13. AC input |
|
| 14. Subwoofer |
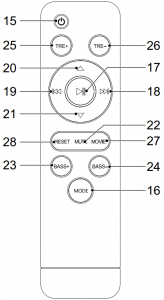
Remote control (fig. B)
|
15. On/standby button |
|
| 16. Mode button |
|
| 17. Play/pause button |
Note: If the speaker is already connected and you want to connect to a different device, press and hold the button for 3 seconds to stop the current Bluetooth connection and start pairing the new device. |
| 18. Next button |
|
| 19. Previous button |
|
| 20. Volume + button |
|
| 21. Volume – button |
|
| 22. Mute button |
|
| 23. Bass + button |
|
| 24. Bass – button |
|
| 25. Treble + button |
|
| 26. Treble – button |
|
| 27. Sound effect button |
|
| 28. Reset button |
|
| 29. Battery compartment |
|
Pairing the speaker
- Switch on the device.
- Set the source to Bluetooth.
- Activate Bluetooth on your Bluetooth device.
- Search for new devices on the Bluetooth device.
- Select the device: “SPSB430BK”.
- The Bluetooth device will confirm when the pairing is completed.
Safety
General safety
- Read the manual carefully before use. Keep the manual for future reference.
- The manufacturer is not liable for consequential damages or for damages to property or persons caused by nonobservance of the safety instructions and improper use of the device.
- The device can be used by children from 8 years and above and by persons with a physical, sensory, mental or motor disability, or lack of experience and knowledge if they are supervised or instructed on how to use the device in a safe way and understand the hazards involved. Children shall not play with the device. Cleaning and user maintenance shall not be made by children without supervision.
- Only use the device for its intended purposes. Do not use the device for other purposes than described in the manual.
- Do not use the device if any part is damaged or defective. If the device is damaged or defective, replace the device immediately.
- The device is suitable for indoor use only. Do not use the device outdoors.
- The device is suitable for domestic use only. Do not use the device for commercial purposes.
- Do not use the device in locations with high humidity, such as bathrooms and swimming pools.
- Do not use the device near bathtubs, showers, basins or other vessels containing water
Electrical safety

- To reduce risk of electric shock, this product should only be opened by an authorized technician when service is required.
- Disconnect the product from the mains and other equipment if a problem should occur.
- Do not use the device if the mains cable or mains plug is damaged or defective. If the mains cable or mains plug is damaged or defective, it must be replaced by the manufacturer or an authorised repair agent.
- Before use, always check that the mains voltage is the same as the voltage on the rating plate of the device.
- Do not move the device by pulling the mains cable. Make sure that the mains cable cannot become entangled.
- Do not immerse the device, the mains cable or the mains plug in water or other liquids.
- Do not leave the device unattended while the mains plug is connected to the mains supply.
- Do not use an extension cable.
Battery safety
- Use only the batteries mentioned in the manual.
- Do not use old and new batteries together.
- Do not use batteries of different types or brands.
- Do not install batteries in reverse polarity.
- Do not short-circuit or disassemble the batteries.
- Do not expose the batteries to water.
- Do not expose the batteries to fire or excessive heat.
- Batteries are prone to leakage when fully discharged. To avoid damage to the product, remove the batteries when leaving the product unattended for longer periods of time.
- If liquid from the batteries comes into contact with skin or clothing, immediately rinse with fresh water.
Cleaning and maintenance
Warning!
- Before cleaning or maintenance, switch off the device, remove the mains plug from the wall socket and wait until the device has cooled down completely.
- Do not use cleaning solvents or abrasives.
- Do not clean the inside of the device.
- Do not attempt to repair the device. If the device does not operate correctly, replace it.
- Clean the device using a soft, damp cloth. Thoroughly dry the device with a clean, dry cloth.
Support
If you need further help or have comments or suggestions please visit www.nedis.com/support
Contact
NEDIS B.V., De Tweeling 28, 5215 MC ‘s-Hertogenbosch, The Netherlands

References
[xyz-ips snippet=”download-snippet”]