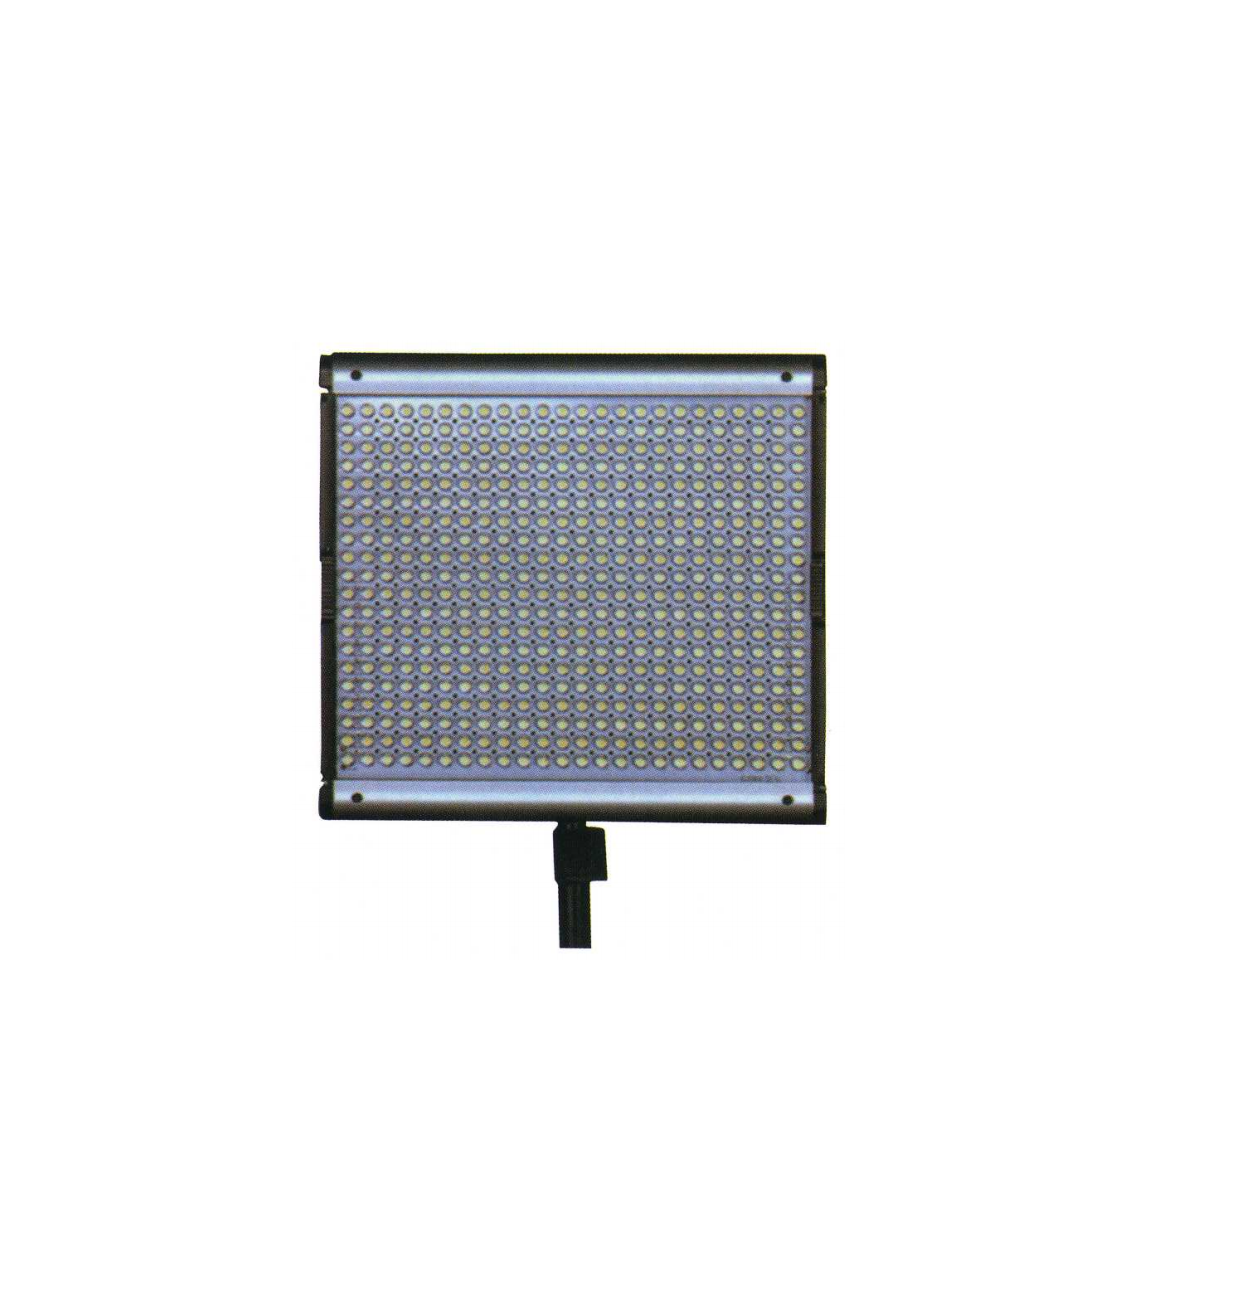
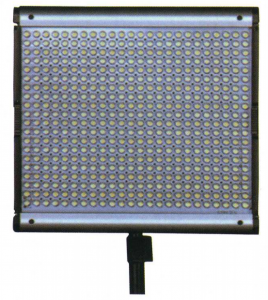
NEEWER LED Photography Light
Preface
Thank you for using LED camera lights series products, this series of products on the function and design add more innovation, its appearance is elegant, fashionable in design and convenient use and convenient to carry. And has a strong and stable light output, before use, please read this manual, so that you can fully flexible to use the product of the features.
Safety Precautions
In order to prevent product damage or harm to yourself or others, please read the following before using full security requirements. and properly keep so that all users of this product can be read at any time.
- Do not disassemble or refit.Violation of this warning is likely to get an electric shock or result in product failure, if the product damage caused by the fall or other accidents, please remove the battery and send to the professional repair shop for maintenance.
- Keep dry.Please do not use with wet hand, It is forbidden to product in water or working out in the rain, otherwise may cause electric shock.Do not use in flammable gas environment, in violation of this warning may cause fire or explosion.
- Keep out of the reach of children.This product contains components that may create a risk of suffocation, if children accidentally swallowed parts, please immediately sent to hospital.
- Please do not exposed to high temperature environment.Please do not put this product put in closed vehicles with direct sunlight or other high temperature environment. Otherwise may lead to explosion products.
- Battery safety matters.The battery can only use the specified in this manual, If there is not use the original factory matching or not specified battery may cause damage to equipment.Before the replacement battery, please make sure the power has shut off.Please do not put battery into the fire or heating.
- Power adapter using the security matters.Please do not use wet hand to touch the plug or adapter, otherwise may cause electric shock. vDo not damage, disassembly, forcibly pull the power cord, do not put it under a weight, also do not use near heat or flame. If found the power cord damage, please sent the check to repair maintenance, otherwise may cause fire or get an electric shock.If the plug metal part or surrounded by dust, should be use dry cloth to wipe it
Main features
- 6-grade brightness adjustment.
- High Color-rendering index (CRl}.
- High precision aluminum housing.
- Selected high quality lamp bead, it is steady and consistent.
- Using the PWM dimming technology and low-power dissipation.
- High-efficient energy-saving, and green environment protected.
- Good heat dissipation performance.
- Multi-angle photography fill light shooting.
Overview

Before using the operation steps
(-) Installation of the LED photography light
- Using the bracket locking knobs put LI-shaped frame to light panel then screw with the holes for fixation.
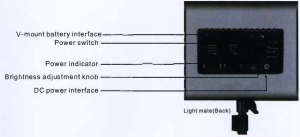
(=) Power on LED photography light
- Use the DC power or V-mount External battery, when the power indicator light is Always is normal.
- When connected to a DC power supply, switch to the “I” to open, switch to “O” is closed; Access to an external battery, switch to “II” to open, switch to “o” is closed; Please control switch off when not in use for a long time.
- Use the “Brightness adjustment knob” to adjust the brightness 0-100%.
- Use the “Color temperature adjustment knob” to adjust the color temperature 3200K-5600K.
Functional operation and instructions
- Color Temperature AdjustingControl light dimmer, rotate color temperature knob to adjust the brightness of the color temperature by hand.
- The Power SwitchGo up switch for battery switch, Move down switch for Adapter, Switch to middle for off.
- Install the LED photography light to light standPut the LED photography light to light stand, using the light stand locking knob screw with bracket hole for fixation.
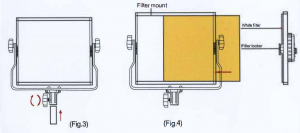
- Soft filterPut the soft filter in the left and pull buckle to fix.

- Install the white filterPut the white filter to light panel slot and keep parallel with panel light housing. However, locking the filter and finish to install.
- Angle RotationAdjust the angle of light panel, screw the bracket locking knob to tightness or fix the direction of panel light by your hand.

Product Parameters
|
Parameters |
LED amount | Voltage | Lumen (1m) | Single color temperature | 9i color temperature | Battery capacity | Power |
Size |
|
NL660 |
660 pcs | 12V | 0.5M 10,000LUX1M 3,300LUX | 5600K (±50) | 3200/5800k | 74V | 40W |
232* 200* 48MM |
Attention
- When you lighting the LED photography light, warned not to look directly.
- In use process, the cooling mouth do not have a cover to avoid affect product cooling and damage for the equipment.
- Avoid placing camera lights at flammable items such as alcohol, gas. online or near volatile solvent.
- Do not place any object or liquid fall into the photography lights on its interior.
- When the camera lights on or on other items, please turn off the camera lights. Or you may damage the camera lights or even a fire could occur.
- When you move light stand please do not make photography lights down.

[xyz-ips snippet=”download-snippet”]