NETGEAR Insight Managed Business Router

Package contents
- Insight Managed Business Router
- Power adapter (varies by region)
- Ethernet cable
- Wall-mount kit with screws for wall installation
- Rack-mount kit with brackets and screws for rack-mounting
- Four rubber footpads for tabletop installation
- Installation guide
Installation
Connect to an Internet modem
Step 1
- Unplug the modem’s power, leaving the modem connected to the wall jack for your Internet service.If the modem uses a battery backup, remove the battery.
- Using an Ethernet cable, connect the modem to the yellow Internet WAN port on the router.
Note: Instead of a modem, you can also use an existing LAN that provides Internet connectivity. In that case, connect the cable from the LAN to the yellow Internet WAN port on the router. For more information, see the user manual, which you can download by visiting netgear.com/support/download/.
Sample connections for Insight managed network
Connect to power
Step 2
- Plug in and turn on the modem.If the modem uses a battery backup, put the battery back in before you turn on the modem.
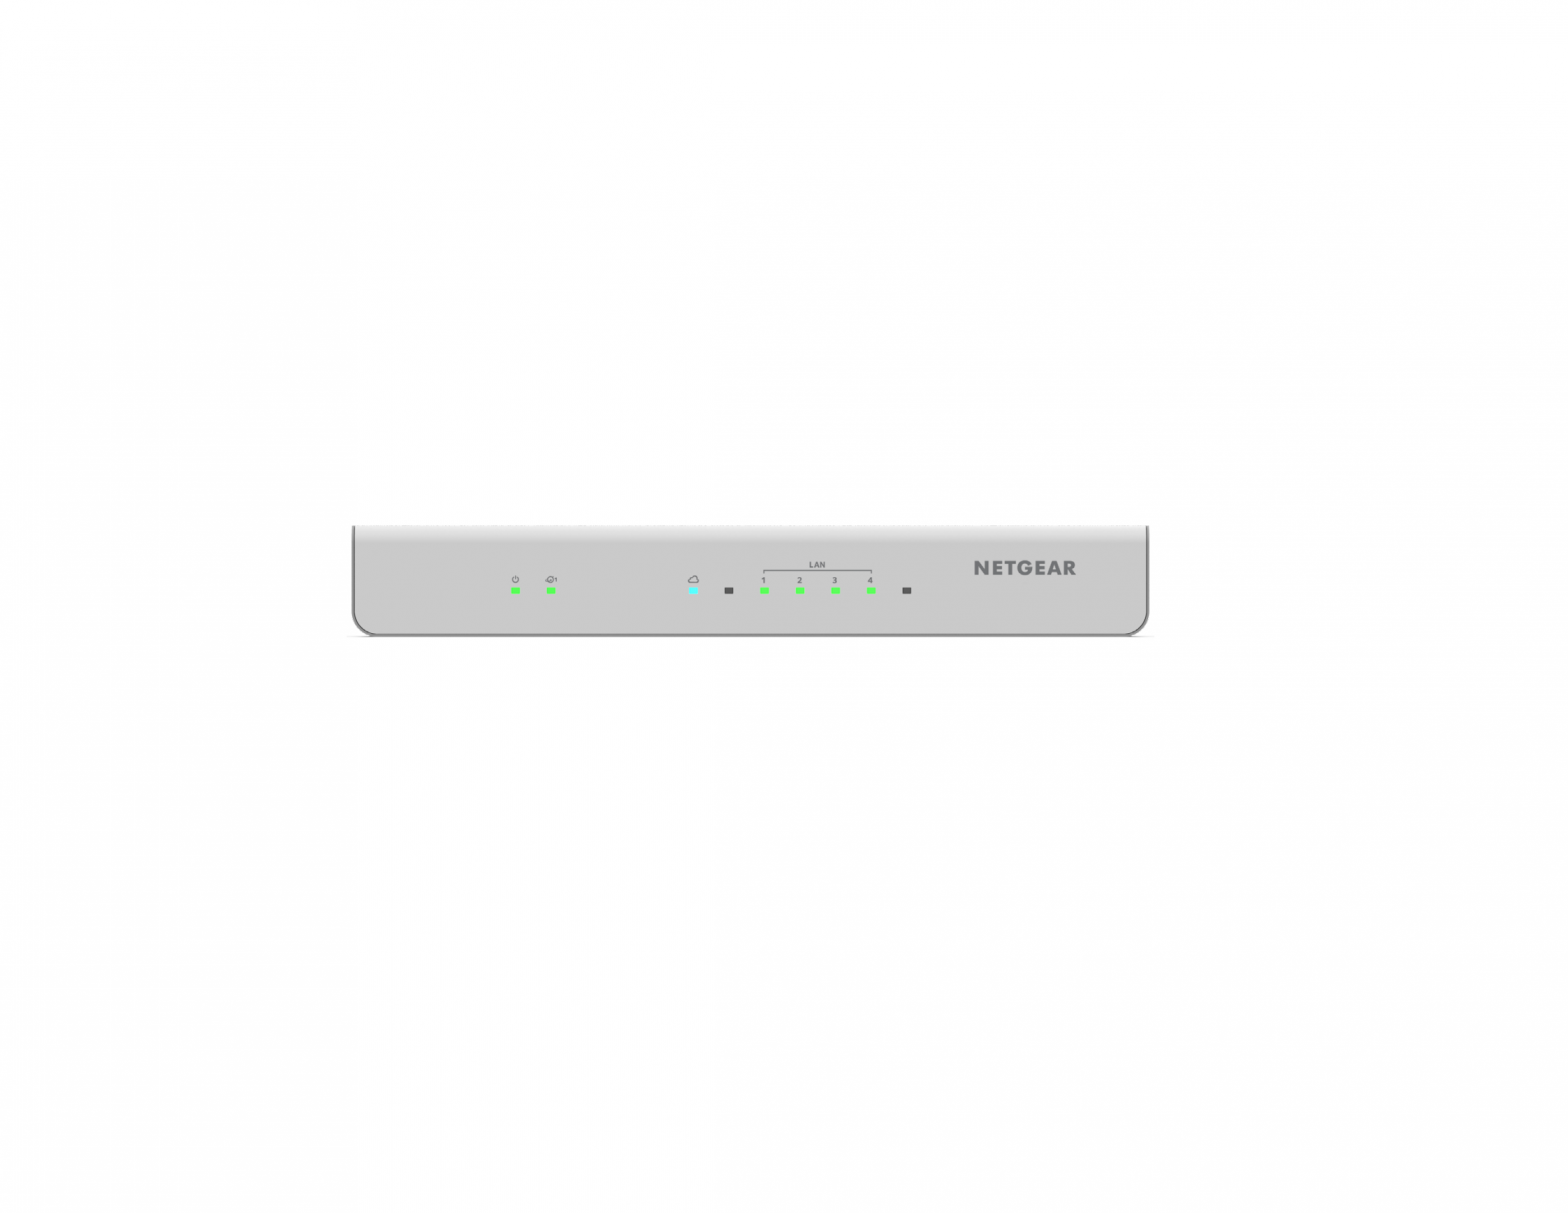
- Connect the router to power.After you connect the router to power, the Power LED
 on the front panel first blinks green and then lights solid green.If the Power LED does not light at all, press the Power On/Off button.
Configure the Internet connection
Step 3
- Locate your Internet service provider (ISP) configuration information.
- Configure a computer to obtain an IP address automatically using DHCP.
- Connect the computer with an Ethernet cable to a LAN port on the router.You can use LAN port 1, 2, 3, or 4. The computer receives an IP address from the router.If you configure a WiFi access point and connect it to a LAN port on the router, you can also use a WiFi connection to the router. (The router itself does not provide WiFi capacity.) For more information, see the user manual.
- From the computer, launch a web browser and enter http://www.routerlogin.net in the address field.
- When prompted, enter admin for the user name and password for the password.The Setup Wizard starts.
- Follow the steps in the Setup Wizard to connect to the Internet.The Setup Wizard searches your Internet connection for servers and protocols to determine your Internet configuration.Note: For information about manually setting up your Internet connection, see the user manual.When the router connects to the Internet, the Internet WAN LED on the front panel lights solid green.
The router is now connected to the Internet and can function as a regular router.If you want to manage and monitor the router in an Insight managed network, continue with Step 4.
Add the router to an Insight network
Step 4
The NETGEAR Insight app lets you use your mobile device to discover, configure, manage, and monitor the router. You can use this app to access the router with a local WiFi connection or a mobile connection, or, as an Insight Premium or Insight Pro subscriber, you can log in to the Insight Cloud Portal. The Cloud Portal lets you configure, manage, and monitor the router from your Windows based computer, Mac, or tablet for a larger-screen experience.
Use the NETGEAR Insight app to add the router to an Insight managed network.
When the router is connected to the Internet, the router can communicate with the Insight cloud and you can add the router to an Insight managed network.
- On your iOS or Android mobile device, visit the app store, search for NETGEAR Insight, and download the app.
- Open the NETGEAR Insight app.
- If you did not set up a NETGEAR account yet, tap Create NETGEAR Account and follow the onscreen instructions.
- To log in to your NETGEAR account, enter your credentials and tap LOG IN.
- Name your network and specify a device admin password that applies to all devices that you add to this network.
- Tap the Next button.
- To add the router to your account, use one of the following options:• If the router is connected through a WiFi access point to the same WiFi network as the NETGEAR Insight app, scan the network so that Insight can find the router and you can add it to your Insight account.• If the router is not connected to the same WiFi network as the NETGEAR Insight app, do one of the following, using the information that is on the router label:– Scan the serial number bar code.– Scan the QR code.– Enter the serial number manually.
Note: You might be prompted to connect the router to power and to an uplink. Since you already did this, tap the Next button.
The NETGEAR Insight app discovers the router and registers it on the network that you named earlier in this procedure. When the router is connected to the Insight cloud and registered, the Cloud LED![]() on the front panel lights solid blue.
on the front panel lights solid blue.
You can now select the router to configure and manage it, or you can use the NETGEAR Insight app to access the router later to view or change the configuration settings.
For more information about how to connect a NETGEAR Insight managed device to an existing network, visit https://kb.netgear.com/000044341. For more information about Insight, see the user manual, which you can download by visiting netgear.com/support/product/Insight.aspx#docs.
Access Insight to manage the router
Manage the router through one of the following methods:
- Cloud access from a mobile device. After initial configuration, as long as your router is on a network with an Internet connection, you can access the router through the cloud using the Insight mobile app.
- Insight Cloud Portal. The Insight Cloud Portal is available for Insight Premium and Insight Pro subscribers to set up, manage, and monitor their Insight network and devices. Visit https://insight.netgear.com/.
Support and Community
Visit netgear.com/support to get your questions answered and access the latest downloads.
You can also check out our NETGEAR Community for helpful advice at community.netgear.com.
Regulatory and Legal
For regulatory compliance information including the EU Declaration of Conformity, visit https://www.netgear.com/about/regulatory/.See the regulatory compliance document before connecting the power supply.For NETGEAR’s Privacy Policy, visit https://www.netgear.com/about/privacy-policy.By using this device, you are agreeing to NETGEAR’s Terms and Conditions at https://www.netgear.com/about/terms-and-conditions. If you do not agree, return the device to your place of purchase within your return period.
NETGEAR, Inc.350 East Plumeria DriveSan Jose, CA 95134, USA
NETGEAR INTERNATIONAL LTDFloor 1, Building 3,University Technology CentreCurraheen Road, Cork,T12EF21, Ireland

References
Regulatory | NETGEAR
NETGEAR Support | NETGEAR
NETGEAR Privacy Policy | NETGEAR
Router Login & Setup | NETGEAR
How do I discover, add, and register switches, access points, and Orbi Pro WiFi Systems in Insight? | Answer | NETGEAR Support
English – NETGEAR Communities
Insight | Product | Support | NETGEAR
Download Center | Support | NETGEAR
Insight Cloud Portal
NETGEAR Terms and Conditions | NETGEAR
[xyz-ips snippet=”download-snippet”]