LA5068
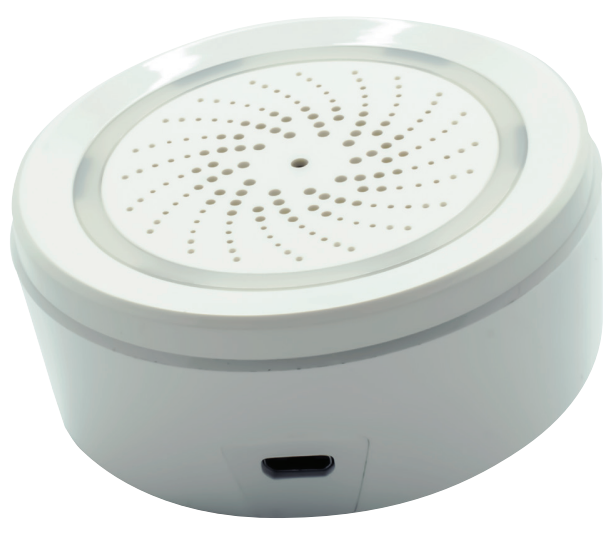
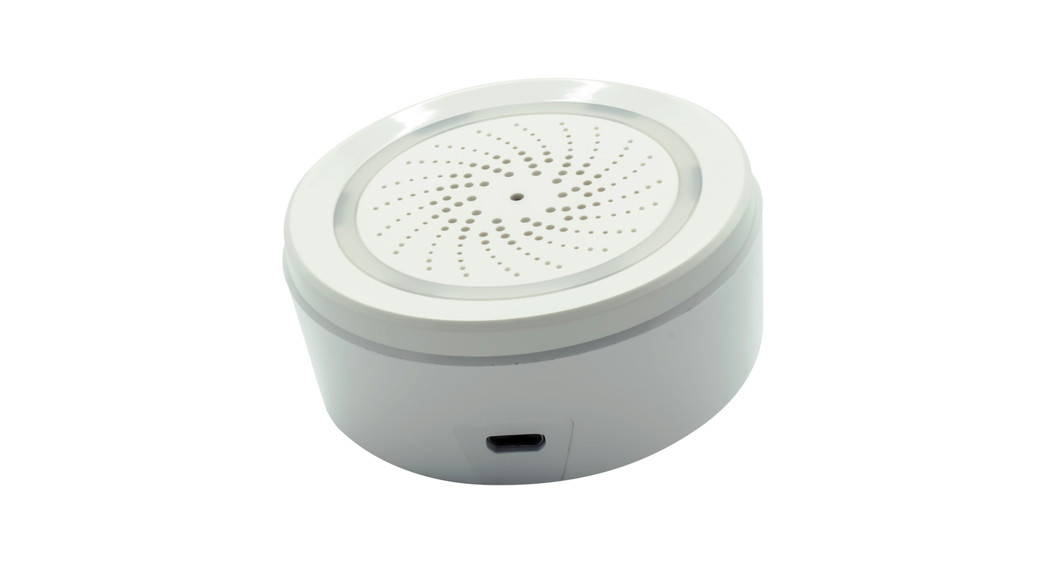
Smart WiFi Humidity and Temperature SensorInstruction Manual
PRODUCT CONFIGURATION:
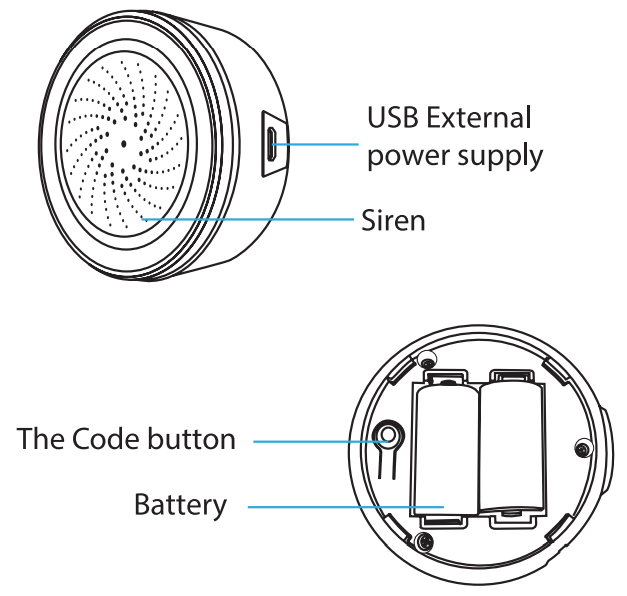
Notice: Pleases use a USB power supply, the backup battery can only work for two days. Plug in the USB power supply and load the battery at the same time, then the sensor will work in priority.
SPECIFICATIONS:
| USB Power Adapter: | 5V/1A |
| Max Current: | 60mA |
| Sound Intensity: | 90db/1M |
| Wireless Type: | 2.4GHz |
| Wireless Standard: | IEEE 802.11b/g/n |
| Wireless Range: | 45M |
| Operating Temperature: | 0°C — 40°C (32°F — 104°F) |
| Operating Humidity: | 20% — 85% |
| Storage Temperature: | 0°C — 60°C (32°F —140°F) |
| Storage Humidity: | 0% — 90% |
| Size: | 68mm 0 x 33mm |
LED INDICATOR:
| Device Status | LED State |
| EZ Mode | Indicator flashes quickly |
| AP Mode | Indicator flashes slowly |
| Triggered | The indicator will rapidly blink and turn OFF after a scheduled time |
| Reset | Indicator lights up for 4 seconds and then turns OFF. After 2 seconds the device goes into configuration mode |
SWITCHING MODES
- Press and hold the “Code” button for 6 seconds, the LED indicator will flash rapidly. The device has been set to EZ Mode.
- Press and hold the “Code button for 6 seconds, the LED indicator will flash slowly. The device has been set to AP Mode.
APP DOWNLOAD:
Scan the following QR code to download APP for the Android and iOS systems. Alternatively, you can download the APP named as “Smart Life” from Apple Store & Google Play.

https://smartapp.tuya.com/smartlife
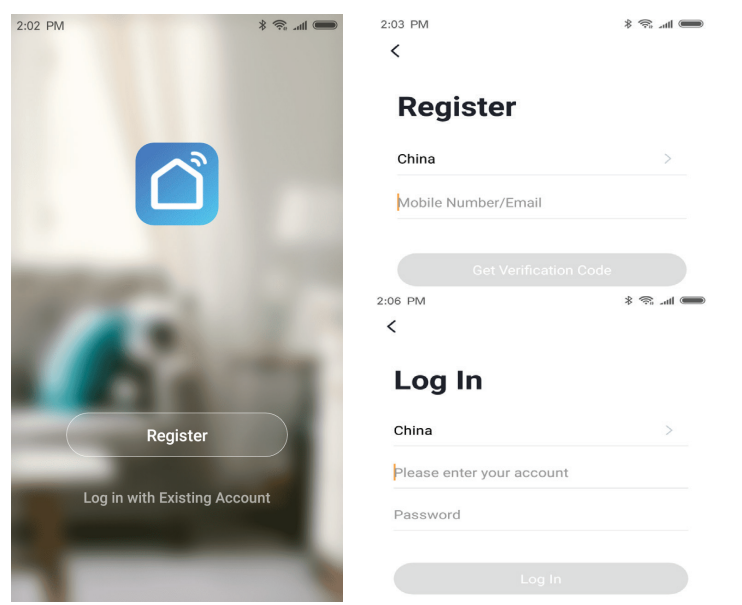
REGISTRATION:
Open the APP and type your mobile number or email address, and then confirm the password to complete the registration.
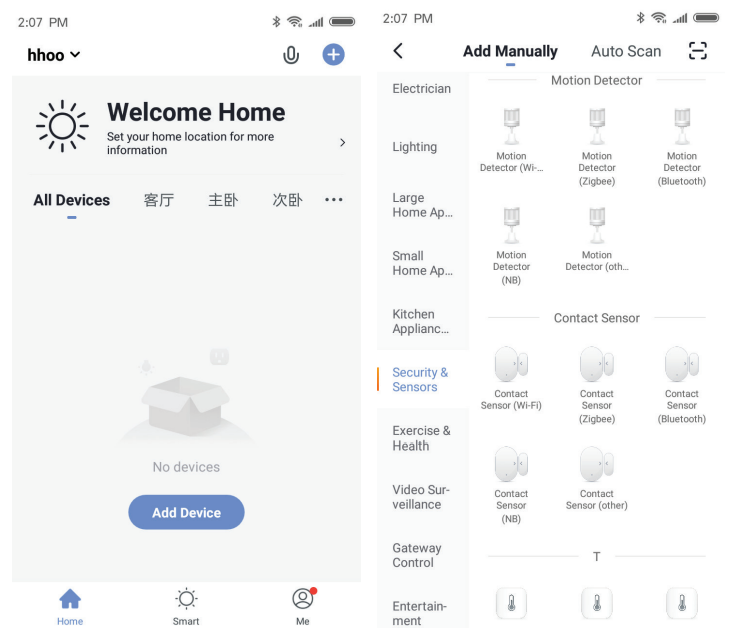
ADD DEVICES:
- Click “Add Device”, Select the Device Type in the list to add.
- Press the Code button for 6 seconds to enter the Wi-Fi configuration state (“fast blinking in EZ Mode or slow blinking in AP Mode.)
- Input the Wi-Fi SSID and password of the Wi-Fi network that the device is going to work with, then waiting around 30 seconds for the Wi-Fi Configuration to be finished (until the device is successfully added.
- Changes the device name and share it within the APP account as you want
- Click the device just added to launch the device stage UI check the state, battery level, record history, and the APP notification setting.
ADD DEVICES:
AP Mode
When it is into EZMode, Press and hold the button for 6s times, the blue LED indicator will blink slow, then enter the AP mode. Make sure your APP is connected to the Internet and both the device and APP are in AP Mode. Input the SSID and password for the Wi-Fi Network then open the Wi-Fi list, select Smartlife_XXXX, and get back when connected successfully, it will show “Connecting now” then. Once it is connected successfully, click done and return to the device’s main interface.Once the device has connected successfully and been added to the APP, the LED will turn off.

APP INTERFACE:

ADVANCED FEATURES:
Main Functions
- Setting Alarm Duration and alarm sound type.
- Programming Scheduled Alarm
Linkage Alarm Setting
- Connect two sensors via scene-setting.
Device Sharing
- Allows others to control the device.
Push Notification
- Open/close push notification.
Remove Device
- Restore default settings; Delete and add the device again to clear the record by APP.
NOTES:
Distributed by:Electus Distribution Pty. Ltd.320 Victoria Rd, RydalmereNSW 2116 Australiawww.electusdistribution.com.au
Made in China
[xyz-ips snippet=”download-snippet”]