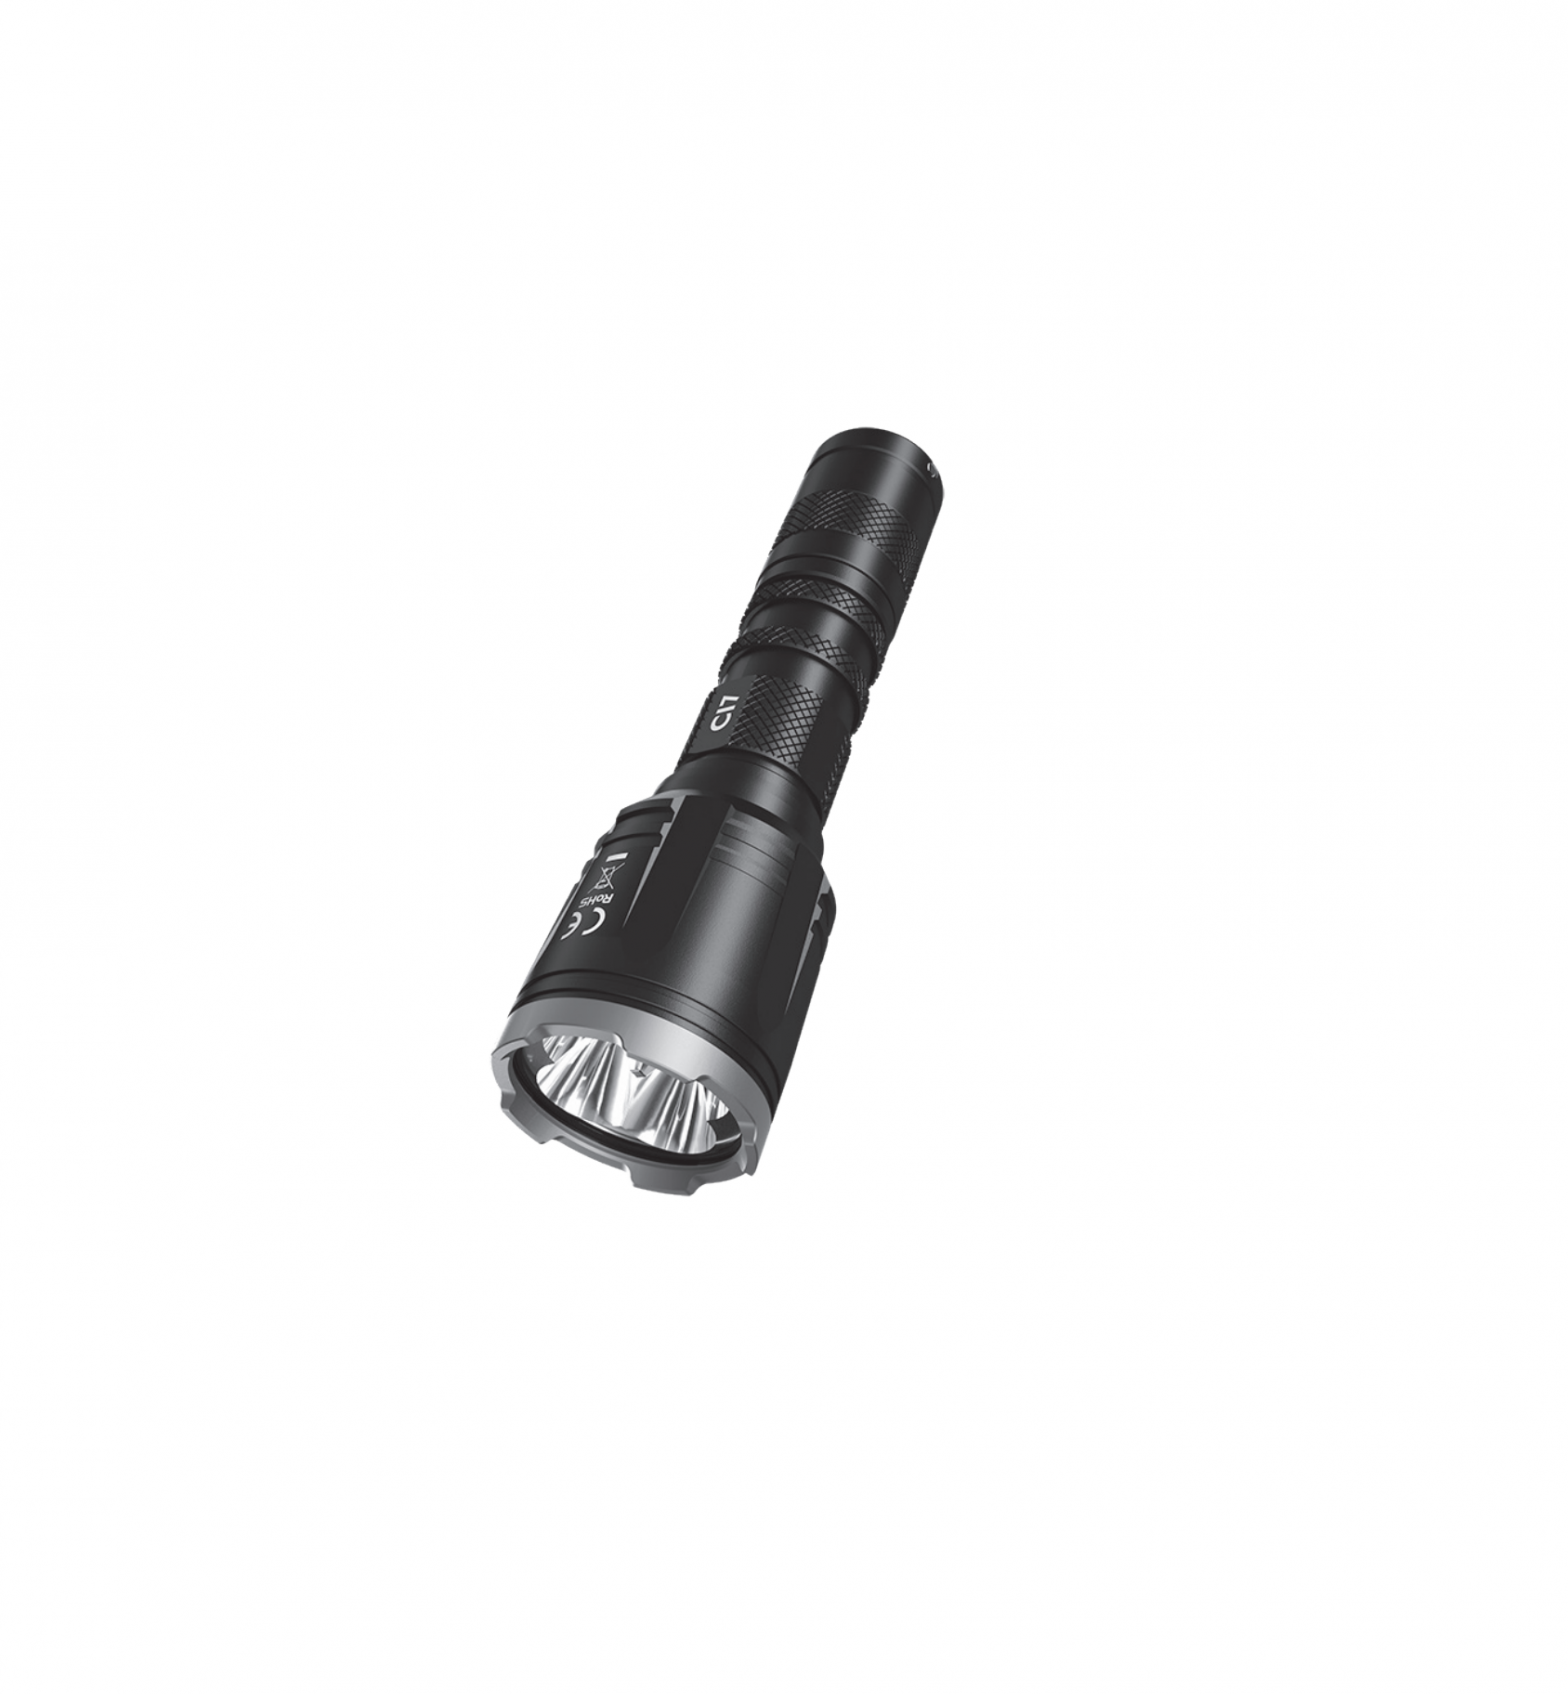
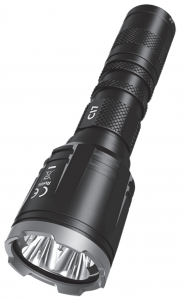
NITECORE Dual Output Tactical IR Flashlight
Battery Installation
Beam Switching

Features
- Combination of the IR (Infrared) and white beams specially designed for night observation, hunting and military operations
- The white beam utilizes 4 x CREE XP-G3 S3 LEDs for a max output of 2,500 lumens
- The IR beam utilizes 4 x SST-10-IR LEDs (wavelength 940nm)
- High efficiency constant circuit provides a stable output up to 130 hours
- Dual tail switches specially designed for tactical applications control 5 brightness levels of the white beam, 3 levels of the IR beam and STROBE Mode
- STROBE READYTM Technology to enable a quick access to STROBE Mode (Patent No.: ZL201320545349.4)
- STROBE Mode uses randomly changing frequencies for stronger dizzying effects
- Tactical Mode and Daily Mode available for the white beam
- The power indicator on the tail cap indicates the remaining battery power (Patent No. ZL201220057767.4)
- The power indicator can also display the battery voltage (±0.1V)
- Rigid double layer tube design
- Incorporated Advanced Temperature Regulation (ATR) module (Patent No. ZL201510534543.6)
- Electronic reverse polarity protection
- Optical lenses with double-sided scratch resistant coating
- Constructed from aero grade aluminum alloy
- HA III military grade hard-anodized finish
- Rating in accordance with IP68 (2 meters submersible)
- Impact resistant to 1 meter
Specifications
| Length | 148.2mm (5.83”) |
| Weight | 158g (5.57oz) |
| Head Diameter | 40mm (1.57”) |
| Tail Diameter | 26mm (1.02”) |
Accessories
Holster, Clip, Lanyard, Spare O-ring
Battery Options
|
Type |
Nominal Voltage |
Compatibility |
|
|
NITECORE NL1835HP (3500mAh) |
18650 | 3.6V |
Y (Recommended) |
|
IMR 18650 High-Drain Rechargeable Li-ion Battery |
IMR 18650 | 3.6V/3.7V |
Y (Recommended) |
|
18650 Rechargeable Li-ion Battery (Output over 8A) |
18650 | 3.6V/3.7V |
Y (Compatible) |
|
Primary Lithium Battery |
CR123 | 3V |
Y (Compatible) |
|
Rechargeable Li-ion Battery |
RCR123 | 3.6V/3.7V |
Y (Compatible) |
|
18650 Rechargeable Li-ion Battery (Output below 8A) |
18650 | 3.6V/3.7V |
N (Incompatible) |
Technical Data
|
FL1 STANDARD |
White Beam | IR Beam | |||||||
| TURBO | HIGH | MID | LOW | ULTRALOW | STROBE | HIGH | MID |
LOW |
|
|
|
2,500 Lumens | 1,100 Lumens | 320 Lumens | 90 Lumens | 8 Lumens | 2,500 Lumens | 7W | 3W |
1W |
 |
*30min |
1h 45min | 4h 15min | 20h | 130h | ─ | 2h | 3h 15min |
9h |
|
|
279m | 190m | 102m | 54m | 14m | ─ | ─ | ─ |
─ |
 |
19,500cd |
9,000cd | 2,600cd | 740cd | 51cd | ─ | ─ | ─ |
─ |
 |
1m (Impact Resistance) |
||||||||
 |
IP68, 2m (Waterproof and Submersible) |


Note: The stated data is measured in accordance with the international flashlight testing standards ANSI/NEMA FL1, using 1 x 18650 Li-ion battery (3,500mAh) under laboratory conditions. The data may vary in real world use due to different battery usage or environmental conditions.
- The runtime for TURBO mode is tested without the temperature regulation.
- TURBO Availability: The TURBO level is only accessible when using an 18650 rechargeable Li-ion battery with an output over 8A or an IMR 18650 high drain rechargeable Li-ion battery. It is inaccessible when using CR123/RCR123 batteries.
Warranty Service
All NITECORE® products are warranted for quality. Any DOA / defective product can be exchanged for a replacement through a local distributor/dealer within 15 days of purchase. After that, all defective / malfunctioning NITECORE® products can be repaired free of charge within 60 months from the date of purchase. Beyond 60 months, a limited warranty applies, covering the cost of labor and maintenance, but not the cost of accessories or replacement parts.The warranty will be nullified if
- The product(s) is/are broken down, reconstructed and/or modified by unauthorized parties;
- The product(s) is/are damaged due to improper use; (e.g. reversed polarity installation)
- The product(s) is/are damaged due to battery leakage.For the latest information on NITECORE® products and services, please contact a local
NITECORE® distributor or send an email to [email protected]
※ All images, text and statements specified herein this user manual are for reference purpose only. Should any discrepancy occur between this manual and information specified on www.nitecore.com, SYSMAX Innovations Co., Ltd. reserves the rights to interpret and amend the content of this document at any time without prior notice.
Operating Instructions
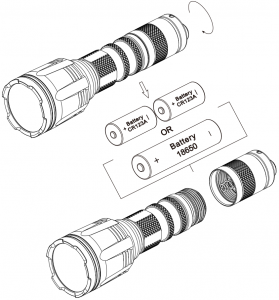
Battery Installation
Insert the battery(s) as illustrated and screw to tighten the tail cap.Note: After the battery insertion, the power indicator beside the tail switches will flash to indicate the battery voltage. Please refer to the “Power Indication” section of this manual for more details.
Warnings:
- Ensure the battery(s) is/are inserted with the positive end towards the head. The product will not work if the battery(s) is/are incorrectly inserted.
- CAUTION! Possible dangerous radiation! Don’t look into the light! Maybe dangerous for your eyes.
- When the power level is low, please stop using the product and replace or recharge the battery to prevent damage to the battery.
- When the product is kept in a backpack or left unused for prolonged time, please remove all batteries to prevent accidental activation or battery leakage.
- DO NOT submerge the light into any liquid when it is hot. Doing so may cause irreparable damage to the light due to the difference of air pressure inside and outside of the tube.
Beam Switching
The CI7 has an easy switching mechanism between the IR and white beams. Push the head outwards and rotate the head clockwise or counterclockwise as illustrated to switch between the IR and white beams.
Tactical Momentary Illumination
Half press and hold the Power Button to turn on the light momentarily. Release to turn it off.Note: The CI7 has mode memory. When reactivated, the flashlight will automatically access the previous memorized level or mode.
Operating Instructions of the IR Beam
The following instructions are only applicable when the IR beam is selected.
On / OffOn: When the IR beam is off, press the Power Button until a click sound is heard to access the memorized level of the IR beam. Off: When the IR beam is on, press the Power Button until a click sound is heard to turn it off.
Output LevelsWhen the IR beam is on, short press the Mode Button to cycle through the following IR output levels: LOW – MID – HIGH.
Momentary Access to HIGHWhen the IR beam is on, press and hold the Mode Button to access the HIGH level of the IR beam. Release to return to the previous memorized IR output level.
Operating Instructions of the White Beam
The following instructions are only applicable when the white beam is selected.
On / OffOn: When the white beam is off, press the Power Button until a click sound is heard to access the memorized level of the white beam. Off: When the white beam is on, press the Power Button until a click sound is heard to turn it off.
User Mode Selection of the White BeamThe CI7 provides 2 user modes of the white beam for different users and situations.Daily Mode: When the light is on, press and hold the Mode Button to momentarily access the TURBO level of the white beam. Release to return to the previous memorized brightness level of the white beam. (Default Setting)
Tactical Mode: When the light is on, long press the Mode Button to directly access STROBE Mode. Short press the Mode Button again to return to the previous memorized brightness level of the white beam.
To select a desired user mode:
- Ensure the light is turned off.
- Loosen the tail cap.
- Keep holding the Mode Button on the tail cap while simultaneously tightening the tail cap.
- Once the tail cap has been tightened, the LEDs will indicate a user mode selected by flashing once for Daily Mode and flashing twice for Tactical Mode.
Brightness LevelsWhen the white beam is on, short press the Mode Button to cycle through the following brightness levels of the white beam: ULTRALOW – LOW – MID – HIGH – TURBO.
STROBE READYTM
When the white beam is off in either user mode, press and hold the Mode Button to momentarily access STROBE Mode. Release to turn it off.
Power Indication
When the battery is inserted, the power indicator will flash to show the battery voltage (±0.1V). For example, when the battery voltage is at 4.2V, the power indicator will flash 4 times followed by 1.5 seconds pause and 2 more flashes. Different voltages represent the corresponding remaining battery power levels: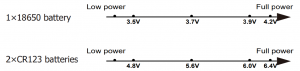
Note: When using two CR123/RCR123 in series, the indicator will show the average voltage between the two batteries.
ATR (Advanced Temperature Regulation)
The integrated ATR technology regulates the output of the CI7 according to the working condition and ambient environment to maintain the optimal performance.
Changing Batteries
The batteries should be replaced when the output appears to be dim or the flashlight becomes unresponsive due to low power.
Maintenance
Every 6 months, threads should be wiped with a clean cloth followed by a thin coating of silicon-based lubricant.
SYSMAX Innovations Co., Ltd.TEL: +86-20-83862000FAX: +86-20-83882723E-mail: [email protected]Web: www.nitecore.comAddress: Rm 2601-06, Central Tower,No.5 Xiancun Road, Tianhe District,Guangzhou, 510623, Guangdong, China

References
[xyz-ips snippet=”download-snippet”]