![]()
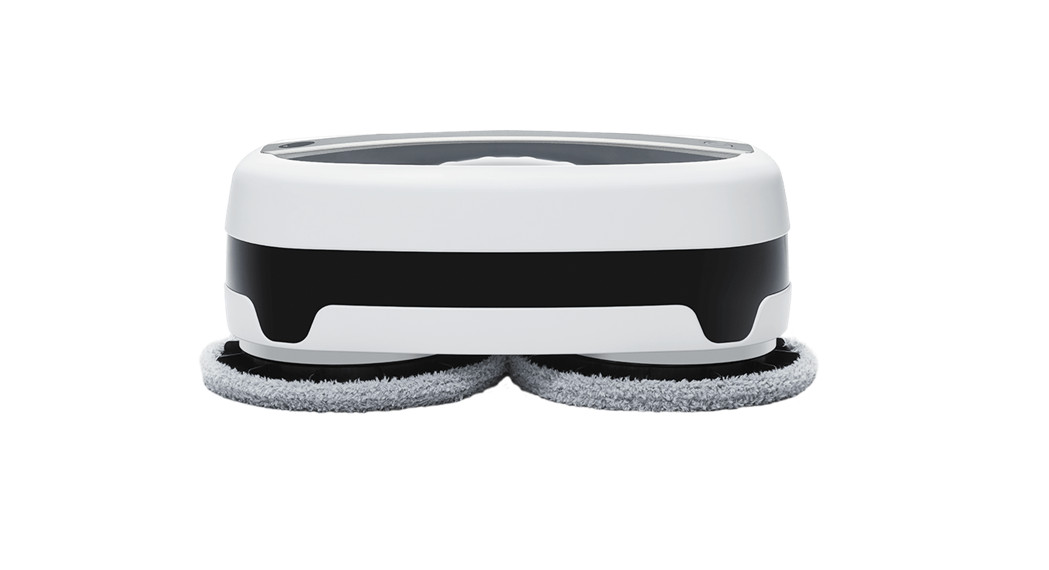
![]() ROBOT MOPNORDVÄL HC101
ROBOT MOPNORDVÄL HC101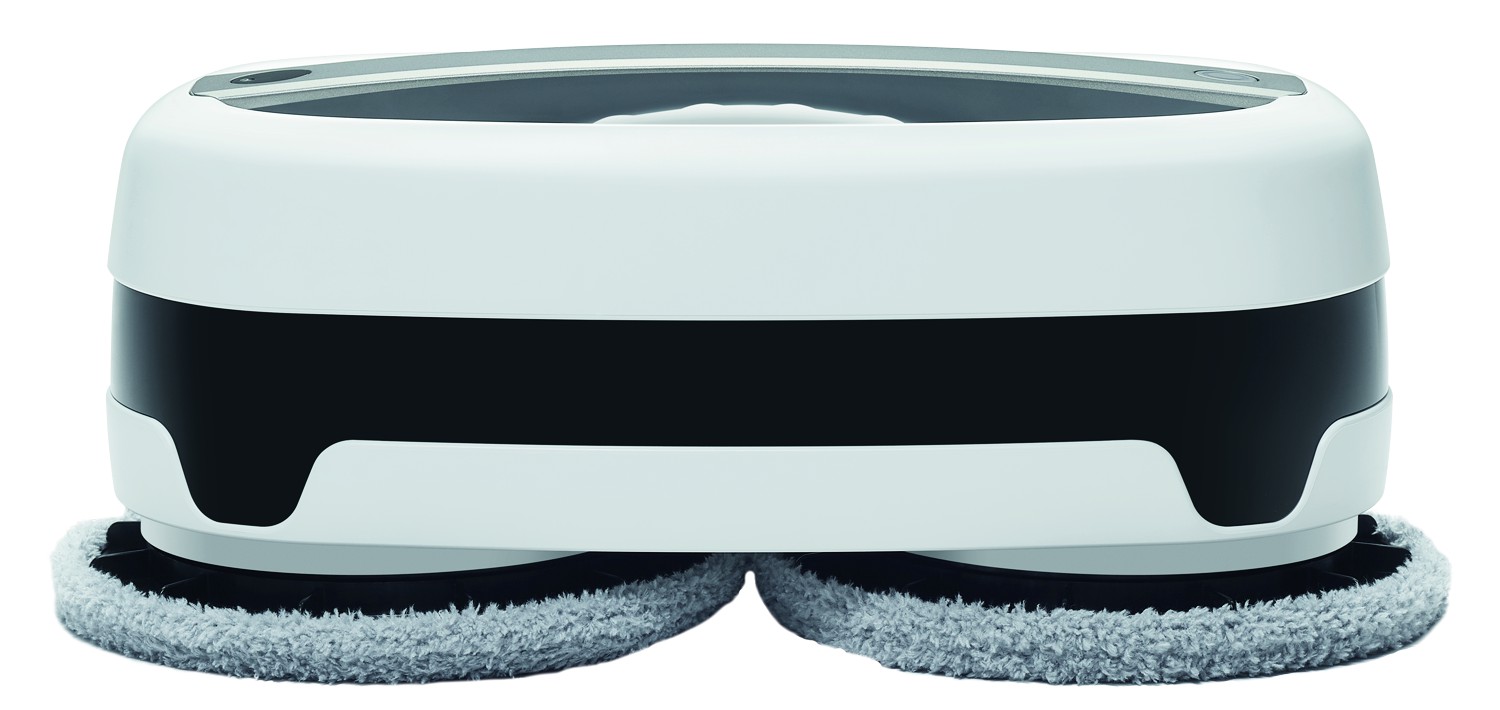
HELLO,Thank you for purchasing the Nordväl HC101 Robot Mop. Let’s get started!
DECLARATION OF CONFORMITY
Product informationFor the following Product: Radio equipmentType: HC101 Robot MopDeclaration and applicable standardsHereby, TMJ Supplies B.V. declares that the type of radio equipment HC101 robot conforms to:Directive EMC 2014/53/EU and the RoHS directive (2011/65/EU) and its amendment directives 2015/863/EU on the restriction of the use of certain hazardous substances in electronic equipment.The full text of the EU declaration of conformity can be found at the following internet address: www.nordval.eu/declaration-of-conformityImporter
Company: TMJ Supplies B.V.Address:
Zompstraat 88102 HX RaalteThe Netherlands
Email: [email protected]Phone number: +31 85-0402973Business license number: 72016981VAT number: NL858946439B01
Nordväl® is the registered trademark of TJM Zwerink Holding B.V.Specifications are subject to change without notice. Copyright©2020 TMJ Supplies B.V. All rights reserved.Manufactured in Korea by Everybot Inc.
WHAT’S IN THE BOX?
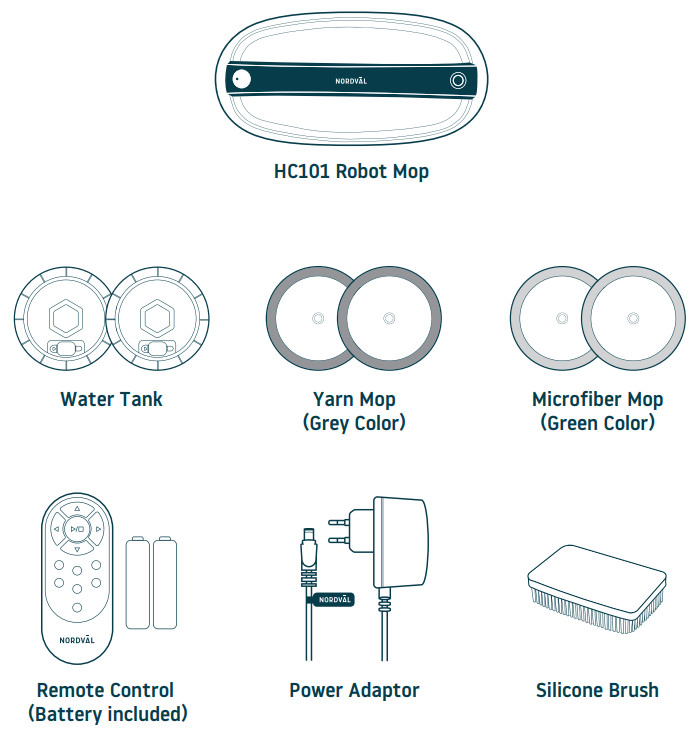
| Yarn mop (Grey color)Included with yarn which is 100 times thicker than microfiber which makes it suitable for cleaning up dust in cracks. | Microfiber yarn (Green color) Included with microfiber yarns for superior wiping performance. |
CHARGING STATUS & LED INDICATORS
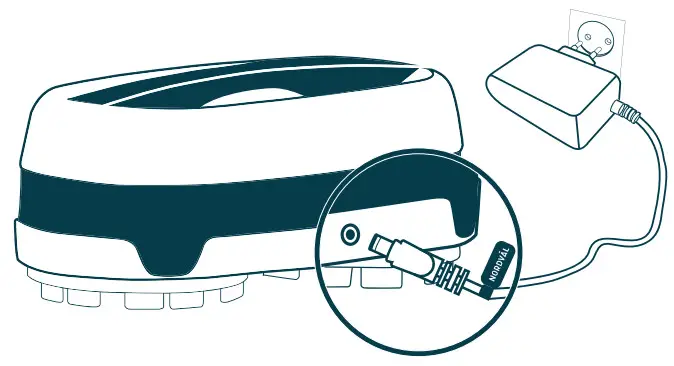
![]() Cautions: Do not use unauthorized adaptors. It may cause serious damage for the product.Connect the power adaptor to the charging port on the back of the main unit.
Cautions: Do not use unauthorized adaptors. It may cause serious damage for the product.Connect the power adaptor to the charging port on the back of the main unit.
| When Using | ||
| Yellow Blinking | Not enough battery | |
| Blue | Enough battery More than 80% | |
| LED Off | Fully charged |
| When Using | ||
| Blue Blinking | •Change mops, and fill water in the water supply mop kit and start the cleaning again. | |
| Yellow On | •Recharge the battery.*If the battery is low while cleaning a dark place, the unit moves out to a bright place and stops its operating | |
| Yellow Blinking | •Check whether the unit is stopped by obstacles.•Check whether there are unwanted substances in the mop guide kit or water supply mop kit.•Operate the unit in a wide place again after turning on and off the power switch. | |
| Red Blinking | •Check whether the authorized adapter was used for charging.•Switch off and turn on again the unit and start the cleaning again.•If the same symptom is repeated, turn off the system power and contact the customer center. | |
| LED Off | •The robot mop is off. |
| •When there is an error, the main unit will stop and sound the alarm for 5 minutes with LED blink.•After 10 times of alarm and LED blink, the main unit will be powered off. |
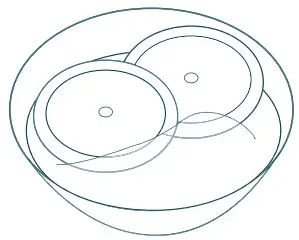
INSTALLING THE WATER TANK
![]() Cautions:
Cautions:
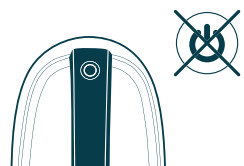
- Please turn off the main power when you install or detach the water supply mop kits.
- Please tightly squeeze out water from the yarn mops before attaching, otherwise, the cleaning speed may be affected.
- Clean wet mops thoroughly in water and apply them in the main unit after wringing them out
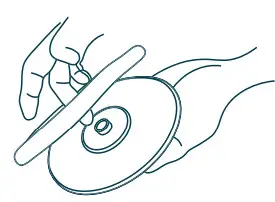
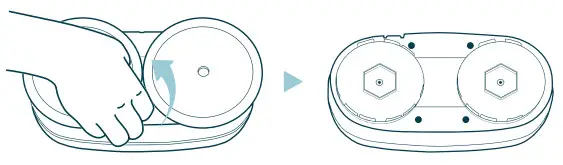
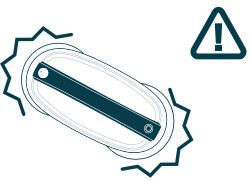
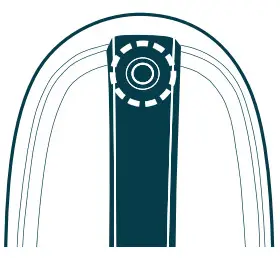
- Attach the mop pads to fit the joint parts to the hole of the water supply mop kit. (See the Figure below)
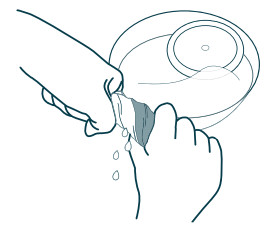
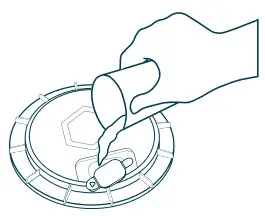
- Open the rubber cap of the water supply mop kit.
- Fill water into the water tank.
- Close the rubber cap of the water supply mop kit and attach the water supply mop kit in the bottom of the Nordväl HC101. (Pressing it while turning side to side will install it with a click sound)

![]() Cautions
Cautions
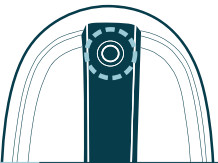
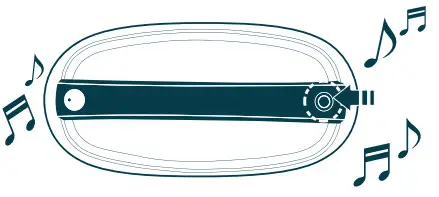
When attaching the water supply mop kit to the main unit, refer to the “correct” pictures. If the mop does not attach correctly, the mop can cover cliff detection sensors and therobot cleaner can be stopped.

Make sure the mop pads are attached tightly.After filling water in the water supply mop kit, fully close the rubber cap.
CLEANING MODES
| Select a cleaning mode you want by using the remote control.Sprinkle the floor with water before use for better results. |
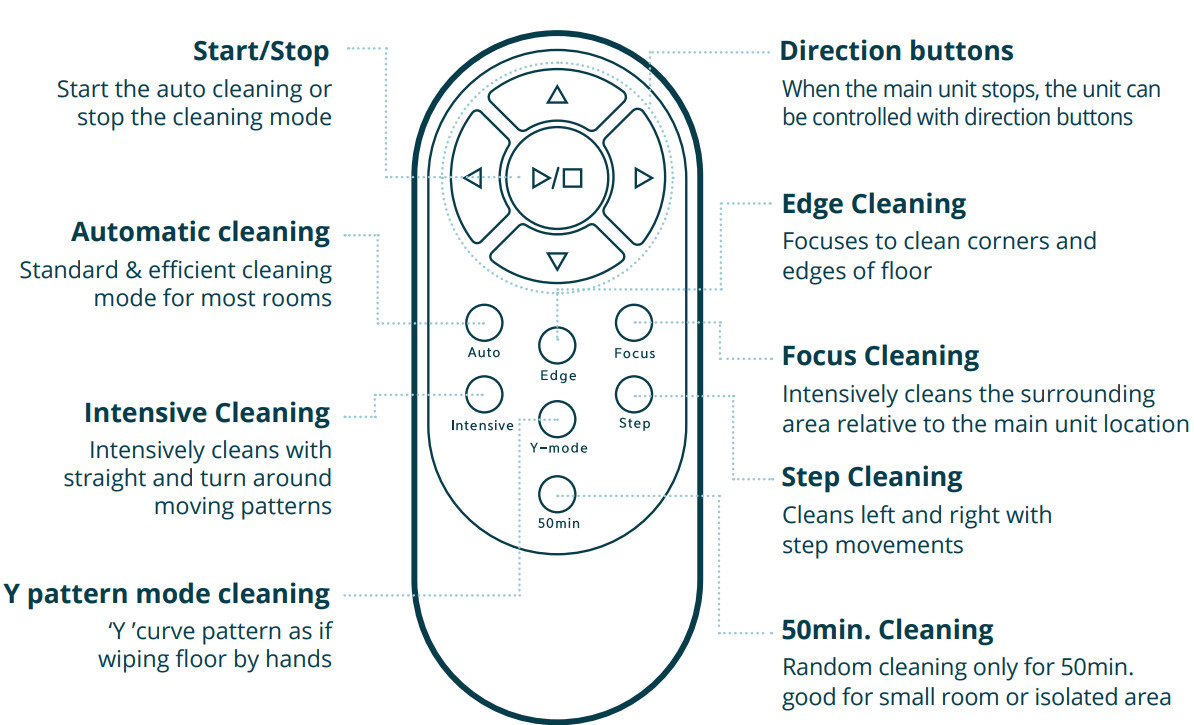
Automatic CleaningStandard & efficient cleaning mode for most rooms Edge CleaningFocuses to clean corners and edges of floor
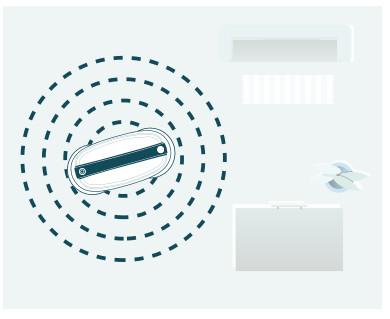
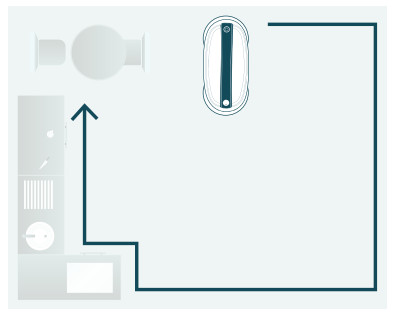 Focus CleaningIntensively cleans the surrounding area relative to the main unit location
Intensive CleaningIntensively cleans with straight and turn around moving patterns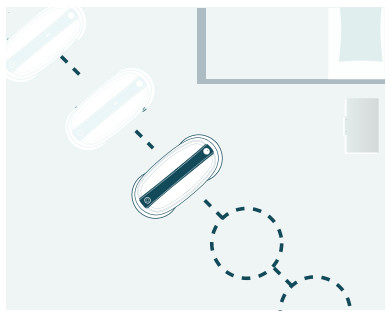
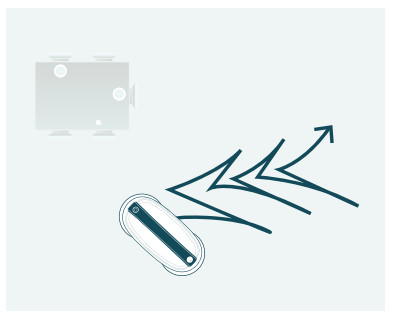
Y Pattern Mode Cleaning‘Y ’curve pattern as if wiping floor by hands
Step CleaningCleans left and right with step movements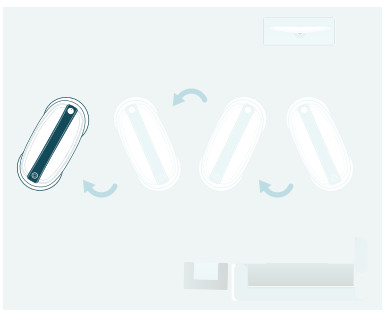 Remote Control CleaningCleans with direction button keys of remote control*Only moves when the direction button is pressed

50min. CleaningRandom cleaning only for 50min. good for a small room or an isolated area
Darkfloor modeUse this special mode (if needed) to clean dark floors and surfaces*See how to enable darkfloor mode in page 12
WATER TANK & MOP MAINTENANCE
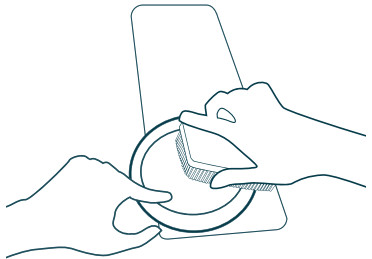
WASHING THE MOPS
You can use included silicone brush for easier mop washing.
- Put the mops in water
- Use a natural detergent for washing mops if desired
- Squeeze out water and dry the mops
MAINTAINING THE WATER TANK
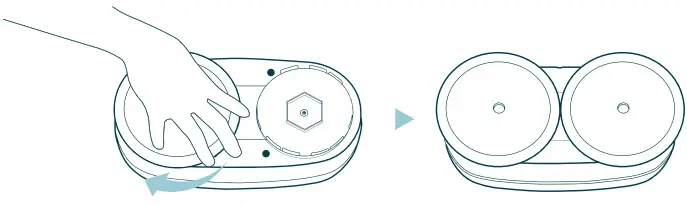
- Separate the mop from the water tank mop kit after finished operating.•Please just pull out the water tank mop kit by hand.•If it is hard to pull out, please twist it a little bit.
- Open the rubber cap to dry out inside of water tank after pour remained water.|
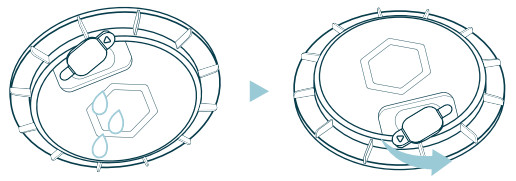
| If water supplying is not sufficient, please washthe water supply cloth or change the water supply device as instructed: |  |
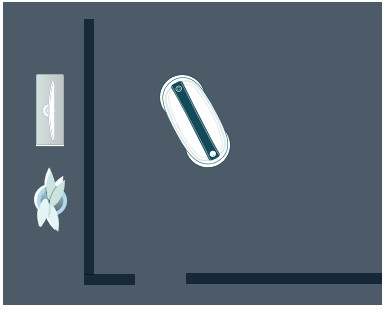
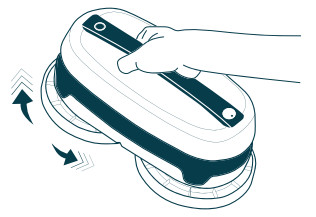
HANDHELD CLEANING & REMOTE CONTROL
|
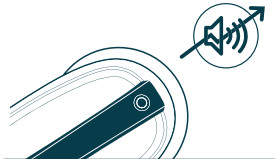
Lift up the machine and press the on/off button twice shortly.
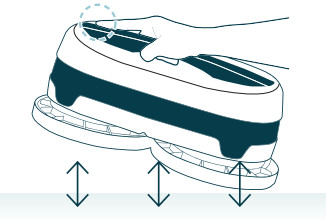
Handheld cleaning mode starts with continuous turning mops.
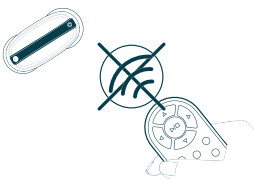
![]() Cautions
Cautions
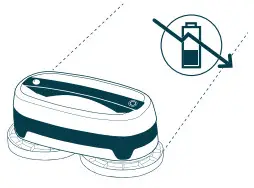
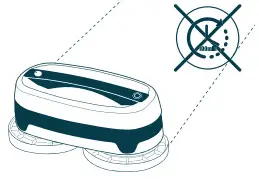
- In the handheld cleaning mode, do not place the main unit on the floor because the sensors are inactive.
- If you press the stop/start button on the robot or remote control, the cleaning mode will stop.
*The range of remote control is max. 5m
TROUBLESHOOTING
 |
The device does not turn on
|
 |
The device does not charge
|
 |
The remote control does not work
|
 |
The robot mop does not work
|
 |
The robot mop is not working normally during cleaning
|
 |
Movement or cleaning force is weak
|
 |
The operational noise is louder than normal
|
 |
The operating time is short
|
INDICATORS & PRODUCT MAINTENANCE
■ The LED lamp is off
LED OffIf the machine does not work for 5min. It automatically powers off together with an LED lamp.LED OnIf you press an operation button for 2sec.The LED lamp will be turned on with power-on status.
■ Sound alarm while operating
Blue blinking
- After 50 min. cleaning, the main unit sounds the alarm to change mops and fill water in the water supply mop kit.
- For better cleaning, replace with new mops and fill water after charging.
CLEANING SENSORS
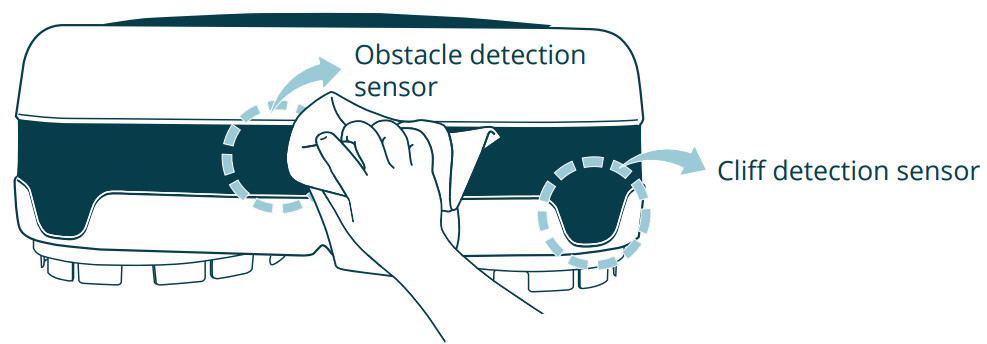
- If there is dust or a foreign substance in the obstacle detection sensors, gently wipethem by a cotton swab or dry cloth.
- If sensors are contaminated severely, wipe them with a wet cotton swab.
- Please make sure to keep the sensor areas clean in order to function properly.Do not use petrol or alcohol to clean sensors.
PRODUCT SPECIFICATIONS
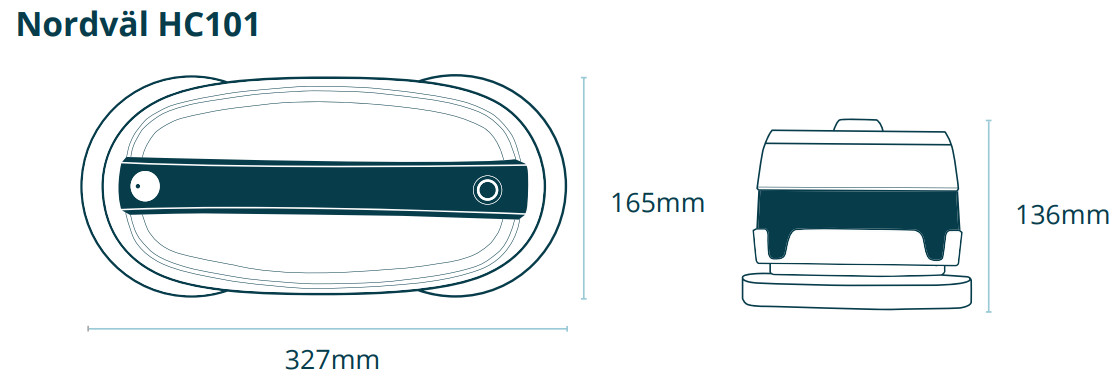
Nordväl HC101
| Product Name | Norval HC101 Everybot Edge (Floor Mopping Robot Cleaner) | ||
| SKU | HC101 | Power Consumption | 27 WI] |
| Size | W327 x D165 x H136 mm | Weight | 1.6 kg |
| Power | AC100-240V, 50/60Hz | Battery | Li-ion 11.1VDC, 2150mA |
| Operating Noise | 46.6 dB | Operating Time | 100 min |
| Driving Speed | 20 cm/sec |
Remote Control
| Product Name | IR Remote Control | Model Name | IRCEdge |
| Size | W150 x D50 x H21 mm | Weight | 45g |
| Signal Transmission Distance | Max. 5m | Battery | 2 x AAA batteries |
HOW TO ENABLE DARKFLOOR MODE
- Connect the device to the power adaptor first.
- Press the direction keys of the remote control in the following sequence;Up, Left, Right, Up — Now you will hear a signal sound.
- Then, you can operate the Mop Robot on dark floors, but it cannot sense cliffs for fall protection.
- Once you turn off and on the Robot Mop, it will be reset to the original settings.
![]() Your smart technology friends.
Your smart technology friends.
 report this ad
![]() Copyright©2020 TMJ Supplies B.V. All rights reserved.
Copyright©2020 TMJ Supplies B.V. All rights reserved.
References
[xyz-ips snippet=”download-snippet”]