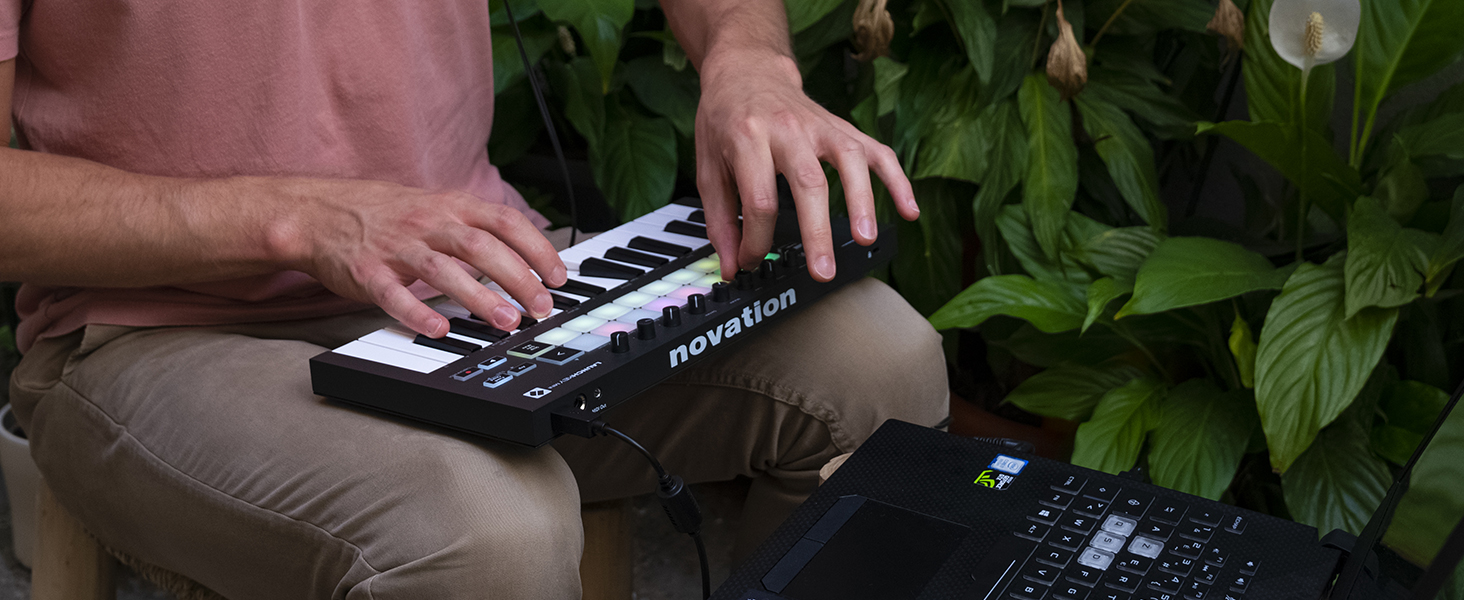
novation Launchkey Mini MK3
Launchkey Mini MK3 Firmware Update 1.1
Settings
A number of useful new settings have been added into the Launchkey Mini to give greater control over the behaviour of the device. To access these settings, hold the shift button whilst powering up the Launchkey Mini to enter the Set-up page.Once you have made changes in settings, you can return to the main controls of the Launchkey Mini by pressing the [play] button.Any setting changes made are kept through power cycles.
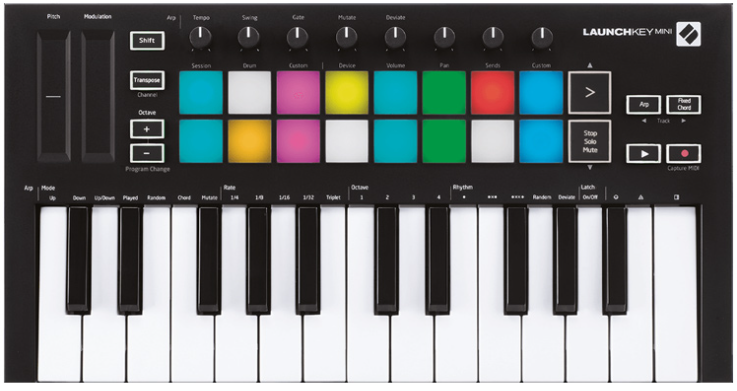
LED BrightnessIt is now possible to adjust the brightness of the LEDs on the Launchkey Mini. This adjustment can be useful if the LEDs on the pads and buttons are either too bright or too dim in certain situations.To change the LED brightness, in the settings page use the [Octave up] button to increase the brightness and the [Octave Down] button to decrease the brightness.
Pad VelocityIt is now possible to turn off the MIDI velocity output from the pads on the Launchkey Mini. This can be useful for giving a more consistent velocity output when performing with the pads.To toggle the Pad Velocity control on or off press the orange pad [second from the left] in the settings page.When dimly lit the pads will output a consistent velocity of 127. When the pad is fully lit the full velocity range will be output from the pads.
MIDI Clock outputIt is now possible to choose whether a MIDI Clock signal is output directly from the MIDI output of the Launchkey Mini. This is very useful for removing unwanted tempo/clock signals when using the Launchkey Mini as a controller keyboard for external MIDI equipment such as drum machines, synthesisers and some sequencers.To toggle the MIDI Clock output on or off press the Pink pad [sixth from the left] in the settings page.When dimly lit the physical MIDI output will not send MIDI clock signals.When fully lit the MIDI output will send MIDI Clock signals and the [Tempo] rotary knob will continue to control the MIDI Clock output speed.
Latching pages
It is now possible to latch control pages open and more readily access the controls for those modes.This useful feature now gives single-hand access to control pages including the Arp controls, Transpose setting, Fixed Chord and Shift functions such as rotary control select and MIDI Channel.To latch a control page open you can quickly double press the page you want.To open the Arp controls simply double press [Arp], the Arp controls open and will remain accessible on the pads and rotary controls. [Arp] will now pulse indicating that it is open. To return to the normal Launchkey Mini operation or to exit the Arp Controls press [Arp] or [Shift].
To latch the Transpose controls double press [Transpose]. The Transpose controls will open and remain accessible on the pads. [Transpose] will now pulse to indicating that it is open. To return to normal Launchkey Mini operation or to exit the Transpose controls press [Transpose] or [Shift].
To latch the Shift controls double press the [Shift] button. The Shift controls will open and remain accessible on the pads. The Shift button will remain lit indicating it is active. To exit the controls press [Shift]. While the Shift controls are latched you can also latch on the MIDI channel controls. To do this double press [Transpose]. To exit the MIDI channel controls press [Transpose] or [Shift]
It is now also possible to create a Fixed Chord using the same latch style behaviour described above. To latch Fixed Chord double press [Fixed Chord]. It will pulse to indicate that entering chord notes is active. Whilst [Fixed Chord] is pulsing you can go ahead and add the notes you want to the chord by playing them on the keyboard. When you have finished building your chord your press [Fixed Chord] to return to normal behaviour. The button will cease pulsing but remain lit to indicate that Fixed Chord mode is active, you can then toggle this on and off in the normal way with a single press.
Arp Controls in Strum Mode
ModeThis will let you set the direction or order of notes on the touch strip.
Up – raising the Mod Wheel will play the notes in an ascending order.Down – raising the Mod Wheel will play the notes in a descending order.Up/Down – raising the Mod Wheel will play the notes in an ascending then descending order.Played – raising the Mod Wheel will play the notes in the order they have been played into the arpeggiator.Random – raising the Mod Wheel will play the notes in a random order.Chord – raising the Mod Wheel will play full chords and apply up to four inversions on the chord shape.Mutate – raising the Mod Wheel will follow the Arp’s Mutate rotary control setting.
RateThis will let you increase the duration or “ring out” time of the strum’s individual notes. ¼ will give the longest note duration with 1/32 giving the shortest duration.You can add further fine control of the note’s duration with the “Gate” rotary control.
OctaveYou can add extra octaves to the Strum mode, in effect giving a much wider range of notes or virtual strings accessible from the Mod Wheel.When set to one octave the Mod Wheel places the virtual strings within a range of one octave. When set higher, the amount of virtual strings will increase and the range of notes will also increase within the Mod Wheel area.
LatchThis will let you latch on the arpeggiator in the normal way so notes on the keyboard do not need to be held down.NB: When the Arp latch is set on in Strum mode you will not hear any notes played on the keyboard until you use the Mod Wheel to strum through the arpeggio.
![]()
References
[xyz-ips snippet=”download-snippet”]