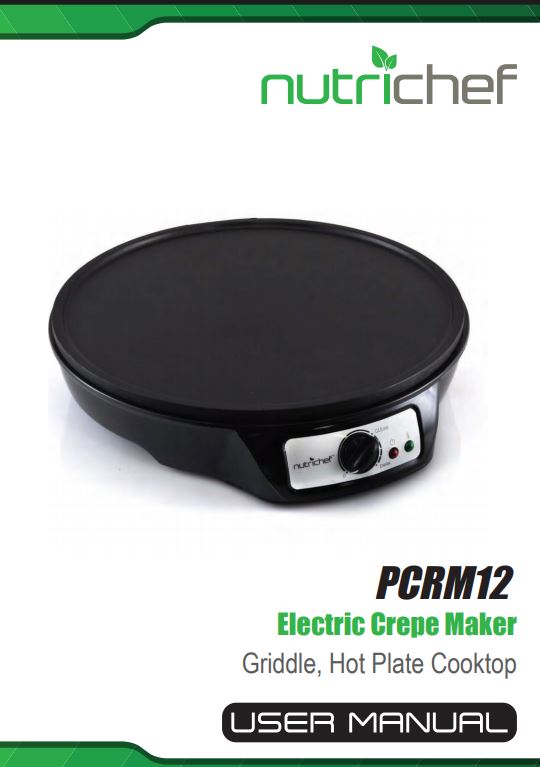
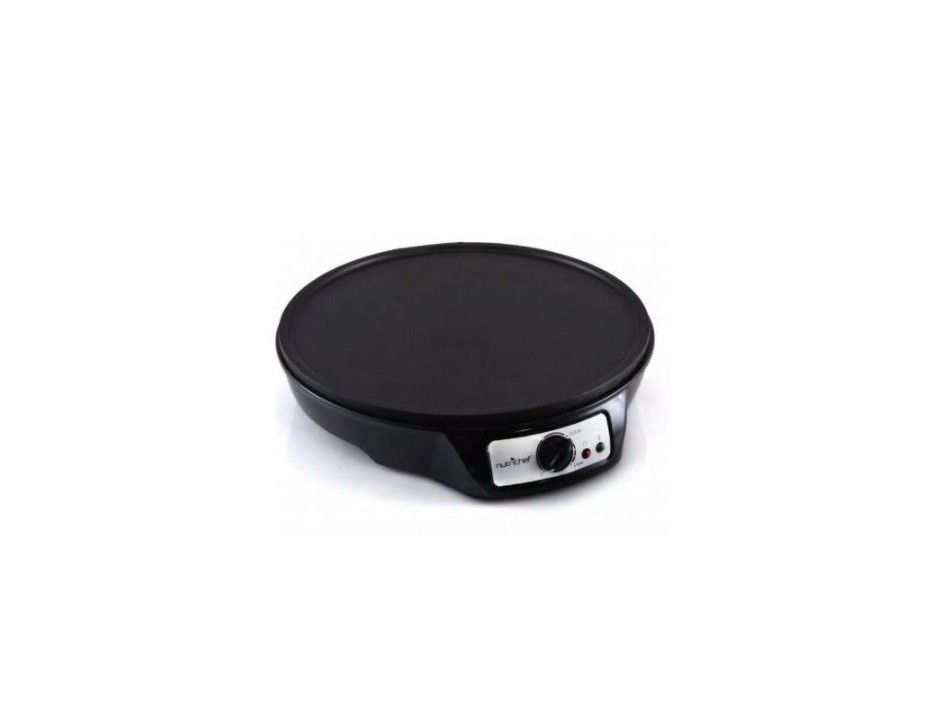
Nutrichef Electric Crepe Maker Griddle, Hot Plate Cooktop

Read these operating instructions carefully before using the appliance for the first time and preserve this user manual for later reference. Pass this manual on to whoever might acquire the appliance at a future date.
INTENDED USEThis appliance is intended exclusively for the baking of crepes. Use this crepe maker only in domestic households and indoors. This appliance is not designed for commercial or industrial applications.
SAFETY INSTRUCTIONS![]() TO AVOID POTENTIALLY FATAL ELECTRIC SHOCKS:
TO AVOID POTENTIALLY FATAL ELECTRIC SHOCKS:
- Ensure that the appliance never comes into contact with water when the plug is inserted into a power socket, especially if it is being used in the kitchen and close to the sink.
- Make sure that the power cable never becomes wet or damp during operation. Lay the cable so that it cannot be trapped or otherwise damaged.
- Always remove the power plug from the wall socket after use.
- To avoid potentially fatal risks, arrange for a defective power plug and/or cable to be replaced at once by qualified technicians or our Customer Service Department.
- Baked foods can burn! Thus, DO NOT place the appliance under inflammable objects especially curtains and drapes.
- Never leave the appliance unattended when it is in use.
- Do not use an external timing switch or a separate remote control system to operate the appliance.
- This appliance is not intended for use by individuals (including children) with restricted physical. Physiological or intellectual abilities or deficiencies inexperience and/or knowledge unless they are supervised by a person responsible for their safety or receive from this person instruction in how the appliance is to be used.
- Children should be supervised to ensure that they do not play with the appliance.
ITEMS SUPPLIEDCrepe MakerPastry SpreaderCrepe TurnerOperating Instructions
![]()
![]()
![]()
![]()
![]()
![]()
- Ensure that the switched-on device is at all times located at a minimum distance of 50cm from walls, furniture, and other objects.
TECHNICAL DATA
Voltage: 120V 50HzPower Consumption: 1000W/1200W
DESCRIPTION OF THE APPLIANCE
- Baking plate
- Power cable with power plug
- Heating elements
- Base
- Crepe turner
- Pastry spreader
- Thermostat
- Control lamp
- Cable winder with connector holder
BEFORE THE FIRST USE
- Remove all packaging materials from the appliance
- Wipe the baking plate with a moist cloth
- Place the base on a heat resistant and level surface
- Position the backing plate on the base so that it sits well and is stable
- Connect the plug to a mains power socket. The control lamp glows
- Adjust the thermostat to MAX and allow the appliance to heat up for approx. 10 minutes.Note: On the first usage, the generation of light smoke and a slight smell can occur; this is due to production residues. This is completely normal and is not dangerous. Provide for sufficient ventilation, for example: open a window.
- Adjust the thermostat back to “0” and remove the plug from the power socket.
- Allow the appliance to cool down and once again wipe the baking plate with a moist cloth.
The appliance is now ready for use.
BAKING CREPES
- Insert the power plug into a wall socket. The control lamp glows.
- Adjust the thermostat to MAX and wait for approx. 10 minutes for the appliance to heat itself up
- Place a scoop full of pastry onto the backing plate.Note: To determine the correct volume of pastry. put as much pastry onto the baking plate as is required to cover it to about 2/3 of its area. Make certain that the pastry does not run over the edge of the baking plate surface. As required, reduce or increase the volume of pastry for the next crepe
- Evenly spread the pastry over the baking plate using the pastry spreader. The pastry should only be spread thinly over the baking plate.Note: After every use. dip the pastry spreader in water. This allows the pastry to be better spread.
- After approx. 45 seconds flip the pastry using the crepe turner.Note: The given baking times are only guidelines. The baking time of a crepe can, subject to taste vary. Discover the optimal baking time through trial and error.
- After a further 45 seconds remove the crepe from the baking plate with the crepe turner and lay it on a plate
- You can now garnish the crepe according to taste.
![]()
![]()
![]()
![]()
![]()
![]()
- Do not coat or decorate the crépe when it is on the baking plate.
- Do not cut the crépe when it is on the baking plate.
- Do not use sharp or metallic utensils to turn the crepe or to lift it from the backing plate. This could cause irreparable damage to the backing plate.
- Repeat the process for further crepes
![]()
![]()
- Wipe the baking plate and the base with a moist cloth. For stubborn soiling, use a mild detergent on the cloth. The baking plate can be cleaned in a dishwasher.
- Clean the pastry spreader and the crépe turner in a mild soapy solution. Rinse them off in clear water and then dry them thoroughly with a tea towel.
STORAGE
Store the appliance in a cooled-down and clean condition. Wind the power cable around the cable winder on the bottom of the appliance. Insert the plug into the designated openings. Store the appliance at a clean and dry location.
CLEANING AND CARE
![]()
![]()
![]()
![]()
![]()
![]()
![]()
![]()
![]()
![]()
![]()
![]()
RECIPES
Note: The quantities detailed below are sufficient for approx. 12 Crepes /Patties.
BASIC CREPE RECIPE6 eggs1 Qt milk500g Flour3 Tbsp Oil (Cooking oil)
Whisk together the eggs and the milk. Add the flour and oil, and then process everything into a smooth pastry. Allow the pastry to stand for an hour.
BASIC GALETTE RECIPEGalettes are the savory variant of a crepe.2 eggs1 Qt milk500g Buckwheat flour100g Wheat flourSalt100g Melted Butter300 ml Water
Whisk together the eggs, the milk, and the water. Blend the two flours together and add a pinch of salt. Mix the flour with the fluids. Add the cooled and melted butter, then process everything into a smooth pastry. Allow the pastry to stand for an hour.
CREPES WITH SUGAR AND LEMONBasic Crepe RecipeCrystal Sugar3 LemonsBake the crepe for approx. 1 minute with the setting MAX. Turn the crepe and bake it for approx. 2 minutes. Take the crepe from baking plate 1 and lay it on a flat plate. Sprinkle it with sugar and drizzle it with lemon juice. Fold the crepe together to make a square-shaped “bag”. Serve the crépe.
CREPES NORMANDY STYLEBasic Crepe Recipe1 kg Apples100g Butter300g Sugar150 ml Calvados250g Crème FreshCinnamon
Peel the apples and then cut them into thin slices. Roast the apples in a pan with butter and sugar. Sprinkle with cinnamon. Add the calvados and the crème fraîche and blend everything well. Bake the crepe for approx. 1 minute with the setting MAX. Turn the crépe and bake it for approx. 2 minutes. Take the crepe from baking plate 1 and lay it on a flat plate. Spread the apple composition over the crepe. Fold the crepe together to make a square-shaped “bag”. Serve the crepe.
HAM AND EGG GALETTEBasic Galette Recipe12 Slices of Ham150 gr Grated Parmesan Cheese12 eggsSaltPepper
Spread the pastry for a galette onto the baking plate and bake the galette for approx 1 minute with the maximum thermostat setting. Turn the galette and bake the other side for approx. 2 minutes. Take the galette from the baking plate and lay it on a flat plate. Spread the ham, egg slices, and a little Parmesan on the galette and season with salt and pepper. Fold the galette together to make a square-shaped “bag”. Serve the galette.
GALETTES WITH SMOKED SALMONBasic Galette Recipe500 gr Smoked Salmon. sliced250 ml Creme Fraîche2 Lemons
Spread the pastry for a galette onto the baking plate and bake the galette for approx 1 minute with the maximum thermostat setting. Turn the galette and bake the other side for approx. 2 minutes.Take the galette from the baking plate and lay it on a flat plate. Garnish the galette with a slice of smoked salmon a thin slice of lemon and some creme fraîche. Fold the galette together to make a square-shaped “bag”. Serve the galette.
FEATURES:
- Simple Crepe & Blintz Cooking
- Compact, Quick & Convenient Cooktop
- Temperature Adjustable Rotary Dial
- Aluminum Griddle Hot Plate Non-Stick Construction
- Great for Cooking Breakfast Eggs, Bacon, Pancakes
- Cooking Surface Diameter: 12” Inch
- Safe for Any Countertop, Tabletop, Kitchen Top
- Ultra-Quiet Operation
- LED Indicator Lights
- Power Cord Length: 2.5′ Feet
- Power 120V, AC
- High-Powered Heating Element, 1200 Watt
- Dimensions (L x W x H):12.0” x 12.9” x 2.4” Inch
https://www.nutrichefkitchen.com/


References
[xyz-ips snippet=”download-snippet”]

