![]()
Onset R.M. Young Wind Sensor Adapter S-WCx-M003TestEquipmentDepot.com
R.M. Young Wind Sensor AdapterModels: S-WCB-M003 S-WCE-M003
Tool Required:
- Screwdriver
This document provides instructions for connecting R.M. Young 05305 and 05103 Wind Monitors to the applicable Onset adapter (S-WCB-M003 for 05305 and S-WCE-M003 for 05103) to allow the wind sensor to be used with a smart sensor-compatible HOBO° station.Note: Refer to the R.M. Young instruction manual for your wind sensor for additional information as needed.
Specification
| Measurement Range | S-WCB-M003: 0 to 50 m/s (0 to 0 to 355 degrees, 5 degrees dead112 mph) bandS-WCE-M003: | 0 to 52 m/s (0 to116 mph) |
| Accuracy Resolution | 0.20 m/s (0.46 mph) | 1.4 degrees |
| 0.20 m/s (0.46 mph) | 1.4 degrees | |
| Operating Temperature Range | 40°C to 75°C (-40°F to 167°F) | |
| Environmental Rating | Weatherproof | |
| Bits per Sample | 8 for each channel, 24 total | |
| Number of Data Channels• | 3 | |
| Measurement Averaging Option | Automatic averaging (see Measurement Operation below) | |
| Cable Length from Adapter toData Logger• | 3 m (9.8 ft) | |
| Cable Length from Adapter to | 45.7 cm (18 in) | |
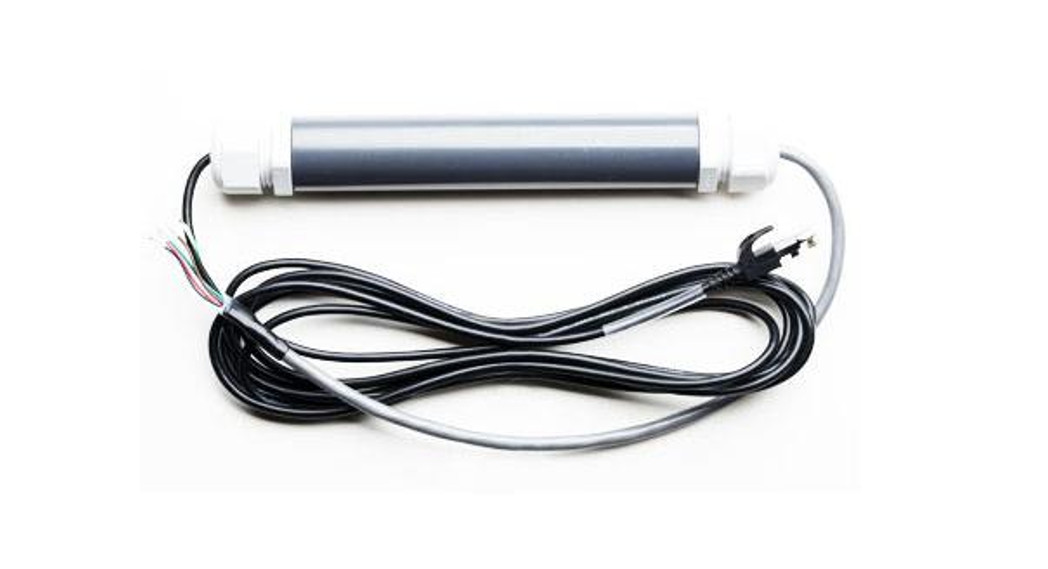
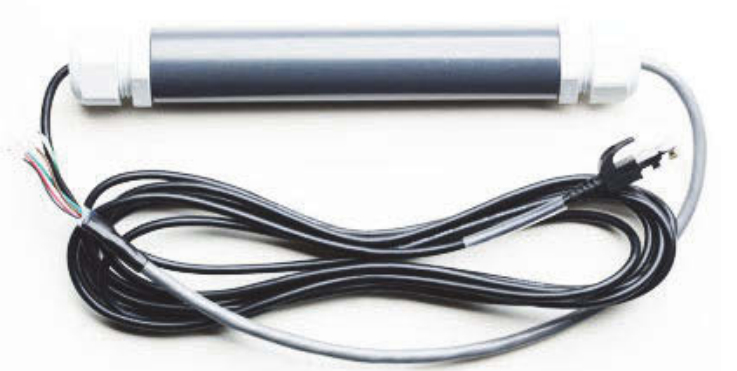
| Housing Dimensions | 14 cm (5.5 in) long x 2.7 cm (1.05 in) diameter; Add 5.6 cm (2.2 in) tolength for grommets | |
| The CE Marking identifies this product as complying with all relevant directives in the European Union (EU |
* A single HOBO station can accommodate 15 data channels and up to 100 m (328 ft) of smart sensor cable (the digital communications portion of the sensor cables). Smart Sensor Extension Cable Part No. S-EXT-Maxx.
Measurement Operation
Wind speed and direction measurements are averaged over the logging interval or a 3-second timeframe (whichever is greater). If you set up the sensor to log faster than every 3 seconds, the same sensor reading will be recorded until a new 3-second average is calculated. For example, if the sensor is logging at a 1-second interval, the sensor will report the same wind speed and direction (its calculated average) for three samples before calculating and reporting a new value for another three samples. Gust speed is the highest three-second wind recorded during the logging interval.
Direction Averaging
Unit vector averaging is used to determine wind direction because traditional averaging would produce inaccurate results. For example, three measurements of 350, 11, and 12 degrees—which are all winds from the north—averaged together would result in 126 degrees, which incorrectly indicates a southeasterly wind. Instead, the vector components (North/South and East/West) for each wind measurement are calculated every three seconds for the duration of the logging interval. At the conclusion of the logging interval, the North/South and East/West components are averaged and then re-combined to calculate the average wind direction for the logging interval.
Adding an Extension Cable between the Wind Sensor and Adapter
Up to 61 m (200 ft) of shielded, 22 AWG 5-conductor cable can be added between the wind sensor and the wires exiting the adapter. Extension cable wires can be connected to the adapter wires using weatherproof wire nuts. Make sure that both cables are secured such that the wire connections do not get pulled during deployment.
Connecting the Wind Sensor to the Adapter Step 1: Remove Junction Box CoverUnscrew the cover from the PCB junction box on the R.M. Young wind sensor.
Step 2: Insert Cable into Junction BoxLoosen the nut on the junction box grommet and then insert the grey cable from the Onset S-WCx-M003 adapter into the grommet. The heat shrink on the cable end should sit inside the grommet body.
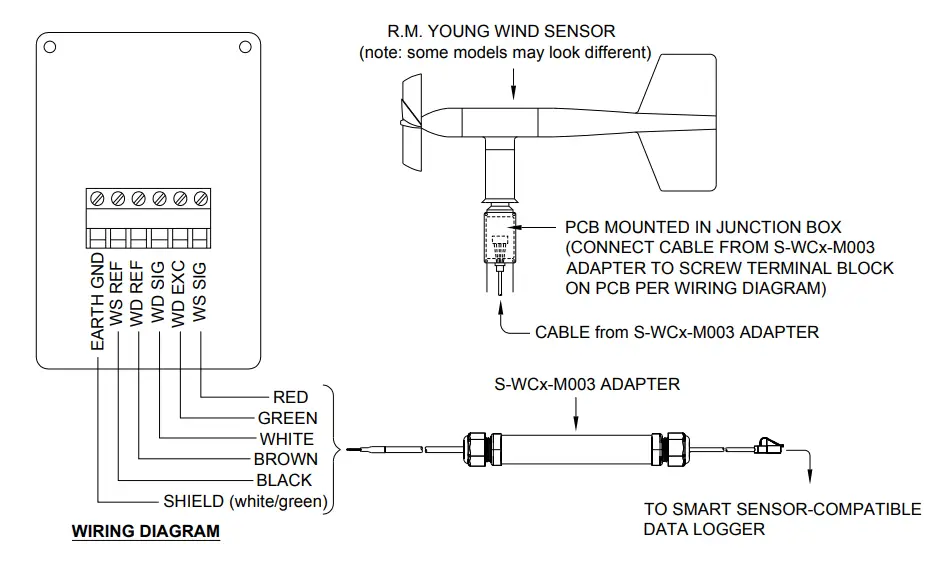
Step 3: Connect Cable to PCBConnect shield, black, brown, white, green, and red wires to PCB screw terminal block as shown in the wiring diagram below. Be sure wires are fully secured in the terminals. Re-tighten the grommet nut and replace the cover.
Step 4: Mount the Wind SensorThe diagram below shows the recommended mounting for the wind sensor. Secure the adapter to the mast with two cable ties crossed together. Be sure to put drip loops on either side of the adapter housing as shown below to protect the adapter from water. Secure the cables to the mast with cable ties at the end of each drip loop.

 report this ad
![]()
©2011-2015 Onset Computer Corporation. All rights reserved. Onset and HOBO are trademarks or registered trademarks of Onset Computer Corporation. All other trademarks are the property of their respective companies. 12745-G MAN-S-WCX
[xyz-ips snippet=”download-snippet”]