
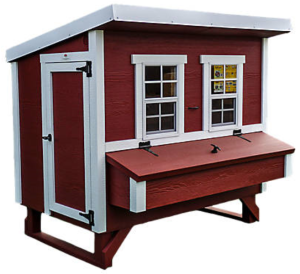
OverEZ 460EZCKCP Large Chicken Coop
Contents/Description
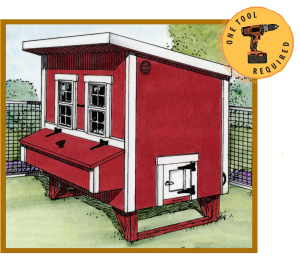
ONE TOOL REQUIRED
- Easy assembly
- Houses up to 15 chickens
- Featuring:– 2 Screened windows– 5 Nesting boxes– 2Vents– 2 Roosts
- Size: 74″ L x 60″ W. x 72-1/2″ H.
- Sits off the ground
- Built by Amish-trained craftsmen
- One year warranty
Please note: Actual product may differ slightly from instructional illustrations.
Step one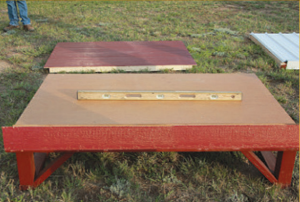 Place FLOOR in desired location.Important: Floor must be level in both directions.Find the bag with drill bits, keys, and touch up paint (to repair any mars on pre-painted surfaces).
Step twoPlace BACK WALL (A), making sure wall is tight against floor and ends of wall line up with marks provided on floor.Drive 4 pre-started screws on the bottom.
Step three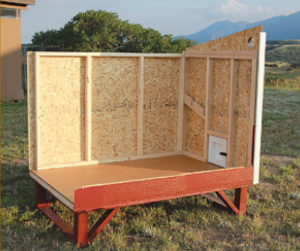 Place CHICKEN DOOR GABLE WALL (B).Siding from BACK WALL will slide into cavity provided. Make sure wall is tight against floor.Drive 3 pre-started screws on corners, then drive 4 pre-started screws into floor.
Step four Place FRONT WALL (C), making sure wall is tight against lower support wall.Siding from FRONT WALL will slide into cavity provided in CHICKEN DOOR GABLE WALL.Drive 3 pre-started screws on corners, then drive 4 pre-started screws on bottom.
Step five Install MAN DOOR GABLE WALL (D).Siding from BACK WALL and FRONT WALL will slide into cavities provided.Make sure wall is tight against floor.Drive 3 pre-started screws on corners, then drive 4 pre-started screws into floor.
Step six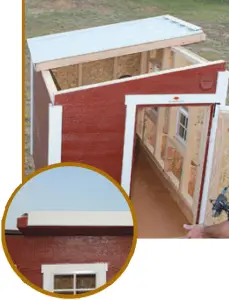 Install ROOF PIECE (E).(When viewing coop from back, E is placed on left half of roof.)Lower front edge of ROOF PIECE (E) onto FRONT WALL first, then lower back edge onto BACK WALL.Drive the 6 pre-started screws that are in the top of the wall into the roof panel.
Step seven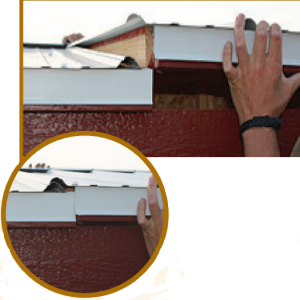 Install ROOF PIECE (F).(When viewing coop from back, ROOF PIECE (F) is placed on right half.)Lower front edge of ROOF PIECE (F) onto FRONT WALL first, then lower back edge onto BACK WALL.Important: ROOF PIECE (F) overlaps ROOF PIECE (E) at the center of the coop. Drive the 6 pre-started screws that are in the top of the wall into the roof panel. Screw the 2 pre-started screws into the roof panel (E).
Step eight Put black screw in bottom hinge of door.Drop ROOST BARS into slots provided on inside of gable walls.Hook CHICKEN RAMP at bottom of chicken door. NOTE: To loosen or tighten door latches, use supplied allen wrench. Loosen small screw on inside of latch with allen wrench, moving the latch in or out. Tighten screw and test.
Assembly is OverEZ!
|
Watch our assembly video here |
happy with our product?Please help us spread the word by leaving a review at:www.OverEZchickencoop.com


[xyz-ips snippet=”download-snippet”]