
![]()
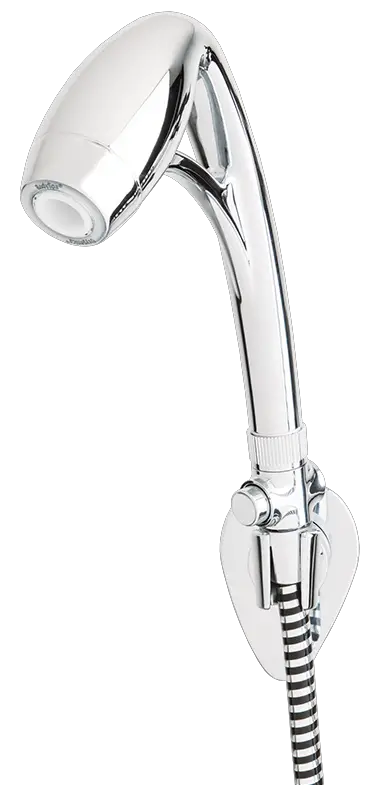
BODY SPA RV
EASY INSTALLATION INSTRUCTIONS

STEP 1Remove your existing showerhead. To remove, turn the existing shower head in a counterclockwise direction.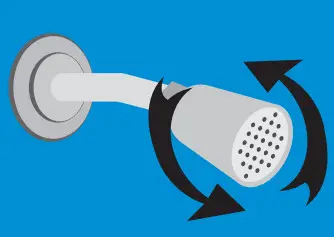 STEP 2Remove any remnants of the old plumber’s tape and flush out the shower pipe for 5 to 10 seconds.
 STEP 3Wrap plumber’s tape clockwise 3 or 4 turns around the threaded end of the shower arm.
 STEP 4In a clockwise direction, screw the end of the hose to the taped portion of the shower arm. Hand tightens only.
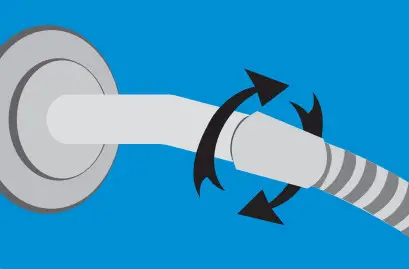 STEP 5Attach the wide end of the SmartPause® valve to the base of the handheld shower and hand tighten. Attach the smooth end of the hose to the opposite end of the SmartPause® valve.
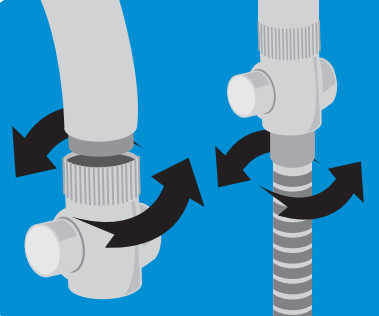 STEP 6Attach double-stick tape provided to the back of the holder and press firmly to clean, dry the shower wall. Place your new handheld showerhead into the holder.
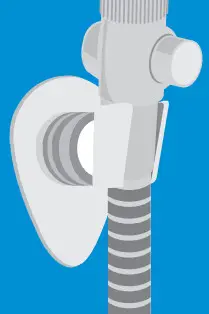
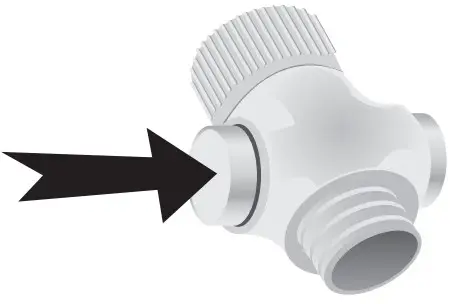
ATTENTION:SMOOTH END OF HOSE ATTACHES TO SHOWERHEAD
USING THE SMARTPHONE VALVE
Located at the base of the BodySpa® wand, the SmartPause® valve allows you to pause your shower while you lather up.To pause the shower spray: Gently push the button on the SmartPause® valve from left to right to pause the shower’s flow. To resume flow, simply push the button back to the left.
 STOP!NEED HELP?PLEASE DO NOT RETURN THIS PRODUCT TO THE STORE.If you need installation assistance, replacement parts, or have questions regarding our warranty, ourThe customer service team can be contacted by:PHONE:1-866-440-9257 or 775-420-5600LIVE CHAT: www.oxygenics.comEMAIL: [email protected]ONLINE: www.oxygenics.com/claimsBusiness hours: Monday – Thursday 7:00 am to 5:00 pm PSTFriday 7:00 am to 4:30 pm PST* *Closed on all nationally observed holidays
![]() For use with automatic compensating valves rated at 1.35 GPM (5.11 L/min) or less.
For use with automatic compensating valves rated at 1.35 GPM (5.11 L/min) or less.
References
[xyz-ips snippet=”download-snippet”]