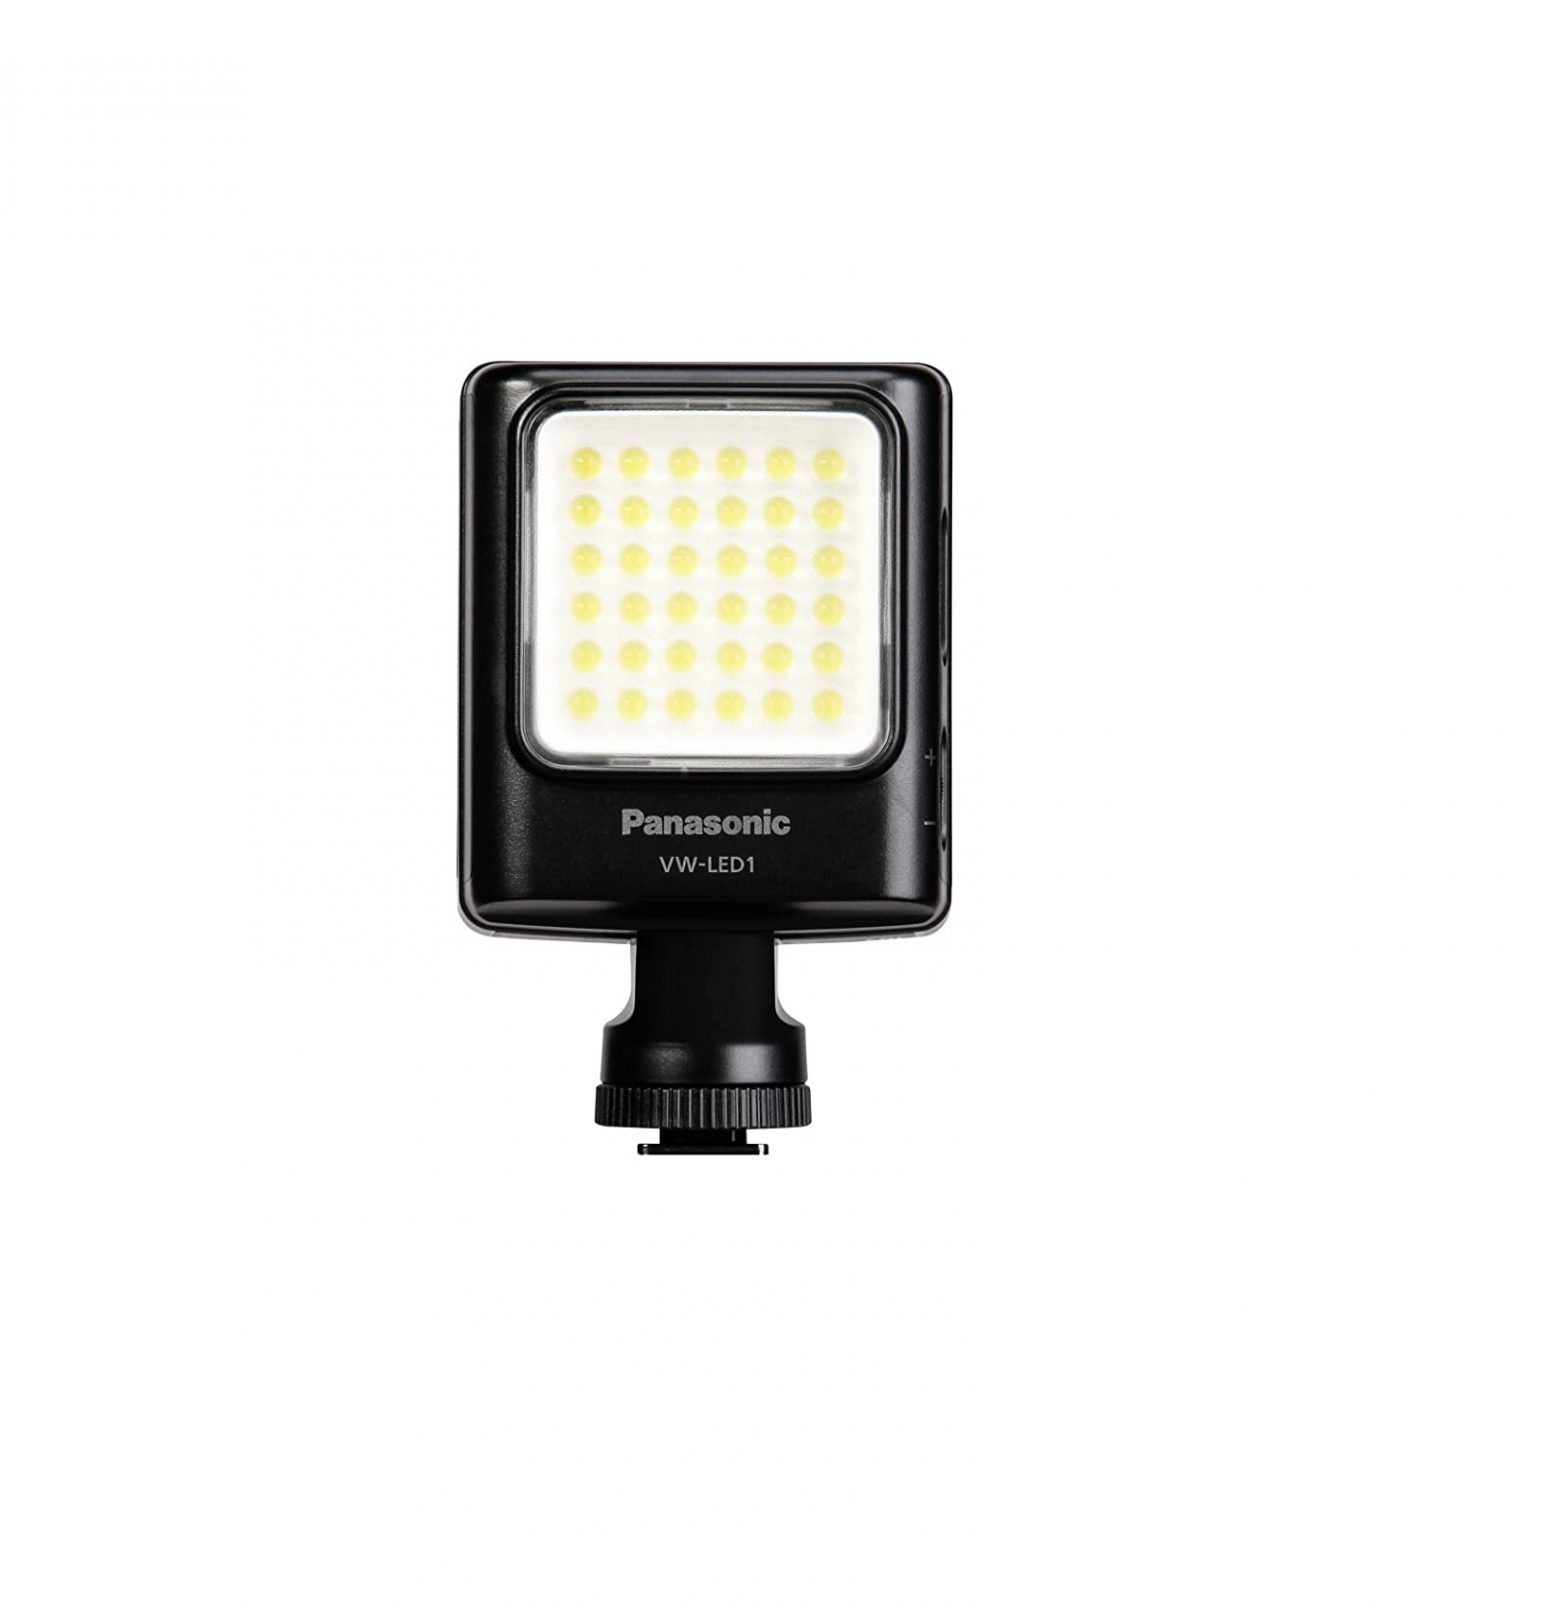
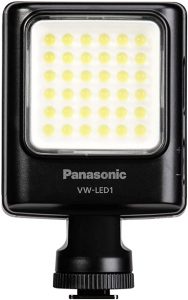
Panasonic VW-LED1E
Information for Your Safety
WARNINGTo reduce the risk of fire, electric shock or product damage,
- Do not expose this unit to rain, moisture, dripping or splashing.
- Do not place objects filled with liquids, such as vases, on this unit.
- Use only the recommended accessories.
- Do not remove covers.
- Do not repair this unit by yourself. Refer servicing to qualified service personnel.
CAUTION■ About the unit
- To reduce the risk of fire, electric shock or product damage,– Do not install or place this unit in a bookcase, built-in cabinet or in another confined space. Ensure this unit is well ventilated.– Do not obstruct this unit’s ventilation openings with newspapers, tablecloths, curtains, and similar items.– Do not place sources of naked flames, such as lighted candles, on this unit.
- Product identification marking is located on the bottom of the unit.
■ About the batteries
- Danger of explosion if battery is incorrectly replaced. Replace only with the type recommended by the manufacturer.
- When disposing of the batteries, please contact your local authorities or dealer and ask for the correct method of disposal.
- Do not heat or expose to flame.
- Do not leave the battery(ies) in a car exposed to direct sunlight for a long period of time with doors and windows closed.
| Disposal of Old Equipment Only for European Union and countries with recycling systems
|
 This symbol on the products, packaging, and/or accompanying documents means that used electrical and electronic products must not be mixed with general household waste.For proper treatment, recovery and recycling of old products, please take them to applicable collection points in accordance with your national legislation. By disposing of them correctly, you will help to save valuable resources and prevent any potential negative effects on human health and the environment. For more information about collection and recycling, please contact your local municipality. Penalties may be applicable for incorrect disposal of this waste, in accordance with national legislation.
Precautions
Thank you for purchasing this Panasonic product.
- Please read these instructions carefully before using this product, and save this manual for future use.
- For the latest information on compatible devices, see the operating instructions, catalogue or website of the device (video camera/digital camera) on which the unit will be mounted.
- A video camera, a digital camera, a shoe adaptor, and batteries are not supplied with this product.
■ Handling the unit
- Do not subject the unit to strong vibration or impact. Those actions may result in malfunctions and failure.
- Sand and dirt may cause the unit to malfunction. When using the unit in an environment such as a beach, take steps to protect it from sand and dirt.
- When using the unit on rainy days or on a beach, take care to keep the unit dry.
- This unit is neither dust-proof nor splash proof. If by any chance water droplets, etc. are splashed on the unit, wipe them off with a dry cloth. If the unit fails to function correctly, consult your dealer or Panasonic.
- Using a video camera as an example, these operating instructions describe the procedure for mounting the unit on a device. Please also read the operating instructions of the device on which you want to mount the unit.
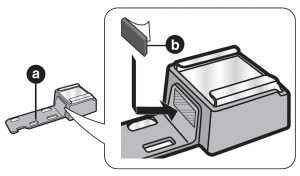
Supplied accessory
Check the accessory before using this unit.Cushion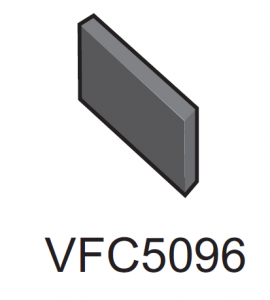
- Product number correct as of Aug. 2013. This may be subject to change.
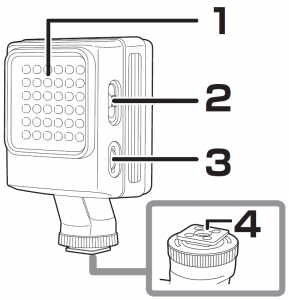
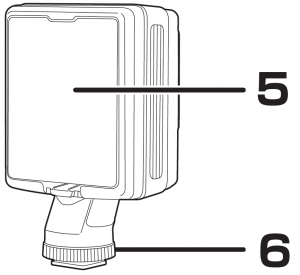
Names of the components
- Lamp portion
- Power Switch [OFF/ON]
- Brightness Adjustment Dial
- Shoe
- Battery Cover
- Lock Ring

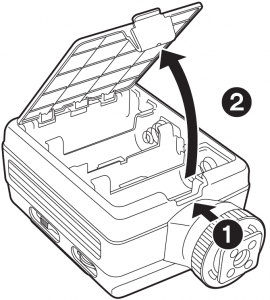
Loading Batteries
Choose from the below batteries:
- LR6/AA Alkaline dry batteries (M 4)
- HR6/AA Rechargeable nickel metal hydride batteries (Ni-MH) (M 4)
|
- Open the Battery Cover.● Lift up the Battery Cover by pushing its lock button in the direction of the arrow.
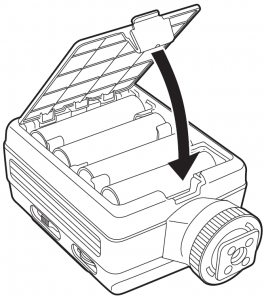
- Insert the batteries with correct [T]/[U] polarity.
- Close the battery cover.

Mounting and removing the unit
■ Mounting the unit
- If your video camera requires a shoe adaptor, mount it on the video camera in advance.
For customers using a shoe adaptor (VYC1055)If the shoe adaptor shakes after it has been mounted on the video camera, affix cushion
|
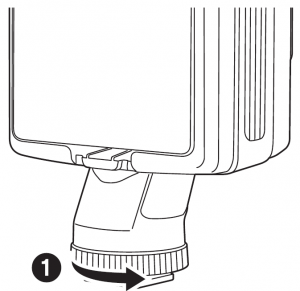
- Loosen the lock ring by turning it in the direction of the arrow .● Do not apply excessive force on the lock ring.
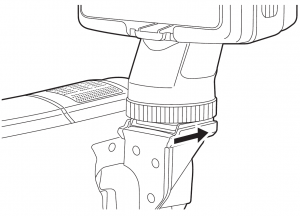
- Confirm the direction of the shoe so that the LED Video Light faces the correct direction when mounted, and then insert the shoe into the accessory shoe until it stops.
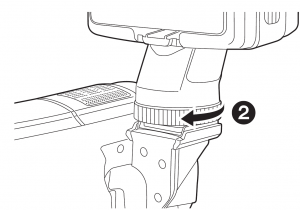
- Rotate the lock ring in the direction of the arrow until it stops.● Make sure that the unit is securely mounted.
■ Removing the unit
- Remove the unit in reverse order of mounting.
![]() Note
Note
- Hold the lock ring when mounting or removing the unit.
- After use, turn off the unit, and remove it from the accessory shoe or the shoe adaptor of the device.
- When storing the unit, remove the batteries and loosen the lock ring.
Turning on the LED light
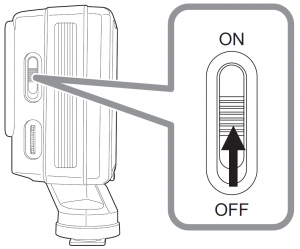
Slide the Power Switch to “ON”.
- To turn off the LED light, slide the power switch to “OFF”.
- The batteries may become warm if you keep the LED light on, but this is not a malfunction.
- Do not look at the LED light directly while it is turned on.
- If the LED light suddenly turns off without any operation, the batteries are running low. Replace the batteries.
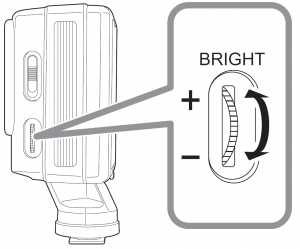
Adjusting the brightness
Turn the Brightness Adjustment Dial.
- Turning it in the direction of “+” will raise the brightness, while turning it in the direction of “-” will lower the brightness. (Adjustment range: 100% (maximum) to approx. 30%)
- If the LED light suddenly turns off while the brightness adjustment dial is being turned in the direction of “+”, the batteries are running low. Replace the batteries.
![]() Note
Note
- If you operate the unit during recording, some operation sounds may also be recorded.
- Depending on the position of the brightness adjustment dial and the condition of use, colour temperature may vary slightly. Check the white balance before recording.
Cautions for use
■ About the unit
- Do not carry the unit with your hands while it is still mounted on a video camera or a digital camera.
- Do not drop the unit, knock it into other objects or subject it to any other kind of strong impact or shock.
- Depending on the shape of the accessory shoe, it may not be possible to mounted the unit. Also read the operating instructions of the device on which you want to mount the unit.
- If the unit has become dirty, wipe it with a dry cloth. Do not use thinner, benzine or other volatile agents, as this could discolor or other damage the surface of the unit.
■ About the batteries
- Be sure to remove the batteries when you will not be using the unit for a long period of time.
Specifications
| Power Source:DC 6.0 V(LR6/AA Alkaline dry batteries M 4)DC 4.8 V(HR6/AA Rechargeable nickel metal hydride batteries (Ni-MH)M 4)Power Consumption:2.6 W |
Batteries recommended for use:LR6/AA Alkaline dry batteries M 4/ HR6/AA Rechargeable nickel metal hydride batteries (Ni-MH)M 4
Illuminator:White LED
Number of LEDs:36 LEDs
Maximum light intensity:Approx. 1500 lx (0.5 m)
Beam Angle:Approx. 30°
Continuous running time:When AA alkaline batteries (LR6) are used: Approx. 200 minutes (Assuming that new batteries are used, the brightness adjustment dial is at the maximum position, and the ambient temperature is 25 QC ) When AA rechargeable nickel-metal hydride batteries (Ni-MH) are used: Approx. 240 minutes (Assuming that fully-charged new batteries are used, the brightness adjustment dial is at the maximum position, and the ambient temperature is 25 QC)
Beam distance:1.0 m: Approx. 375 lx 1.5 m: Approx. 166 lx2.0 m: Approx. 93 lx 3.0 m: Approx. 41 lx
Colour Temperature:Approx. 5,000 K
Operating temperature/humidity:When the unit is stored:L10 QC to 60 QC /0%RH to 90%RHWhen the unit is in use:0 QC to 40 QC / 10%RH to 80%RH
Dimensions:Approx. 69.1 mm (W)M110 mm (H)M 52.5 mm (D)
Mass:Approx. 238 g (including batteries)Approx. 130 g (main unit)

References
[xyz-ips snippet=”download-snippet”]