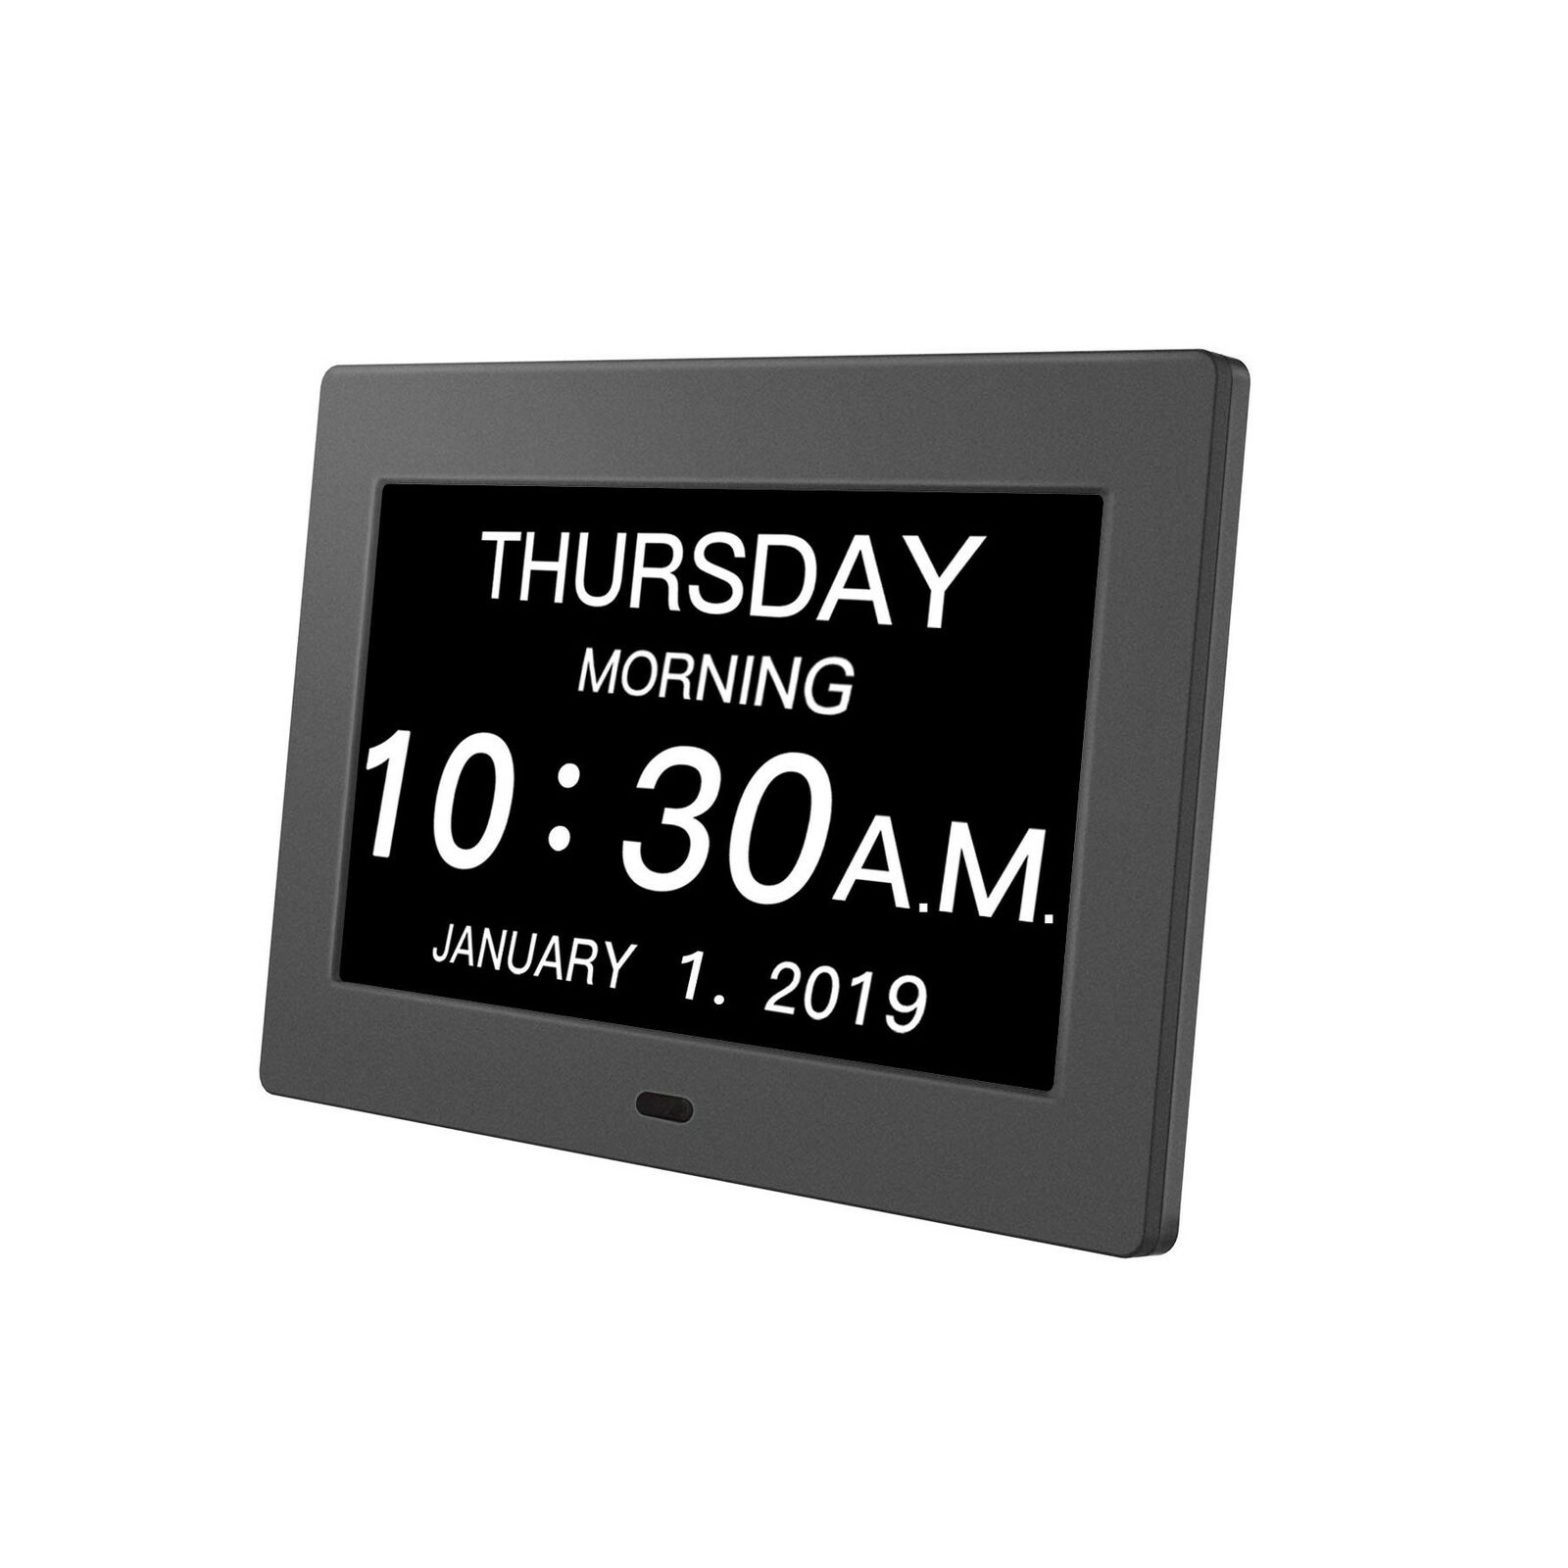
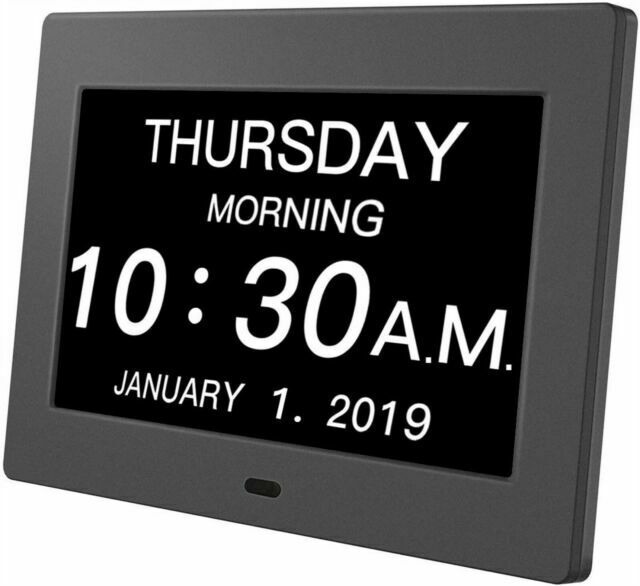
Pipishell 8-inch Digital Clock PIECK3B
Thank you for choosing this product! We strive to provide you with the best quality products and services in the industry. Should you have any issues, please don’t hesitate to contact us.
Technical Support:1-800-556-9829 Mon-Fri 10am – 5pm (PST) (USA) (CAN)Other Info: [email protected] (US/CA)
Main Features:
- Week, time period, time and date
- 5 groups of alarm clocks and 3 groups of medication reminders
- Auto-dimming or manual screen brightness adjustment
- 3UIs display: normal display + colorful background display +analog clock display(Note: long press the OK button to switch the 3 UI setings)
- 9OSD Language: English, French, German, Italian, Dutch, Spanish, Portuguese, Finnish, Polish
- Factory reset

Settings:
Press the MENU button to access the settings page:Please Note: Changes can only be made when the underlined digits turns into yellow font. Use UP or DOWN button to adjust the digits. Press LEFT or RIGHT buttons to choose the digits you would like to adjust. Press OK to save and MENU to exit.

Line 1 – Language Set:Press MENU to enter into the setting. Select the first line of Language Set press OK to switch to the languages you prefer. Press MENU to exit.
Line 2- Time Set:Go to the line of Time Set. Press OK to underline the hour, minute or second. Press UP or DOWN to adjust the time, then press OK to save, and press MENU to exit.
Line 3 – Date Set:Go to the line of Date Set. Press OK to underline the day and press Right to underline the day, month or year. Press UP or DOWN to adjust, then press OK to save, and press MENU to exit.
Line 4 – Time Mode:Go to the line of Time Mode. Press OK to switch to 12 Hour or 24 Hour you prefer. Press MENU to exit.
Line 5 – Date Mode:Go to the line of Date Mode. Press OK to switch to the date mode <Day-Month-Year>or<Month-Day-Year> or<Year-Month-Day> you prefer. Press MENU to exit.
Line 6 – Auto DimmingGo to the line of Auto Dimming. Press OK to switch to the one of the four modes (auto, off, mid, low) you prefer. Press MENU to exit. Auto: Normalbrightness starts from 7:00 am to 7:59 pm, screen dimmed to low brightness from 8:00pm to 6:59am)Off: Always on normal brightnessMid: Medium brightnessLow: Low brightness
Line 7 – Volume Set:
Go to the line of Volume Set. Press OK to switch to the volume level from 00 to 30 you prefer. Press MENU to exit.
Line 8 – Alarm Set:
Go to the line of Alarm Set. Press OK to the five groups of alarm clocks settings. Press UP or DOWN to choose the Time, Date or Mode settings. Press MENU to exit.Time: Same operation as you do time setDate: Press OK to switch to one of the four frequencies you prefer,Monday to Friday/Saturday to Sunday/Monday to Sunday/OffMode: Press OK to switch between once and repeat
Line 9 – Medicine ReminderGo to the line of Medication Reminder. Press OK to the 3 groups of medicine reminders settings. Press UP or DOWN to choose the Time, Status or Mode settings. Press MENU to exit.Time: Same operation as you do time setStatus: Press OK to switch between On and OffMode: Press OK to switch between once and repeat
Line 10 – Factory Reset
Go to the line of Factory Reset. Press OK to choose reset to factory default settings or not. Press MENU to exit.Default Periods of the Day:06:00-11:59 Morning 18:00-23:59 Evening12:00-17:59 Afternoon 24:00-05:59 Night
 report this ad
What you have in the box:
- 8-inch Digital Clock x 1 piece;
- 5V 2.0A Power Adapter x 1 piece;
- User Manual x 1 piece.Tips: USB port for factory software upgrading only!

[xyz-ips snippet=”download-snippet”]