PLASMA CLOUD PS48 Switch 48 Port Gigabit 740W Managed PoE Switch
INTRODUCTION
Thank you for purchasing the PS48 Switch. This Quick Start Guide is designed to guide you through the installation process.
PACKAGE CONTENTS
- Switch
- AC cord*, 1830mm
- Mounting brackets
- Screws
- Rubber feet set
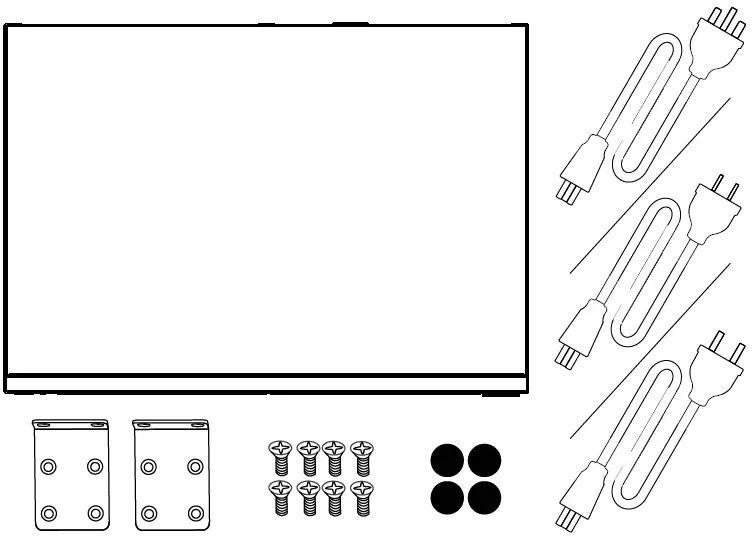
The package contains either type A, C or G electrical outlet plug matching your region’s power regulations.
CLOUD MANAGEMENT
- Sign up at console.plasma-cloud.com.
- Create your first organisation by navigating to Organisations → Create new organisation. Fill in the form and click Create.
- You can now create your first network. Navigate to Networks → Create new network, fill in the form and click Create.
- Setup your network by navigating to Settings → Network.
- Go back to Overview and click on the map to add your first Switch.
The last point can be repeated to add as many Switches as needed.You can now plug-in your Switch and connect it to the Internet. The Plasma Cloud configuration only takes a few seconds!
PHYSICAL INSTALLATION
This Switch is designed to be installed on a desk, shelf, wall, or rack and it is intended for indoor use only.It should not be connected to an Ethernet network with outside plant routing.
When installing your Switch, keep the following in mind:
- Do not place heavy objects on the Switch.
- Don’t place the Switch in direct sunlight and ensure there is sufficient space around the vents.
- Don’t place the Switch next to strong sources of electromagnetic fields.
- Ensure the power cord is properly plugged into the Switch and a power outlet with earthing connection, or equivalent.
SWITCH OVERVIEW

DESK OR SHELF MOUNTING
This Switch can be placed on a desk or a shelf:
- Stick the provided rubber feet to the four circular marks on the bottom of the Switch.
- Place the Switch on the desk or the shelf, making sure the surface is levelled.
SUPPORT
Feel free to visit https://support.plasma-cloud.com for additional technical guidance or to contact our support department.
FCC EMC COMPLIANCE NOTICEThis equipment has been tested and found to comply with the limits for a Class A digital device, pursuant to part 15 of the FCC Rules. These limits are designed to provide reasonable protection against harmful interference when the equipment is operated in a commercial environment.This equipment generates, uses, and can radiate radio frequency energy and, if not installed and used in accordance with the instruction manual, may cause harmful interference to radio communications.Operation of this equipment in a residential area is likely to cause harmful interference in which case the user will be required to correct the interference at his own expense.
©2020 Plasma Cloud Ltd. All Rights reserved5/F Yat Chau Building, 262 Des Voeux Road Central, Hong Kong www.plasma-cloud.com
The software included in this product contains copyrighted software that is licensed under GPL.A copy of that license, along with instructions on how to obtain the source code, is available at https://www.gnu.org/copyleft/gpl.html
WALL MOUNTING
This Switch can be mounted either vertically or horizontally to a wall:
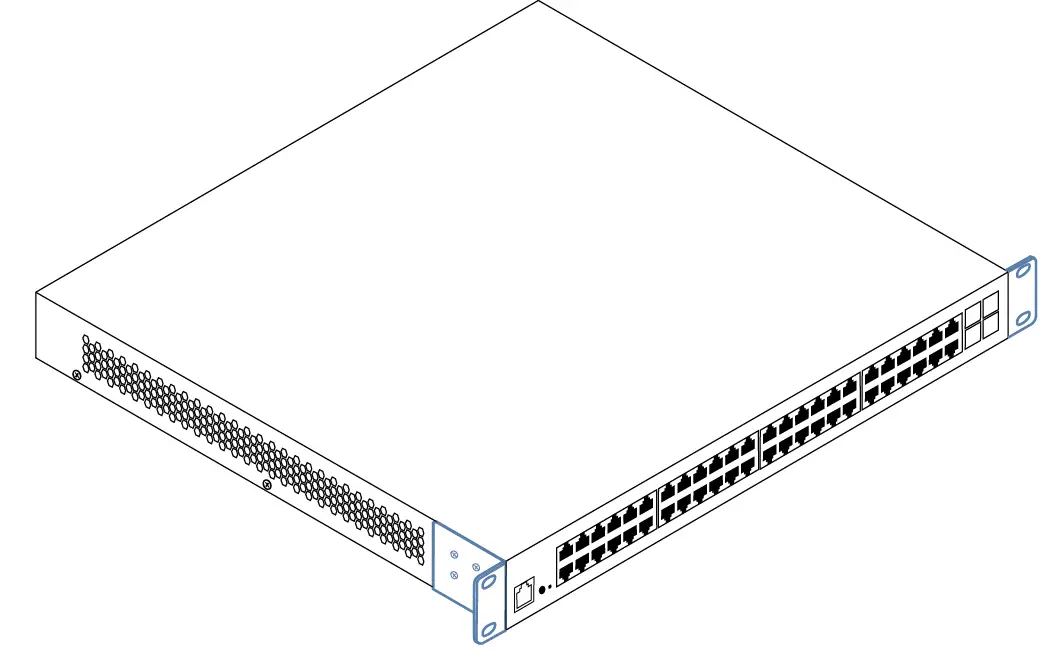
- Attach the two mounting brackets to the side of the Switch with the screws provided as shown below.

- Ensuring the wall anchors (not included) can support the weight of the Switch and any additional cabling, secure the Switch to the wall with the ports facing either up or to the side.

RACK MOUNTING
This Switch can be mounted onto a rack:
- Attach the two mounting brackets to the side of the Switch with the screws provided as shown below.
- Secure the mounting brackets to an EIA standard size (19”) rack.
 report this ad
References
[xyz-ips snippet=”download-snippet”]