![]() PRODUCT MANUALMVP-6
PRODUCT MANUALMVP-6
 DIRECTIONAL SHOTGUN MICROPHONEFOR DSLR, SMARTPHONES, AND PORTABLE RECORDERS
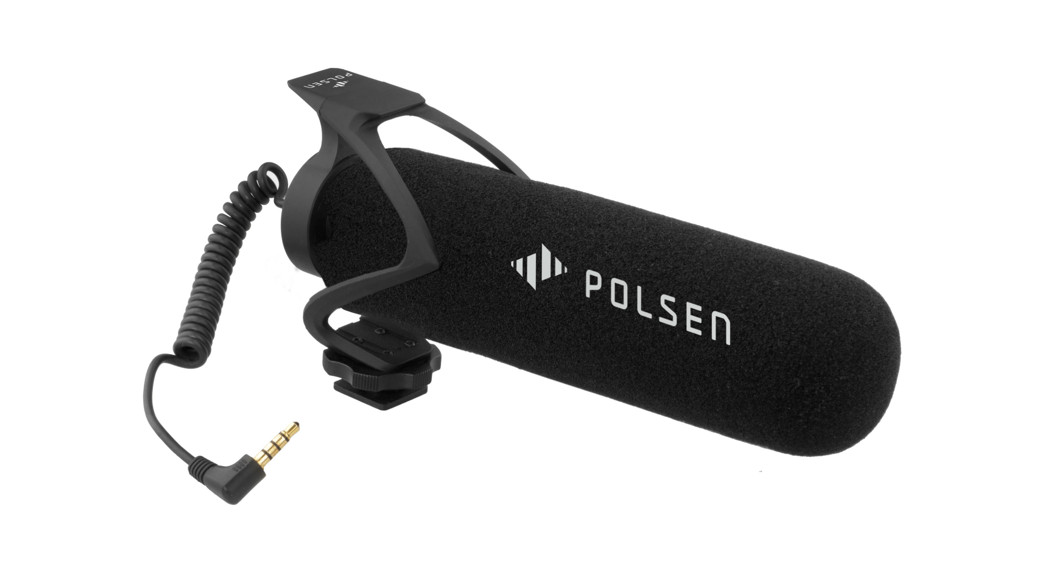
THANK YOU FOR CHOOSING POLSEN.The Polsen MVP-6 Directional Shotgun Microphone is a great addition to mobile journalists’ and vloggers’ rigs. It vastly improves the audio over the built-in mics on smartphones, DSLRs, point-and-shoots, and video cameras, for professional-sounding interviews, documentaries, and run-and-gun productions.The MVP-6 can be mounted on a camera’s shoe mount or onto a tripod, and it plugs into a DSLR, smartphone, or portable recorder’s 1/8-inch audio input jack. The super-cardioid polar pattern and shotgun design focus on the sound directly in front of the microphone while rejecting off-axis sound and noise. To minimize handling noise and any vibrations that might affect your recording, the MVP-6 comes with its own shock mount. Anti-interference design and low-noise electronics assure an audio signal that’s free of noise and interference.
PRECAUTIONS
- Please read and follow these instructions, and keep this manual in a safe place.
- Keep this product away from water and any flammable gases or liquids.
- Use only the batteries recommended in this manual.
- Do not attempt to disassemble or repair this product yourself.
- Handle this product with care.
- Clean this product with only a soft, dry cloth.
- Make sure that this product is intact and that there are no missing parts.
- To avoid damaging the product, remove the battery during long periods of nonuse.
- All images are for illustrative purposes only.
OVERVIEW

| 1. Microphone and foam windscreen2. Shock mount3. Locking wheel4. Mounting foot | 5. 1/4-20 socket6. Smartphone/camera selector7. 1/8 in. camera audio cable |
THE WINDSCREEN
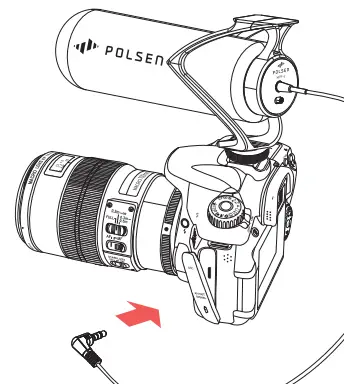
The MVP-6 comes with an integrated foam windscreen to reduce wind noise in a light breeze.CAMERA MOUNTING AND OPERATING THE MVP-6
 Rotate the shock mount’s locking wheel counterclockwise to loosen it.
- Slide the mounting foot all the way into your camera’s hot shoe.
- Rotate the locking wheel clockwise until secure.
- Plug the audio output cable into the 1/8 in. audio input jack on the recording device or camera.
- Set the selector to the appropriate smartphone or camera setting.
Note: Smartphones that have a lightning or USB Type-CTM connector will require an adapter (sold separately).
TRIPOD USE
The shock mount is equipped with a 1/4-20 socket for mounting the MVP-6 onto a tripod. Screw the shock mount and microphone onto a tripod’s 1/4-20 stud until secure.
SMARTPHONE USE
 Insert the smartphone into a smartphone video rig or handheld rig, and mount the MVP-6 onto an available shoe mount or 1/4-20 stud.
SUPERCARDIOID POLAR PATTERN
 report this ad
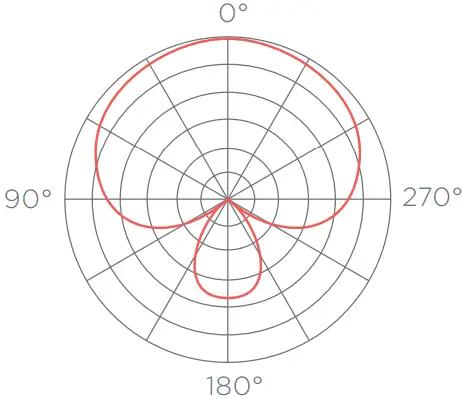
TROUBLESHOOTING
|
Problem |
Solution |
| The sound is distorted. |
|
| The sound is too low. |
|
SPECIFICATIONS
| Transducer | Electret condenser |
| Polar Pattern | Supercardioid |
| Frequency Response | 40 Hz to 20 kHz |
| Sensitivity | -34 dB ±3 dB |
| Impedance | 2.2 k |
| Signal-to-Noise Ratio | >68 dB |
| Maximum SPL | >100 dB |
| Power Requirement | 1 to 10 V plug-in power |
| Cable | 1/8 in. (3.5 mm) TRRS |
| Diameter | 1.6 in. (4 cm) |
| Length | 6.3 in (16 cm) |
| Weight | 1.8 oz. (52 g) |
References
[xyz-ips snippet=”download-snippet”]