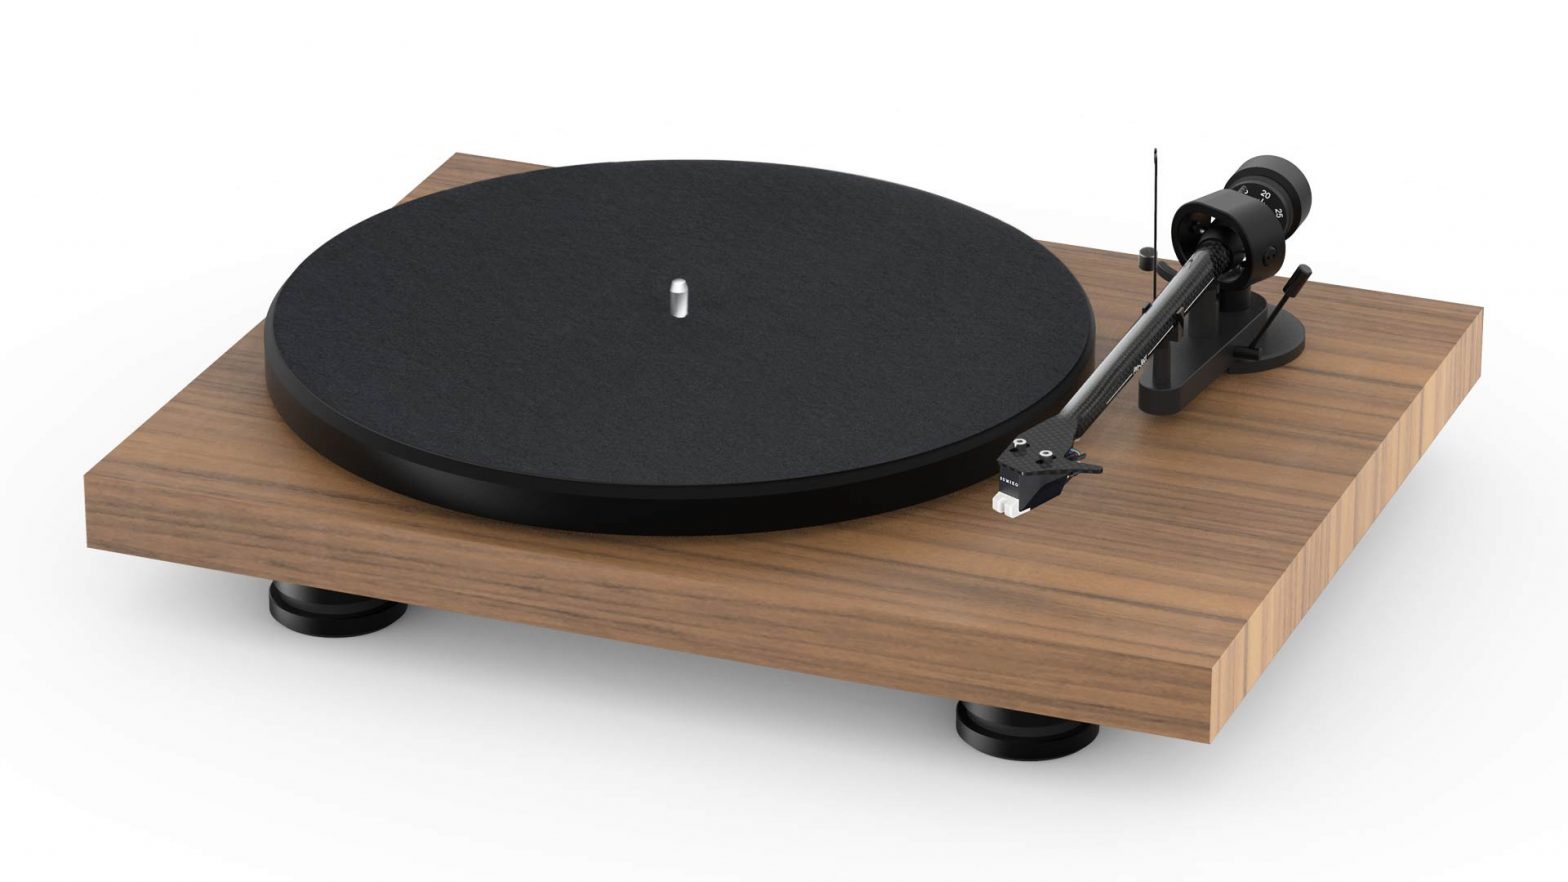
Pro-Ject Debut PRO Audio System
Getting started:
- Make sure to have enough space to unpack your turntable.
- Always unpack and setup in a clean environment.
- Please Do NOT throw away the packaging! If you need service or want to return your product, please send it in the original packaging including all inserts. In case of damage due to alternative packaging your dealer cannot guarantee a full refund.
- complete manual: www.project-audio.com/en/product/debut-pro
HOW TO USE:
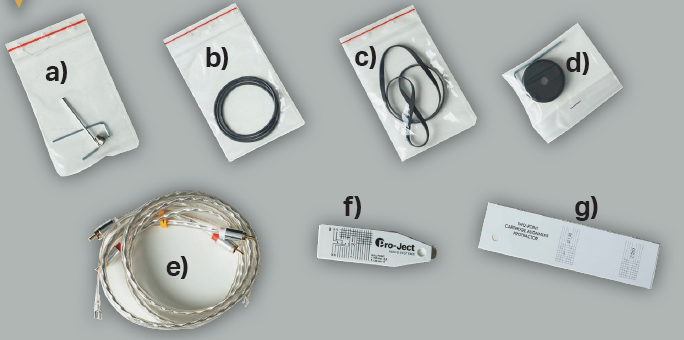
- Unpack all items from accessory bag:
 a) Anti Skating Weight / Allen keyb) Round belt for 78 RPMc) Standard flat belt for 33/45 RPMd) Adapter for 7“ singles / Allen keye) Connect it E RCA cablef) Gaugeg) Cartridge alignment protector
 - Remove dust cover carton from the box.
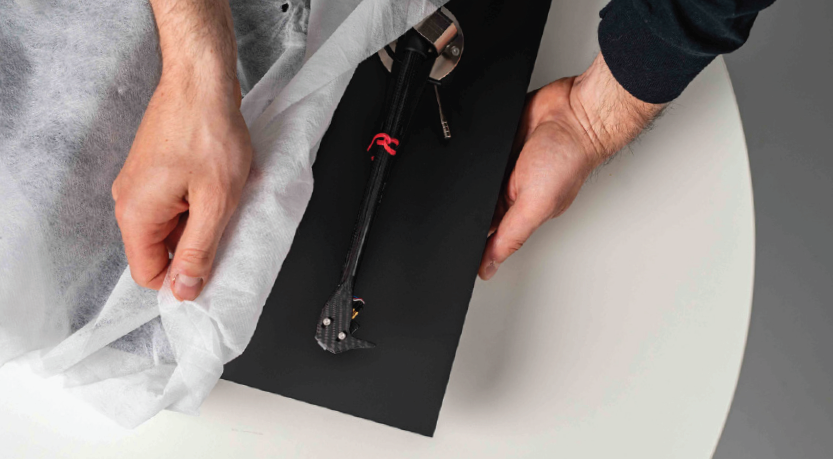
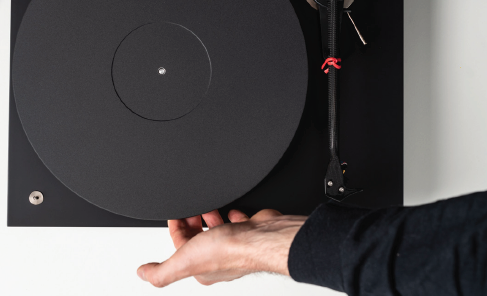
- Lift the wrapped turntable out of the box.
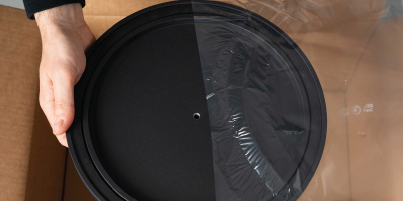
- Carefully remove the covering.
- Unpack the counterweight.
- Unpack the power supply.
- Unpack the platter.
- Put the flat drive belt (c) on the pulley and sub-platter.
- Put the platter on the turntable.
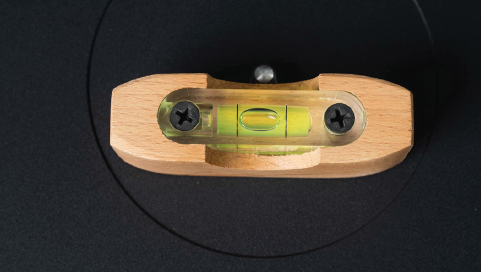
- The turntable should always be placed on a flat surface. Check with a spirit level.
- If necessary, level the turntable by adjusting the feet.
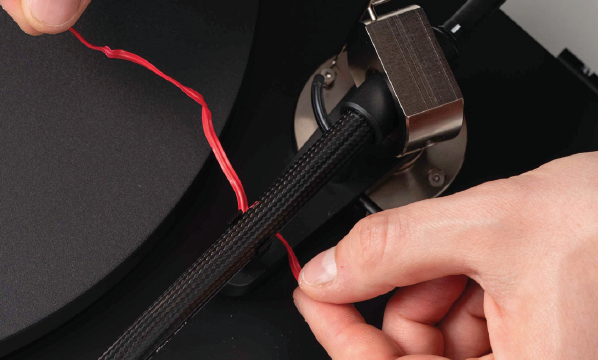
- Remove tonearm twist tie.
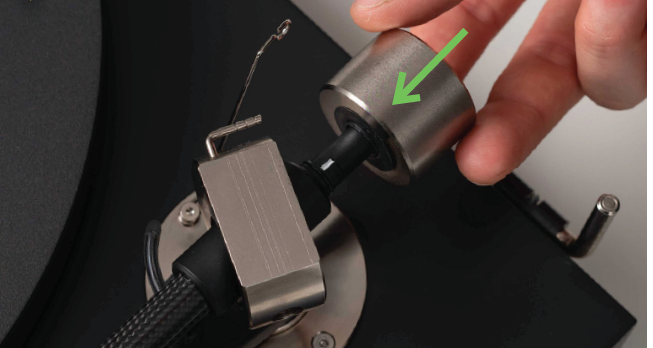
- Put the counterweight in place.
- Remove the stylus protection cover.
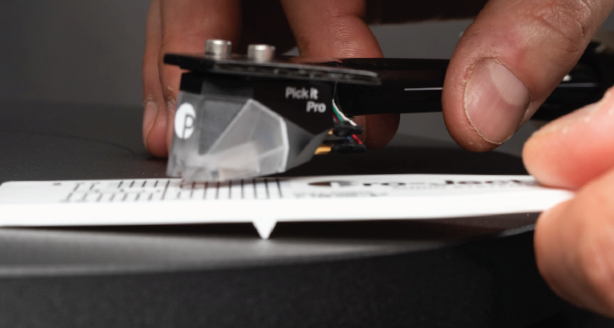
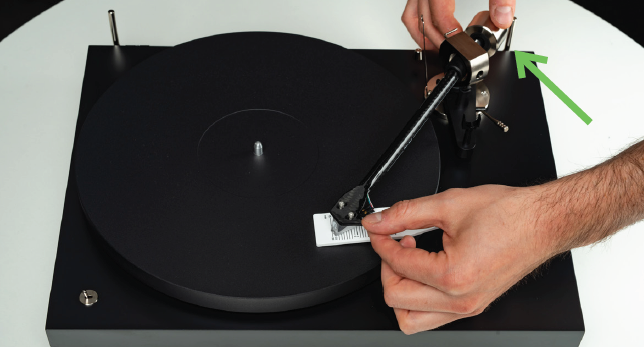
- Put the gauge (f) on the platter.
- Place the stylus on the gauge. The stylus should read 20.
- Balance the tonearm by turning the counterweight forwards and backwards on the rod.
- When the gauge stays level, your tracking force is set correct.
- Put the loop of the Anti Skating Weight (a) in the second notch on the tonearm post.
- Plug in power supply and Connect it E (e). Yellow cable marks to the amplifier.
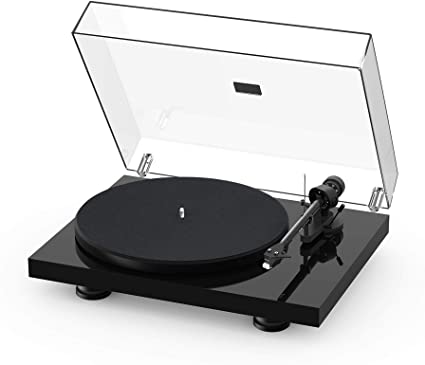
- Unpack dust cover and install it.
- Use the switch to select the playback speed.
- Connect to your hifi-system and enjoy your music.
 a) Anti Skating Weight / Allen keyb) Round belt for 78 RPMc) Standard flat belt for 33/45 RPMd) Adapter for 7“ singles / Allen keye) Connect it E RCA cablef) Gaugeg) Cartridge alignment protector


![]()
References
audio.com/en/product/debut-carbon-
Find A Dealer – Pro-Ject Audio Systems
audio.com/en/product/debut-carbon-evo
Pro-Ject Audio
audio.com/de/product/debut-carbon-
For the stories you haven\’t yet told
Debut PRO – Pro-Ject Audio Systems
Overton
Find A Dealer – Pro-Ject Audio Systems
For the stories you haven\’t yet told
audio.com/en/product/debut-carbon
Pro-Ject Audio
Find A Dealer – Pro-Ject Audio Systems
Debut PRO – Pro-Ject Audio Systems
Pro-Ject Audio Systems
Pro-Ject Audio Systems
[xyz-ips snippet=”download-snippet”]