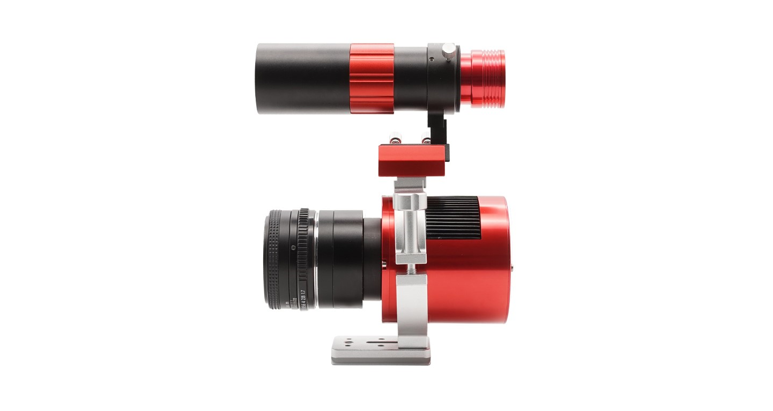
Black-CAT Mount Assembly Instructions ver. 1.2
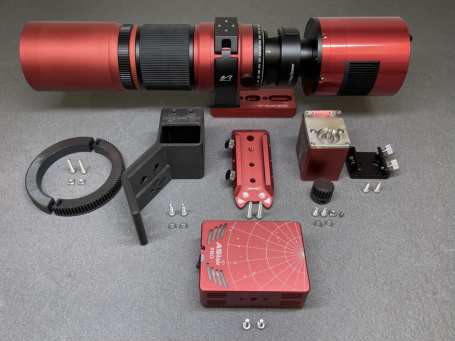
Parts:
- Black-CAT Mount Body
- Big and Small Gear
- M4 hex screws
- M4 Square Nuts
- M4 Flat End Screws
- Washers
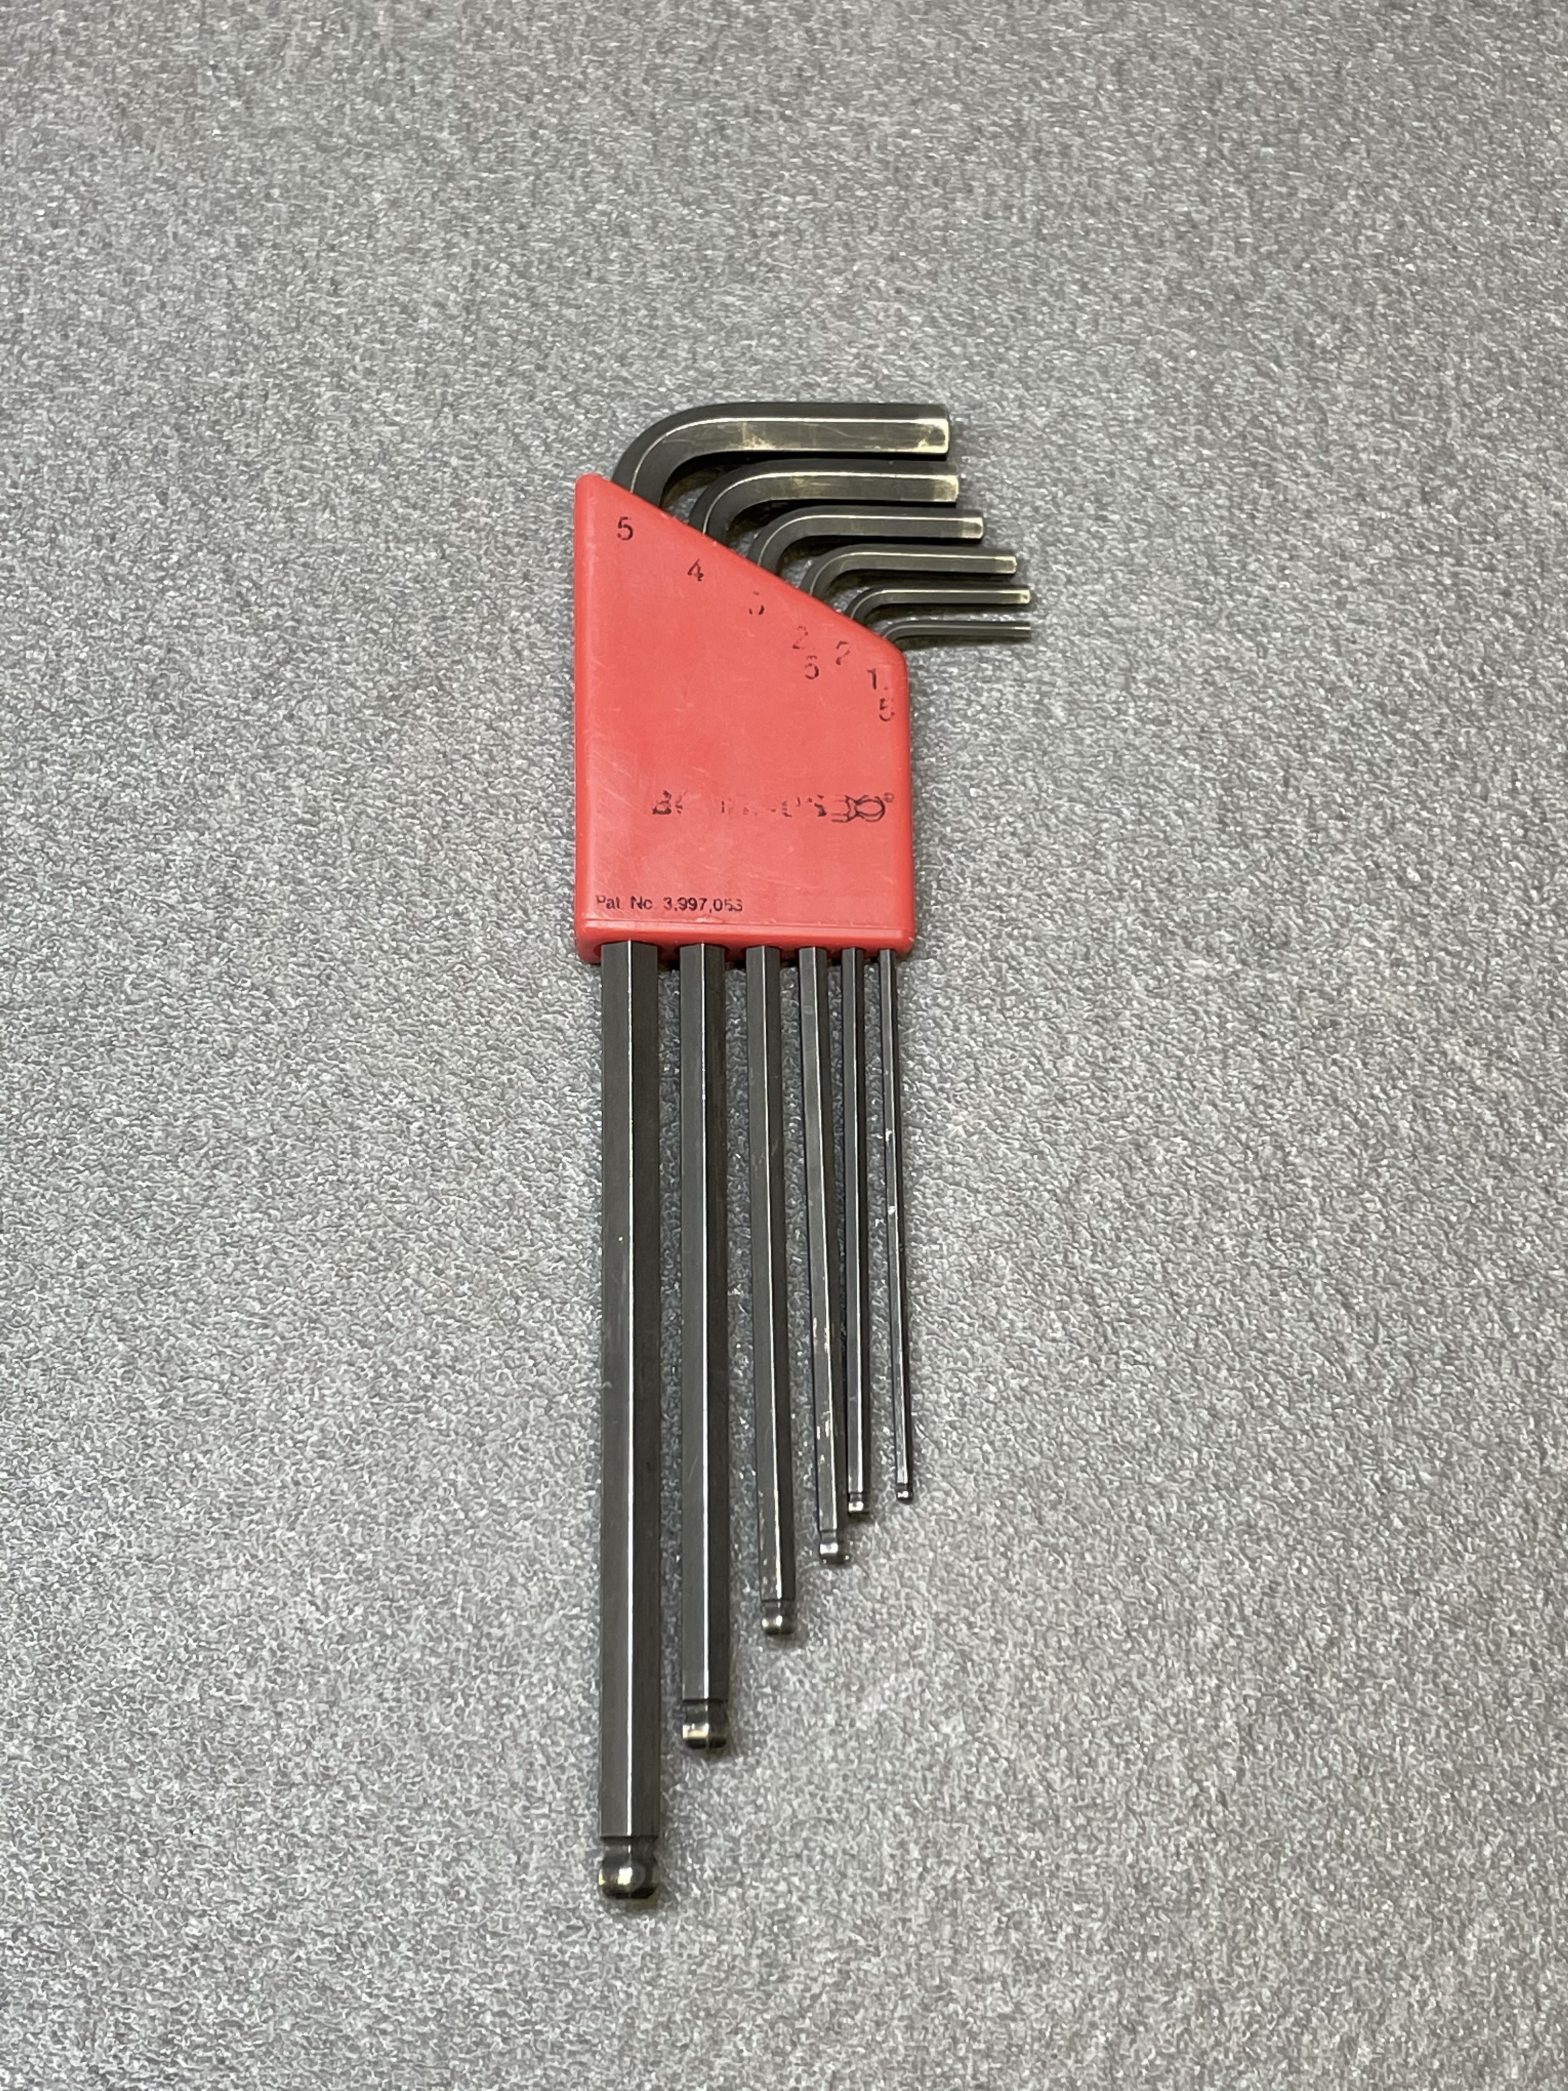 Needed tool:
- H2 (3/32″) Hex Key
- H2,5 (7/64″) Hex Key
- H3 (1/8″) Hex Key (only for attaching Saddle Handle)
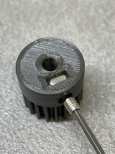
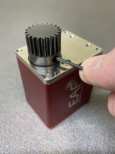
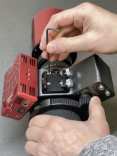
- Insert a square nut inside the small gear and a flat end screw inside the nut.
- Place the small gear on the EAF shaft and tighten the flat end screw against the shaft
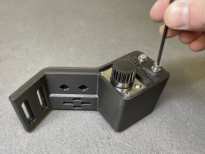
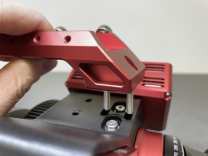
- Attach EAF to the Mount with two 8 mm long screws and washers and tighten fast

- Attach ASiair to the Mount with two 8 mm long screws (don’t over tighten)
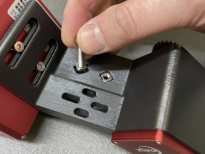
- To attach a guide scope shoe, place two square nuts on the bottom of the mount (use a screw to get the nuts in place)
- Keep the nuts in place with your fingers and turn the mount around
- Use proper size screws (not too long) to attach the shoe (there are several size screw for different size shoes)
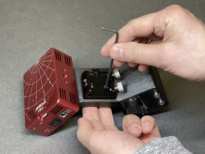
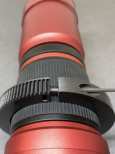
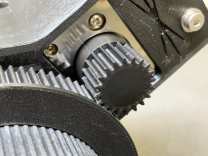
- Insert two square nuts in the holes of the big gear
- Attach the big gear around the scope and tighten loosely with two 20 mm long screws
- To attach the mount to the scope, place two washers and 14 mm long screws in the holes on top of the mount
- IMPORTANT: Press the small gear teeth against the big gear teeth with your thump
- Make sure everything is straight and tighten fast the two screws
- Place the big gear in good contact with the small gear and tighten the big gear around the scope (not too tight)
- Use two 22 mm long screws to attach the saddle handle on top of the mount


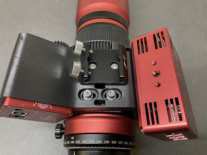
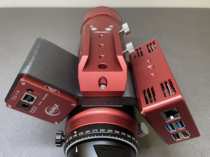
You are now ready to attach guide scope, cables and heaters and power the system!IMPORTANT: Remember not to leave the scope in the sun or hot car for a long time because the Mount parts made of carbon enforced plastic might deform if the temperature is higher than +50 Celsius (+122 Fahrenheit).
[xyz-ips snippet=”download-snippet”]