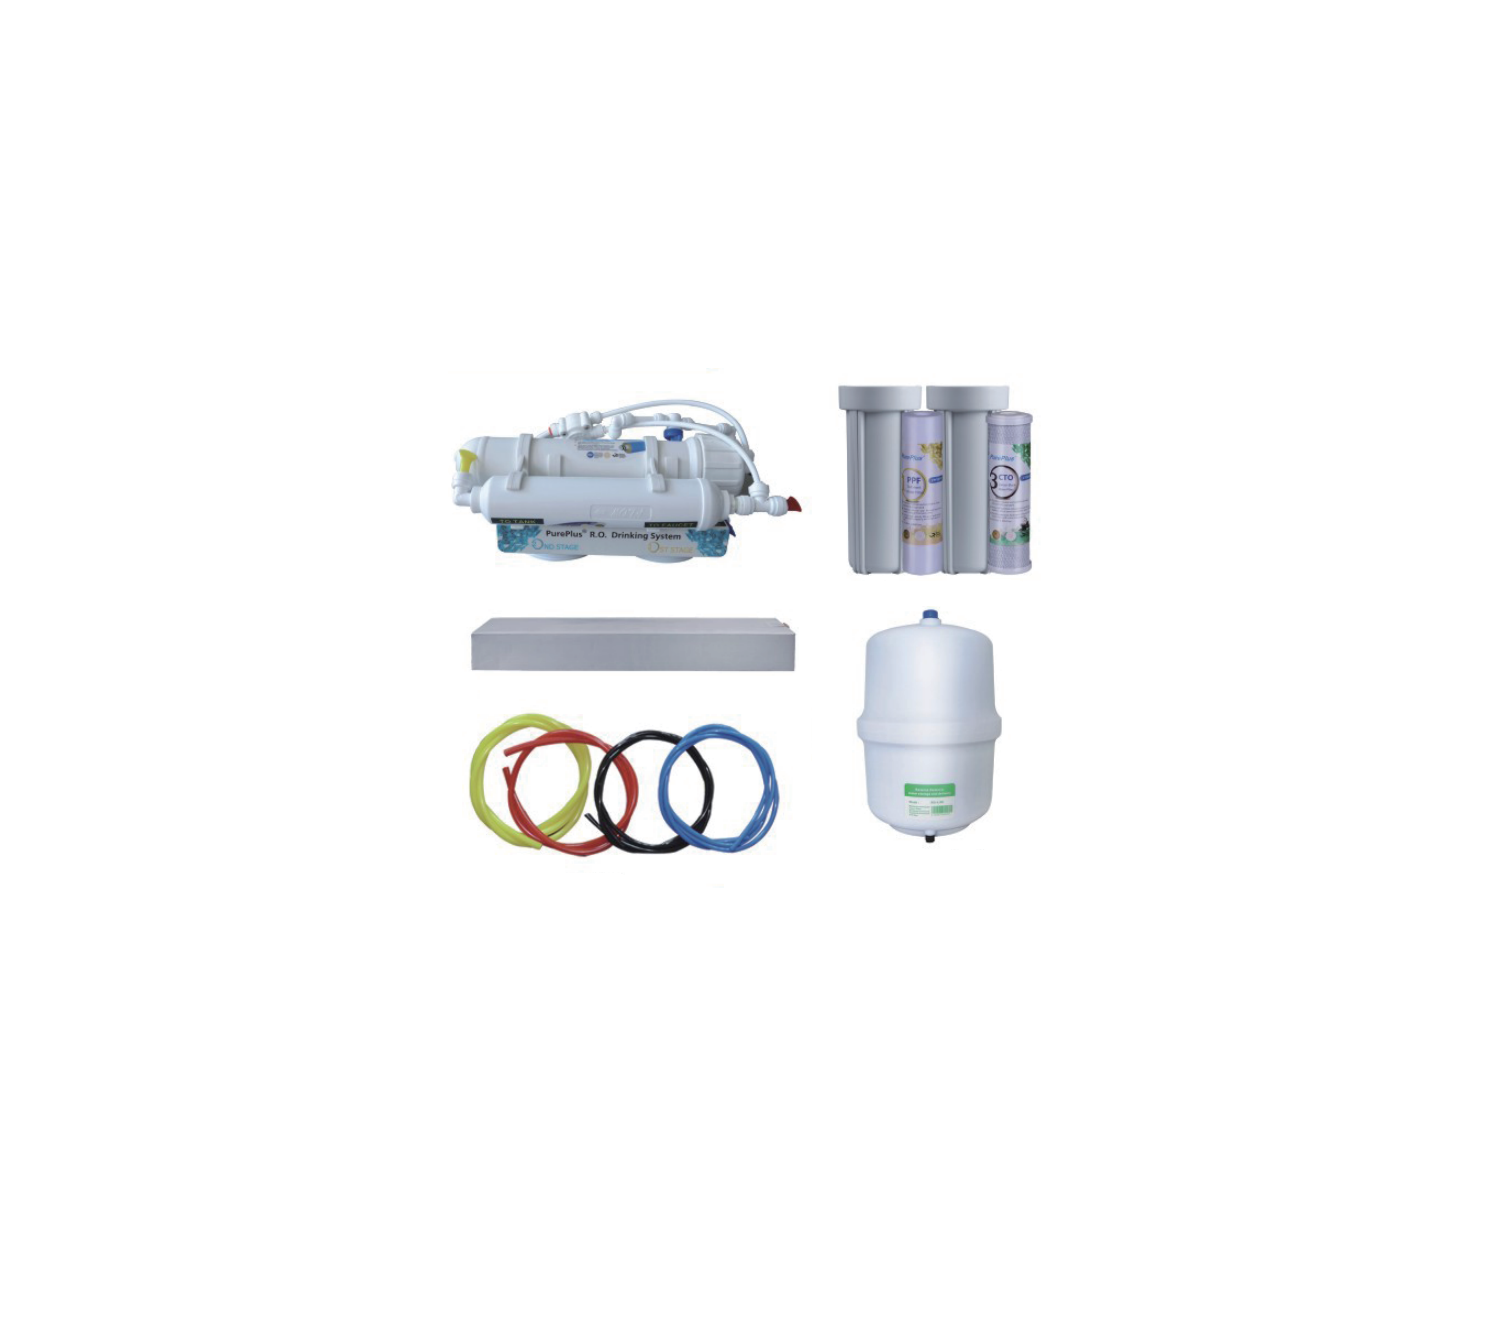
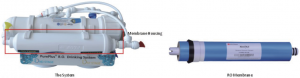
Pureplus 4-Stage Ro System PRO-4
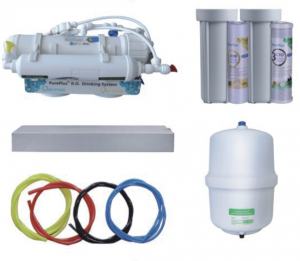
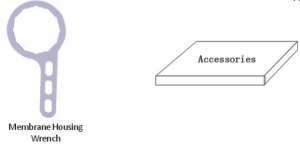
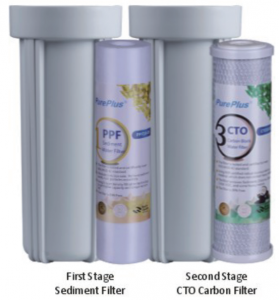
System Includes
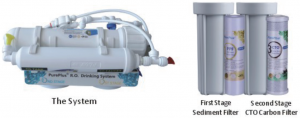
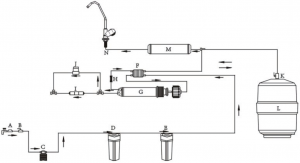
System Layout
Specification
| Model No. | PPRO-4 |
| Treatment Stages | 4-stage |
| Production Capacity | 80GPD/302L (Per 24 hours) |
| Tank Capacity | 4 Gallon/15. 1L |
| Working Temperature | 41-113°F |
| Raw Water Quality | <l000ppm |
| Micron Rate | 0.0001 micron |
Installation Instruction
Installation of the First 2 Stages Filter Housings and Cartridges
- Remove the protective w rap from each filter before installing.
- Insert the first-stage filter into the housing. Make sure the O-ring is seated in the top of the housing.
- Insert the second-stage filter into the housing. Make sure the black rubber cap is in the top of the housing.
- Insert the third-stage filter into the housing. Make sure the rubber caps on both ends are tightly attached to the filter.
- Carefully screw the housing onto the RO filtration system. Make sure to match them to the correct spot.
- Install the first-stage filter housing onto the side of the filtration system where there is a blue cap on the end.
- Install the second-stage filter housing onto the middle position of the filtration system
- Carefully screw the third-stage filter housing onto the remaining spot of the filtration system.
- Tighten each filter housing using the supplied wrench.
Installation of the Third Stage RO Membrane
- Slightly lift the housing.
- Remove the blue locking clip.
- Compress the whit e fitting and pull out the tube.
- Remove the cap of the housing using the supplied ro membrane wrench.
- Install the membrane into the housing. Make sure the end with the black O-ring is facing the cap of the housing.
- Tighten the cap of the housing with the supplied ro membrane wrench.
- Insert the tubing. Install the blue locking clip. Put the housing back into position.
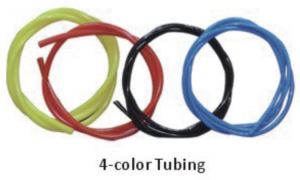
- Caution: When cutting the 4-color tubing, predetermine the length by measuring the distance between the components to be connected.
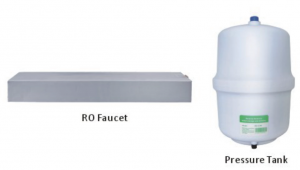
Installation of the RO Faucet
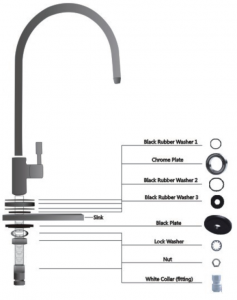
(Above the sink)
- Insert the two black rubber washers onto the Chrome Plate. The Black Rubber Washer 1 (the smaller one) is on the upside, while the Black Rubber Washer 2(the bigger one) is on the downside.
- Install the Chrome Plate and the Black Rubber Washer 3 onto t he faucet.
- Install the faucet into the drilled hole.
(Under the sink)
- Install the Black Plate.
- Install the Lock Washer.
- Install the Nut. Tighten the Nut.
- Install the White Collar (fitting).
- Install the tubing onto the faucet and make sure the tubing is tightened.
Installation of the Inlet Valve and Adapter
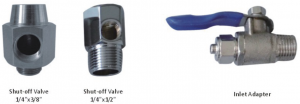
Select the Shut-off Valve of the right size. There are two sizes: 1/4″x 3/8″ and 1/4″ x 1/2″.Choose what you need.
- Remove the nuts from the Shut-off Valve.
- Wrap the Teflon tape onto the Shut-off Valve.
- Install the Shut-off Valve into the cold water adapter.
- Wrap the Teflon tape onto the cold water adapter.
- Loosen the cold water flex line at the faucet.
- Wrap the Teflon tape onto the cold water flex line. Then install the Inlet Adapter.
- Re-install the cold water flex line onto the adapter and tighten.
- Slip the nut from the stop valve over the blue tubing.
- It is recommended that you soak the tubing into warm water for a moment.
- Then insert the blue tubing onto the valve. Tighten the nut.
Installation of the Anti-leak Protector
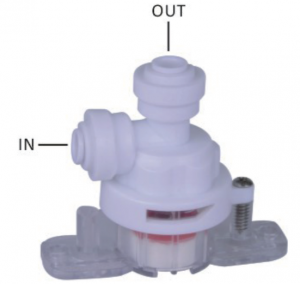
- Remove the 3M sticker on the bottom of the protector.
- Position the protector and the filtration system on the same ground level.
- Insert the blue tubing that is connected to the Shut-off Valve into the Anti-Leak Protector.
- Remove the blue lock clip from the connector of the first stage (Raw water input).
- Remove the blue cap. Insert the blue tubing into the connector of the first stage.
- Re-install the blue lock clip
- Make sure to position the Anti-leak Protector on the floor correctly.
- If there is any leaking from the system or water dripping on the floor, the Anti-leak Protector will cut off the water supply to the system to avoid the further leaking. Then you will need to replace the Anti-leak Protector.
Installation of the Pressure Tank
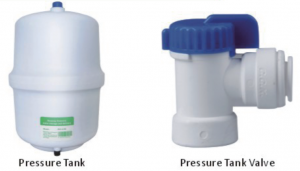
- Remove the blue cap on the top of the Pressure Tank.
- Install t he valve onto the tank and make sure it is fully tightened.
- Attach the red tubing to the Pressure Tank Valve.
- Remove the red cap from the filtration system.
- Attach the other end of the red tubing onto the filtration system.
Connect the Yellow Tubing of the Faucet to the Filtration System
- Remove the yellow cap from the last stage of the System.
- Connect the yellow tubing (the other end has been connected with the RO Faucet)to the filtration System .
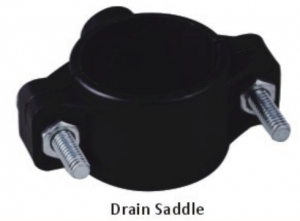
- Drill a hole at a desired location on the drain pipe.
- Attach the sticky foam pad around the hole.
- Insert the black tubing into the Drain Saddle.
- Align the d rain saddle with the drilled hole so that the black tubing is inserted into the drilled hole.
- Install t he back plate.
- Install the nuts and tighten with a screwdriver.
- Remove the black cap from the water filtration system.
- Attach the black tubing onto the water filtration system.
Installation of the Drain Saddle
Start Using the System
- Turn on the cold water supply valve and the Inlet Adapter.
- Keep the Pressure Tank Valve off.
- Turn on the Faucet.
- Check t he system for leakage. Tighten if necessary.
- Keep water flowing for about 10 minutes from the Faucet. Then turn off the Faucet.
- It takes about 3.5 hours for the Pressure Tank to fill.
- When t he tank is full (you w ill hear the system stop working), turn on the Faucet until water in the Pressure Tank is completely discharged. DO NOT DRINK THE WATER OF THE FIRST TANK.
- Turn off the Faucet. When the system begins to work again, you can start to enjoy the purified water
- Check for leakage daily for the first week and periodically thereafter
Maintenance
Filter Cartridges Change
- Shut off the water supply. Shut off the Inlet Adapter.
- Turn off the Tank Valve.
- Turn on the Faucet to release the air pressure.
- Change the filter cartridges.
Membrane Change
- The same procedure as Installation of the RO Membrane.
- Turn on the Manual Flushing Valve for 5 minutes.
- To ensure a longer service life of the membrane, turn on t he Flushing Valve for 5 minutes every two months to back flush the membrane.
Trouble Shooting
| PROBLEM | CAUSE | SOLUTION |
| 1. Milky colored water | Excessive air in the filtration system. | Air in the system is a normal occurrence when the RO system is initially installed. The milky color generally disappears within 1-2 week of normal use.
|
| 2. Noise from faucet | Air gap in the faucet and related tubing. | Turn the faucet on and let water flow for some time. |
| 3. Slow flow to the pressure tank | It often happens when the System is starting up and the air pressure in the pressure tank is low. | Normally it takes 4-6 hours to fill the tank. Low water pressure and /or low temperature may cause the slow flow. Add pressure in the pressure tank. |
| 4. Slow flow from the faucet/ Small capacity of water | A. Low water pressureB. The tubing has crimps.C. Pre-filters are blockedD. Membrane is blocked | A. This system requires minimum 40 psi water supply pressure.B. Keep tubing straight.C. Replace the 3-stage pre-filters.D. Replace the membrane. |
| 5. Water taste or smell is not good. | A. Post carbon is depleted.B. Membrane is depleted.C. Pressure Tank is not clean. | A. Replace the post carbon filter.B. Replace the membrane.C. Drain the pressure tank and refill it overnight |
| 6. No waste water drained | The Flow Limiting Valve | Replace the Flow limiting Valve. |
| 7. Leaks | A. Fittings are not tightened.B. O-ring is missing or aged. | A. Tighten fittings as necessary.B. Contact your local dealer. |
| 8. Leaks on the draining pipe | The hole of the Drain Saddle does not align appropriately. | Realign Drain Saddle. |
Please visit: www.pureplusfilters.com for the product details.

[xyz-ips snippet=”download-snippet”]