QGeeM USB-C Multi-functional Converter User Manual
Safety Instructions
- Always read the safety instructions carefully.
- Keep this User’s Manual for future reference.
- Keep this equipment away from humidity.
- If any of the following situation arises, get the equipment checked by a service technician
- The equipment has been exposed to moisture.
- The equipment has been dropped and damaged.
- The equipment has obvious sign of breakage.
- The equipment has not been working well or you cannot get it work according to User’s Manual.
- Copyright StatementNo part of this publication may be reproduced in any form by any means without the prior written permission. Other trademarks or brand names mentioned herein are trademarks or registered trade-marks of their respective companies.
- DisclaimerInformation in this document is subject to change without notice. The manufacturer does not make any representations or warranties(implied or otherwise)regarding the accuracy and completeness of this document and shall in no event be liable for any loss of profit or any commercial damage. Including but not limited to special, incidental , consequential, or other damage.
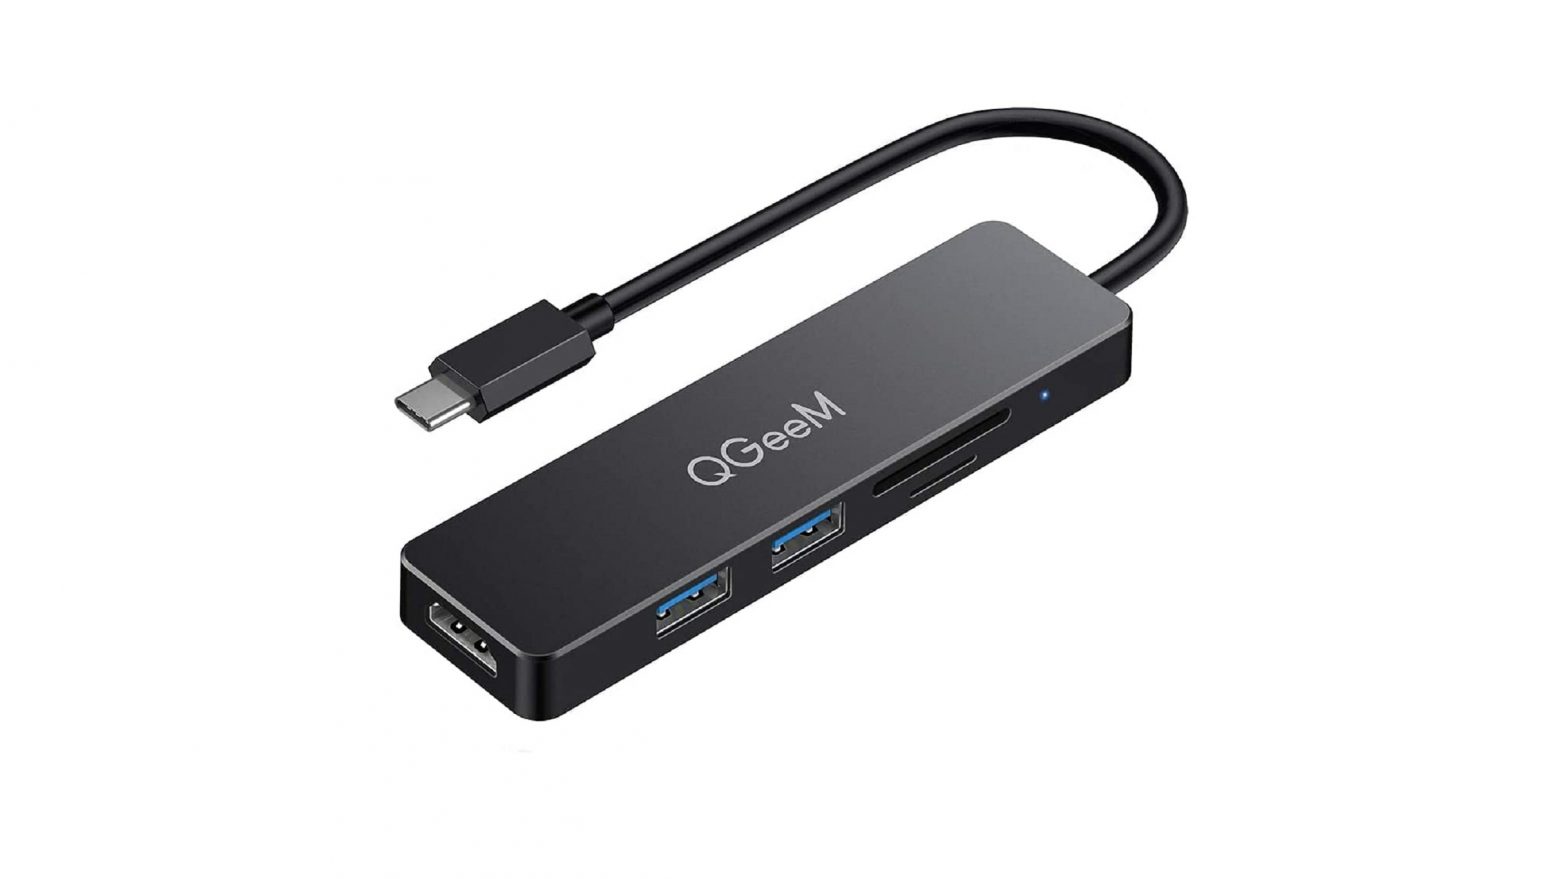
Product Introduction
This product is a smart expansion screen electronic product, compatible with USB 3.1 Type-C interface for Apple, Tablet and Android phones. Supports the display of TV,projectors, etc. on pictures, videos, movies, sounds, etc. on computers, tablets and mobile phones. The HDMI interface supports ultra-high definition display. USB3.0 interface connects to 3.0 U disk, can read and write 3.0 U disk data at high speed, compatible with USB2.0, mouse, key-board and other functions. The PD interface is connected to the PD charger to quickly charge the computer, tablet, and mobile phone. USB-C /F connects Type-C interface U disk and mobile hard disk, etc., can quickly read and write U disk and mobile hard disk Data, compatible with Type-C mouse and headphones, support forward and backward insertion.
Product Parameters
|
Product performance parameters |
||
| No | Item | Specification parameter |
| 1 | Exterior color | Space gray |
| 2 | Product Size | L115*W45*H14.5mm |
| 3 | Body material | Aluminum alloy + ABS / toughened glass surface |
| 4 | HDMI output | Support resolution: 3840*2160 R30HZ backward compatible |
| 5 | USB 3.0 HUB transfer speed | 5Gbps backward compatible with USB2.0,Type A max |
| 6 | RJ45 LAN | 10/100/1000M |
| 7 | PD Charging | Input voltage (Max): 100W/20V/5A |
| 8 | USB-C/F Data Transmission | 5Gbps backward compatible with USB2.0 Type C max |
Attention
- Because the current output of the new Mac book is about 1.0 A, when the load exceeds 1A, the computer will start the self-protection function. It will be prompted that USB consumes a lot of power and is disabled. Pull the converter off (and turn off the disabled icon or restart) and reinsert it again. Priority should be given to inserting the power-consuming device such as the PD power supply (connecting hard disk). When it is not connected properly, please connect it. Electrical appliances are used in the Type-C base of the product to supply power to computers, hard disks and other equipment.
- When inserting and unplugging the PD adapter, the connected USB device will be disconnected quickly, and then recovered in a few seconds to prevent data loss or damage. Please avoid disconnecting the connection between the PD adapter and the AC power supply when transmitting data.
Package Contents
Before installation, please check the items in the package. The package should contain the following items:
- USB-C Multifunctional Converter: xl
- User’s manual: xl
Instructions for
USB3.0 Port instructions
- U Disk: Connect the product to the Type-C socket of the laptop, and then insert the U disk. At this time, the computer will pop up U disk drive and click “enter” to copy, move and delete the files inside.
- HDD or SSD: Connect the Type-C male of the product to the Type-C socket of the laptop, and then insert the HDD or SSD. At this time, the computer will pop up HDDor SSD drive and click “enter” to copy, move and delete the files inside.
- Mouse/Keyboard instructions: Connect the Type-C male of the product to the Type-C socket of the laptop, and then connect the mouse or keyboard to the USB3.0 interface of the product to use the external mouse or keyboard.
USB-C/F Data Transmission
- Type-C Disk: Connect the Type-C male of the product to the Type-C socket of the laptop, and then insert the disk. At this time, the computer will pop up disk drive and click enter to copy, move and delete the files inside.
- Type-C HDD or SSD: Connect the Type-C male of the product to the Type-C socket of the laptop, and then insert the HDD or SSD to USB-C Female port. At this time, the computer will pop up HDD or SSD drive and click “enter” to copy, move and delete the files inside.
Note: due to the high power consumption of the hard disk, if the contents of the hard disk cannot be read normally, please connect the charger to the Type-C socket of the product so that it can charge the computer and supply power to the hard disk at the same time.
PD Charging instructions
Connect the Type-C male of the product to the Type-C socket of the laptop, and then connect the Type-C male of the PD charger to the Type-C socket of the product, and the laptop starts to charge quickly.
HDMI projection instructions
Connect the Type-C male of the product to the Type-C socket of the laptop, and then connect the Type-C male of the PD charger cable to the Type-C socket of the product, and then connect products and dis-play devices such as HDTVs or projectors with HDMI cable. There are two modes of screen mirroring and expansion, and users can switch freely according to their needs.
SD/TF instructions
Insert SD card or TF card into SD card slot or TF card slot of the prod-uct, and SD card and TF card cannot be used at the same time.
RJ45 port instructions
Connect the type-c male of the product to the type-c female of the laptop, then connect it to the product with the RJ45 cable, insert the RJ45 cable male into the RJ45port female of the product, and plug and play in the Windows computer.The setting steps in the MacBook are as follows: system preference setting → network →click “+” to create a new service select USB 10/100/1000 LAN → create → application (after clicking the application, it will show USB 10/100/1000 LAN green, which has been successfully connect-ed). At this time, the MacBook can connect to the Internet through wired network.
Product port usage instruction diagram:

[xyz-ips snippet=”download-snippet”]