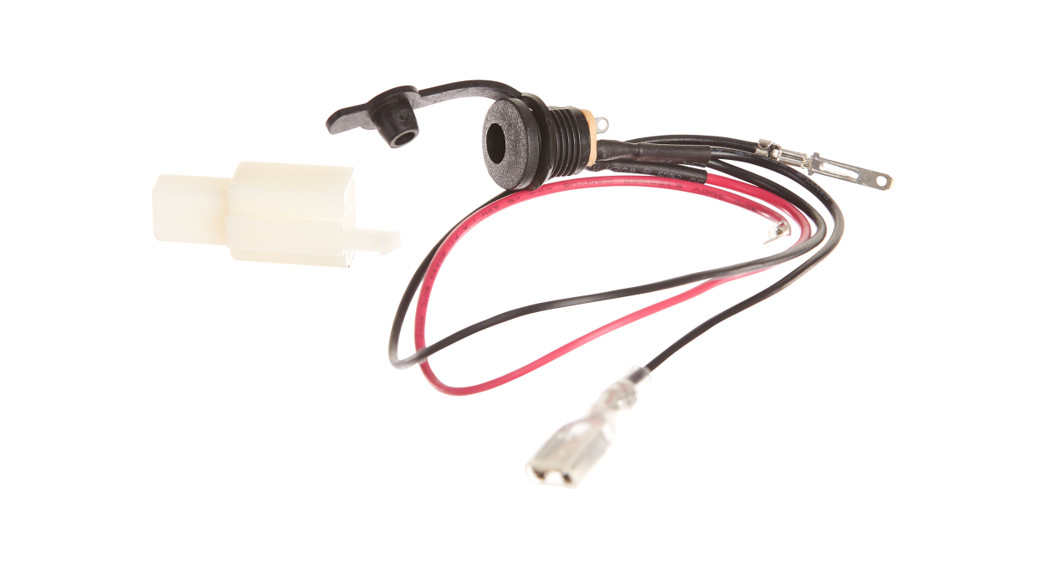
![]() MX125CHARGER PORT INSTALLATIONPART # W15118260106
MX125CHARGER PORT INSTALLATIONPART # W15118260106
Required Tools: (Not included)A. Phillips screwdriverB. Flathead screwdriverC. Cutting pliersD. Long nose needle pliers
![]() WARNING
WARNING CAUTION: To avoid potential shock or another injury, turn the power switch OFF and disconnect the charger before conducting any assembly or maintenance procedures. Failure to follow these steps in the correct order may cause irreparable damage.
Step 1Using a Phillips screwdriver, remove the four (4) screws that hold the seat fairing onto the frame.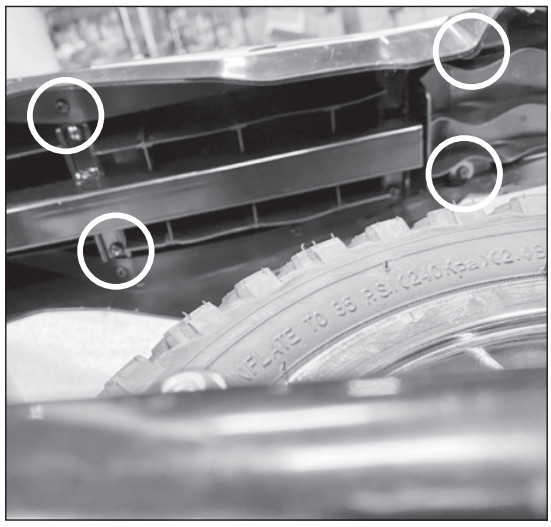 Step 2Lift the seat cover being careful not to pull the wires from the power switch and set the seat cover aside .
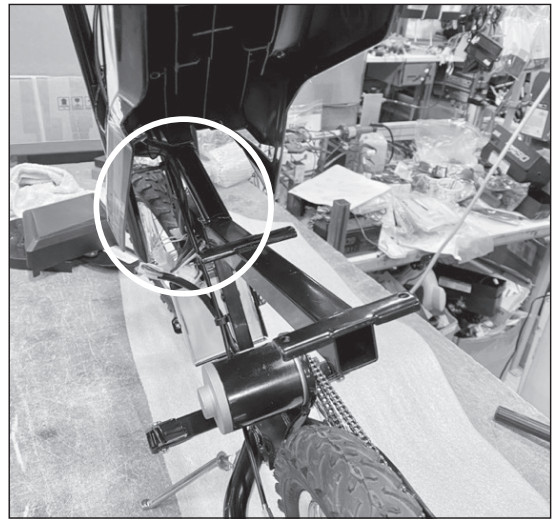
Step 3Cut the zip tie that holds the wires onto the frame. Locate and disconnect the charger port from the controller.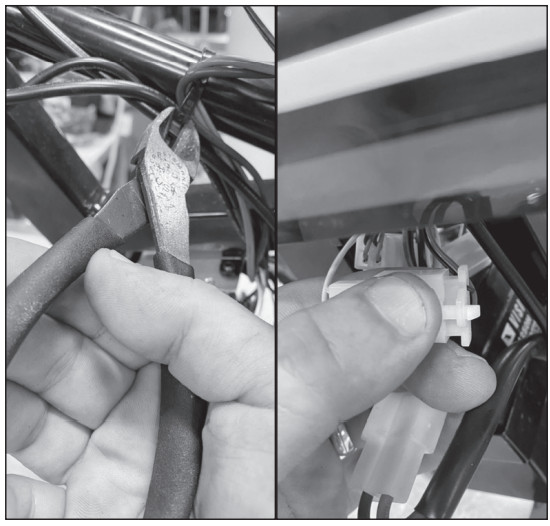
Step 4Disconnect the black wire from the charger port that connects to the power switch. Step 5Using a flathead screwdriver, remove the plastic glue from the back of the charger port and using long nose needle pliers, remove the ring at the back of the charger port and push it out from the seat fairing.
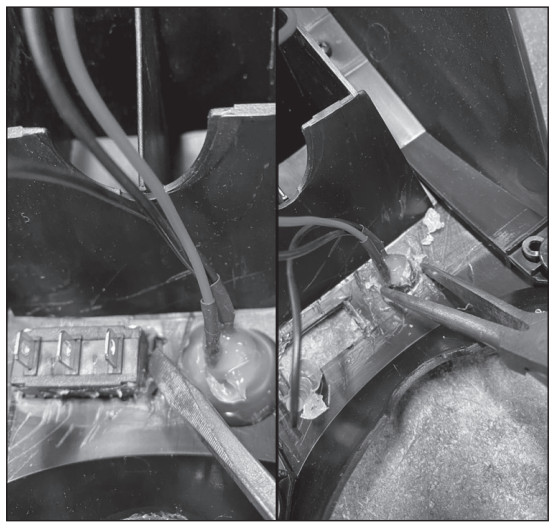
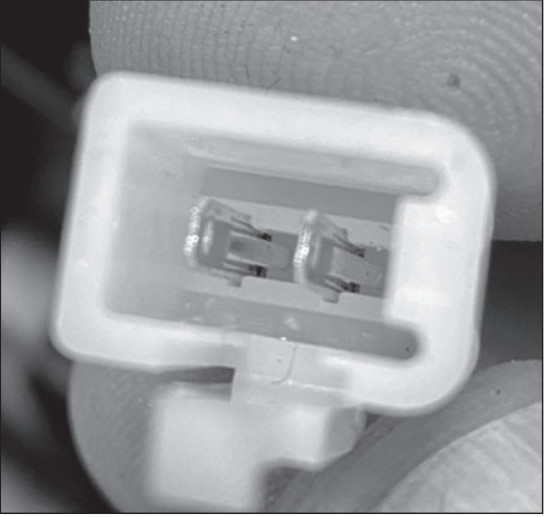
Step 6Using a small pointy object depress the tabs from the prongs and remove prongs from the white connector.
 Step 7Reverse the steps to install the new charger port.ATTENTION: Charge battery 12 hours before using.Need Help? Visit our website at www.razor.com or call toll-free at 866-467-2967 Monday – Friday 8:00 am – 5:00 pm Pacific Time.
References
[xyz-ips snippet=”download-snippet”]