RetroSound M2-FBC-1 Face & Shaft to Body Extension Cable
The information enclosed in this installation guide is intended to provide a general outline to assist you during the process of installation. This guide does not cover every installation possibility, vehicle, or aspect of the installation process.Retro Manufacturing, LLC, or its subsidiaries assume no responsibility for proper or improper installation.Every attempt has been made to make this installation guide as informative as possible. This guide may be updated from time to time, and specifications are subject to change without notice. Please check our website (www.retromanufacturing.com) for the latest updates.
Before You Begin
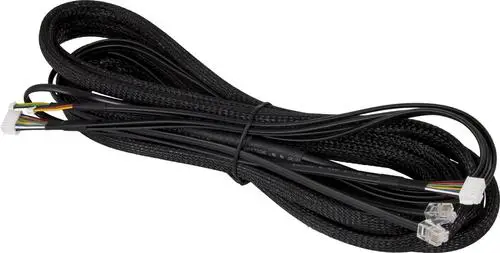
This cable allows you to mount the face and shafts to your RetroSound® radio separately from its main body. One end of the extension cable has a large white connector and two smaller white connectors. This end of the cable will be installed into the Radio Face and radio shafts. The other end has a large white connector and two RJ-11 telephone plug connectors. This end of the cable will be installed into the Radio Body. Should you have any questions about the use or installation of this product, please email us at [email protected]
Step 1:Installing the extension cable into the radio shafts.

A Remove the plastic shaft cover by removing the four small black screws at the back of the shaft (do not lose the screws).B Unplug the white connector from the PC board in the rear of the shaft. Notice the bend in the wire; you will need to bend the wiring of the new extension cable when installing it. (NOTE: the bend in the wire acts as a strain relief for the cable when the back is re-installed).

C Plug the extension cable’s connector into the PC board of the shaft. Please do not force the connector into the socket; it only installs oneway; see the location of the yellow wire in the image above.
D Re-install the shaft cover with the four small black screws. Repeat these steps with the second shaft.
Step 2:Installing the extension cable into the Radio Face
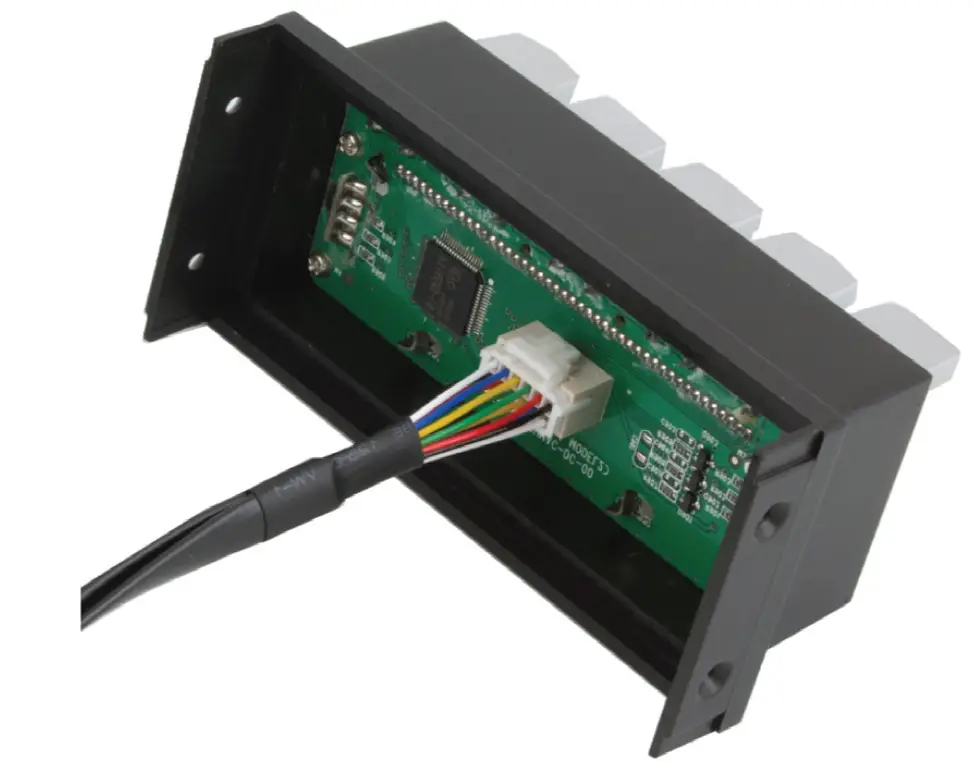
If the Radio Face is still connected to the Radio Body, remove the two screws on each side of the face and gently detach the Radio Face from the Radio Body.Remove the white connector from the PC board of the Radio Face. Plug the large white connector of the extension cable into the Radio Face.
Step 3:Installing the extension cable into the Radio Body

Plug the RJ-11 telephone plug connectors into the sides of the Radio Body. Then plug the large white connector into the Radio Body.
Limited Warranty
If your product does not work properly because of defects in materials and workmanship RetroSound®, a division of Retro Manufacturing, LLC (collectively referred to as “the warrantor”) will, for the length of the period indicated in the chart below, which starts with the date of original purchase (“warranty period”), at its option either (a) repair your product with new or refurbished parts, or (b) replace it with a new or refurbished product. The decision to repair or replace will be made by the warrantor.
| ITEM | WARRANTY |
| Face & Shaft to Body Extension Cable | One (1) Year |
This warranty only applies to products purchased and serviced in the continental United States. This warranty is extended only to the original purchaser of a new product that was not sold “as is.” A purchase receipt or other proof of the original purchase date is required for warranty service.
To handle warranty issues, contact us at [email protected] or 888.325.1555. All returns and warranty issues must be accompanied by a Return Authorization (RA) number along with a copy of your original purchase receipt. Any items sent to us without either an RA number or a copy of the receipt will be refused. Once an RA number is issued, send the product along with a copy of the original sales receipt to the address shown below.
7470 Commercial Way,Henderson, NV 89011©2021 Retro Manufacturing, LLC | Published: 05/24/2www.retromanufacturing.com
References
[xyz-ips snippet=”download-snippet”]