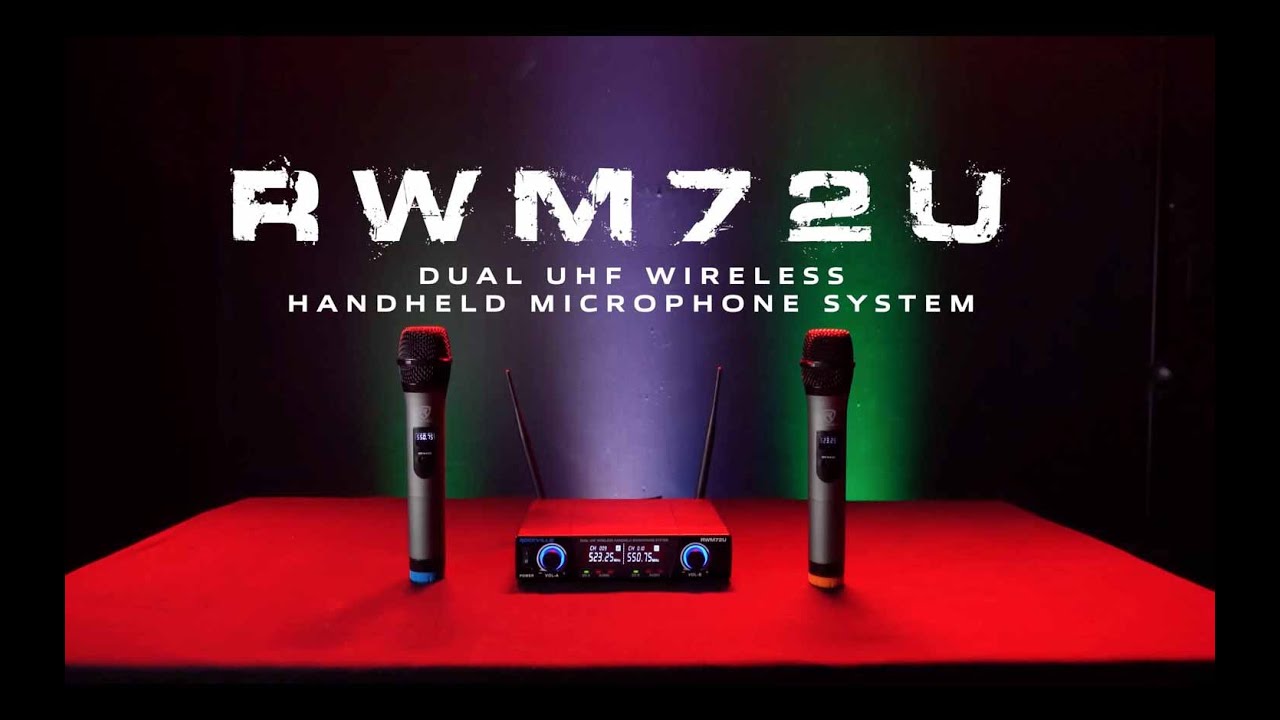

Rockville RWM72U Microphone System
Thank you for purchasing this Rockville RWM72U Dual Wireless UHF Microphone System. Please read this owner’s manual carefully for proper use of your Rockville Wireless UHF Microphone System. Should you need assistance, please call our technical help line at 1-646-758-0144, Monday through Thursday, 9am to 10pm EST., and Fridays, 9am to 3pm EST.
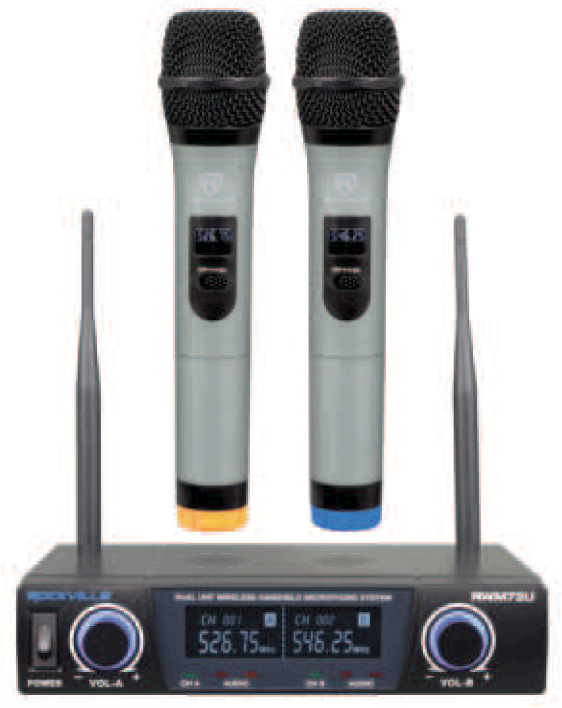
Includes:
- Receiver with LED display
- 2 hand-held mies with LED display
- ¼- to ¼- Audio output cable
- Power adapter
- 2 antennas
- 4 AA batteries
- Owner’s manual
- Warranty card
Receiver (Front)
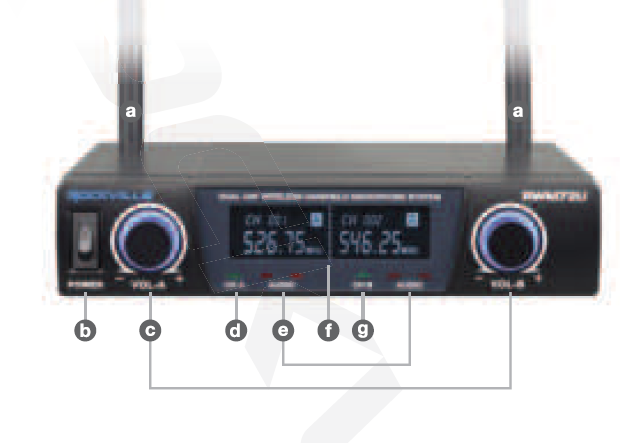
- Antenna
- Power on/off
- Volume controls
- CH A LED indicator
- Audio signal LED indicator
- LCD Display: shows frequency and channel
- CH B LED indicator
Receiver (Back)

- Antenna B
- Mic B XLR out
- ¼” TRS Mix out
- Power input (110/220 volt power supply for worldwide use)
- Mic A XLR out
- Antenna A
Microphone
- Microphone windscreen
- LCD Display: shows frequency
- Power on/off
- Battery compartment.

Please note: LCD screen will gradually darken, indicating that the battery is low and needs to be replaced.
Setup and Operation
The RWM72U features a ¼” mix output if you want to connect to a single mixer channel so as to control the mic mix. There are also individual volume controls and XLR outputs so you can plug Mic A into one mixer channel and Mic B into another mixer channel in case you want to have 2 different sound mixes on each mic.Please note: Although you can use either mic or line level inputs, line level inputs are preferred when available. Be sure to adjust the volume on the mic receiver according to the input you choose. 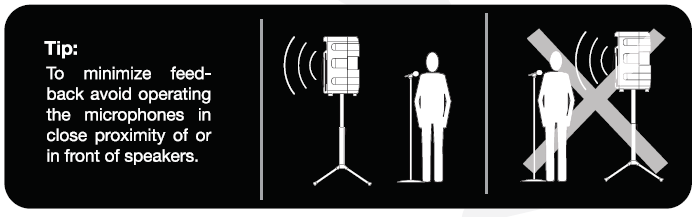
- The receiver should be placed in an area that is stable and least likely to shake the unit.
- The receiver should be at least 3 ft off the ground for optimal transmission.
- Connect the antenna and power supply provided.
- The antenna should extend vertically.
- Switch on the receiver.
- Switch on the microphones.
- Adjust volume as necessary.
Feature and Specs
- High performance and long range
- Includes microphone receiver and (2) handheld microphones
- High sensitivity cartridge
- Unidirectional
- Wireless cardioid polar pattern
- Dual filter design to limit feedback and interference
- Durable composite microphone construction with our signature comfortable rubbery coating
- Color coded microphones
- LCD display
- Low power consumption for longer battery life
- Latest UHF digital technology is controlled by a central microchip to ensure stable voice quality
- (2) Individual XLR outputs if you want to control each mic mix separately
- Mixed ¼”TRS output to control both mies through one channel on your mixer
- Individual microphone volume controls
- 110/220 volt switchable for worldwide use
Operating Range*: 250′ – 350′ (indoor), 200′ – 300′ (outdoor) Frequency Range: 500MHz – 599MHzFrequency Stability: ±0.005%Modulation Mode: UHFFrequency Response: 50Hz – 16KHz(±3dB)Dynamic Range: 11 0dBS/N: 90d8T.H.D: <0.1 %(1 KHz)Audio Output Impedance: 6000System Distortion: s;;0.5%Sensitivity: <2µVAudio Output Jack: (2) XLR balanced, (1) ¼” mix out Power Voltage: AC11 0V – 240V 50/60HzOperating Temperature: 14 °F – 122°FMic Battery Operating Time: up to 10 hoursPower Supply: 1.5V x 2
*Operating range is subject to environmental conditions. Results may vary.
Troubleshooting
| No sound or faint sound | • Verify all sound system connections or adjust channel volume as needed.
• Verify that the receiver is connected to the mix- |
| Turn on microphone. A dark LDC screen indi cates that the battery is low. Please replace or
Make sure the batteries are installed correctly. |
|
| Make sure AC adapter is securely plugged into
Make sure receiver is powered on. |
|
| Audio artifacts or dropouts | Identify nearby sources of interference (cell phones , Wi-Fi access points, signal processor, etc…) and shutdown or remove source.
Charge or change microphone battery. System must be set up within recommended range and receiver kept away from metallic
Microphone must be used in line of sight from receiver for optimal sound. |
| Distortion | Reduce microphone channel volume. |
| Sound level variations when switching to dif ferent sources | Adjust microphone volume as necessary. |
| Transmitter information does not appear on the Receiver LCD | Microphone is off. |
![]()
[xyz-ips snippet=”download-snippet”]