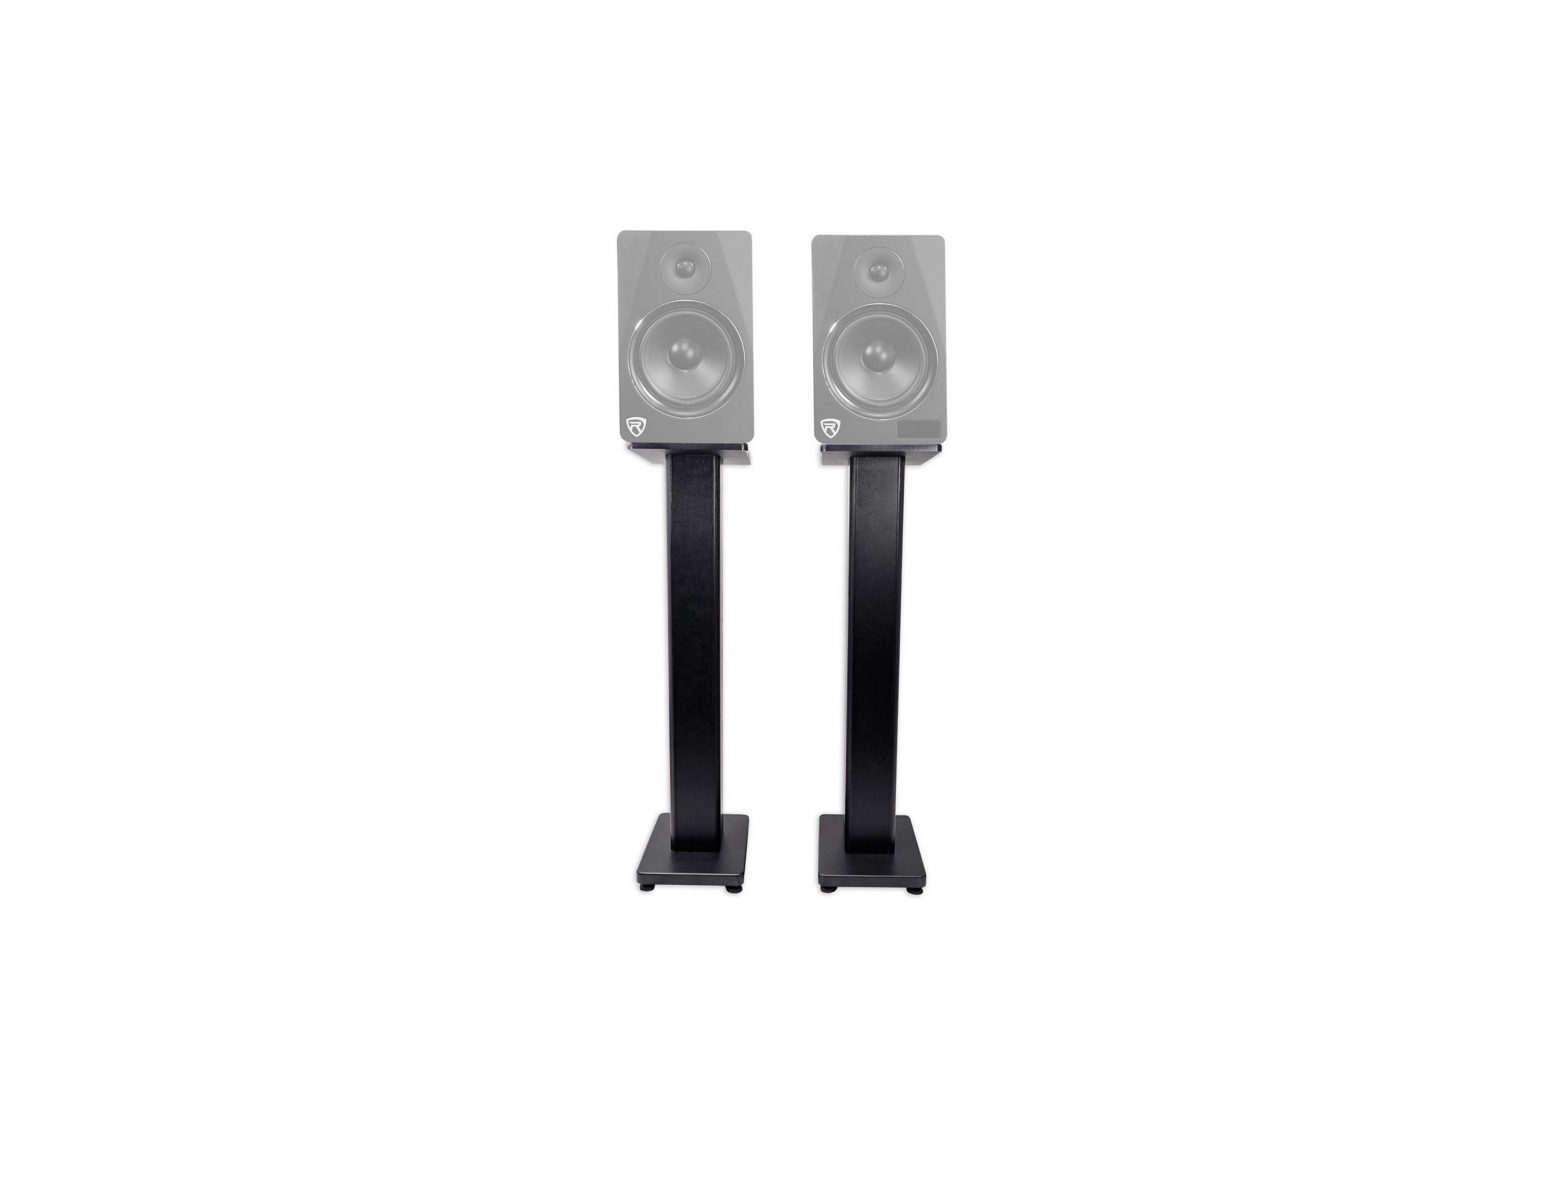
ROCKVILLE Wood Speaker Stands Instruction Manual
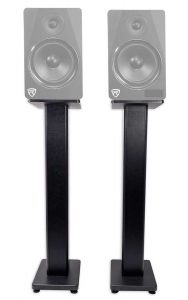
Thank you for purchasing these RHT28 Wood Speaker Stands. Please read these instructions carefully before use. Make sure all parts are included.If any parts are missing please contact our technical help line at 1-646-758-0144,Monday through Thursday, 9am to 10pm EST., and Fridays, 9am to 3pm EST.
Go to vimeo.com/304492604 or scan the QR code to watch the video, Specifications which covers everything you need to know to set up this item.
Overview
| Base plate | 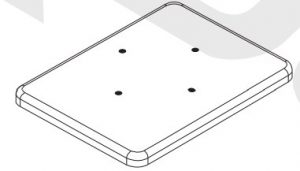 |
2 pcs. |
| Small platform |  |
2 pcs. |
| Large platform |  |
2 pcs. |
| Stand body | 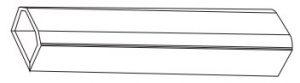 |
2 pcs. |
| EVA isolation pads | 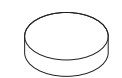 |
8 pcs. |
| Phillips-head screws |  |
16 pcs. |
| Brass isolation spikes |  |
8 pcs. |
| Rubber isolation spikes | 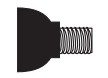 |
8pcs. |
| Cable clips | 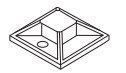 |
4 pcs. |
| Zip ties | 4 pcs. |
Specifications
- Stand height: 28
- Load capacity: 60 lbs
- Large platform size: 8‘ x 9.25
- Small platform size: 2B x 9.25
- Base plate: 11.8 x 05
- Stand weight:10 lbs
Tools needed
Phillips-head screwdriver
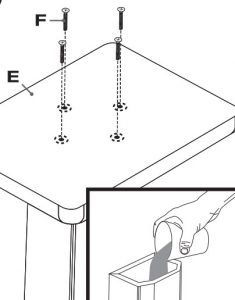
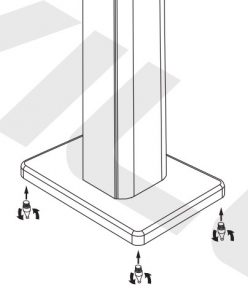
- Attach the base plate (E; flat side up) by aligning the screw holes with the stand body as in figure. Use four screws (F) to secure it in place. After attaching the plate you may consider partially filling the stand body with sand for additional stability (see inset).

- Select the appropriate size platform (A; there are two included). Align the holes on the platform with the edges of the stand body (B). Make sure that the beveled side of the platform (C) is facing up. Use four screws (D) to secure it in place.
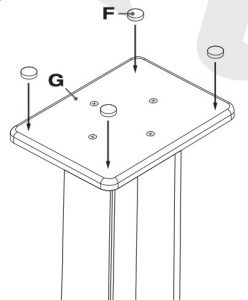
- Peel back the cover on the adhesive side of the EVA sound isolation pads (F) and place one on each corner of the top plate (G). These pads help to minimize resonance.
- Now attach the isolation spikes to the bottom of the base plate. If needed, adjust the spike height to keep the stand level. To place the stand on a carpeted floor, use the brass spikes. If you are placing the stand on a wood, laminate, tile, or bare floor you should use the included rubber spikes.
- The final step is to attach the cable clips to the back of the unit. Peel the cover off of the adhesive backing and place the clips in the desired locations. Once the clips are in place, slide a zip tie through the opening on the side of the clip (see inset H). Use the zip tie to secure the speaker cables (see inset I).


[xyz-ips snippet=”download-snippet”]