 24mm F2.8 AFInstruction Manualfor SONY E-Mount
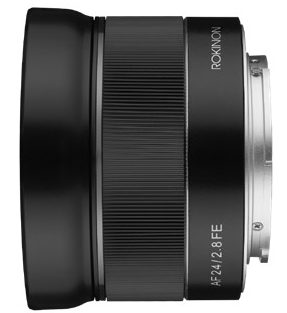
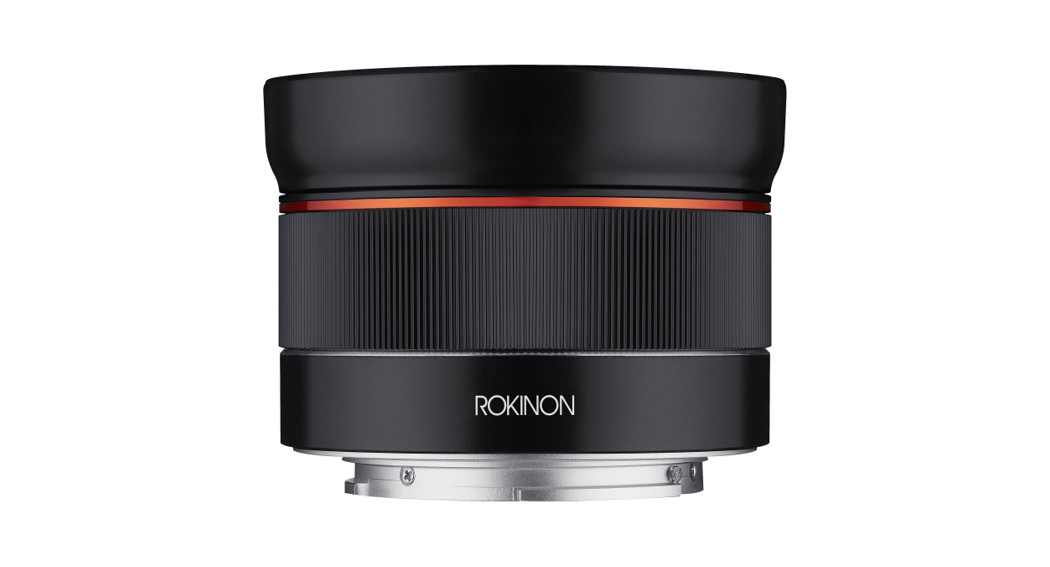
Thank you for purchasing the Rokinon AF 24mm F2.8 Compact lens. It is a high-performance prime autofocus optic designed exclusively for SONY E-mount mirrorless interchangeable lens cameras. Please note that supported functions may vary according to the camera model and that it will not mount to Sony A-mount cameras.
Advantages
- An inconspicuous size, a 9.5” minimum focusing distance, and a substantial wide angle of view make it perfect for travel, astrophotography, stealthy street shooting, and landscapes.
- It will provide optimal quality still images and video with both Sony Full Frame and APS-C image sensor cameras. For Sony alpha APS-C camera users the lens is equivalent to approximately 36mm to provide a more moderate wide-angle view.
- The AF (autofocus) is optimized for fast and precise focus detection with mirrorless cameras.
- Seven elements in seven groups, three Aspherical lenses, two high refractive lenses plus Ultra Multi Coating are utilized to minimize aberrations and increase sharpness for impressive image quality.
- The IF (Internal Focus) design prevents both changes in length and front element rotation for easy use with polarizing and other filters where positioning must be maintained.
Cautions
To maintain your safety and prevent damage to the lens, please fully familiarize yourself with the following:
- Do not look directly at the sun through the lens as It may seriously impair your vision.
- Do not to apply excessive force when attaching the lens to the camera as it may cause damage to the lens or your camera.
- The lens is a precision optical product, so dropping or excessive impact may cause product failure.
- Attach or detach the lens only while the camera is turned off.
- Be careful not to touch or contaminate the gold contacts on the mount as it can adversely affect communication with the camera.
- Protect the lens from water, high humidity, and excessive heat.
- Always store the lens with the lens cap on in a dry and well-ventilated location out of direct sunlight. Direct sunlight passing through the lens could become concentrated enough to cause a fire.
- Avoid subjecting the lens to drastic temperature changes such as moving from a very cold outdoors location to a warm indoor location. This can cause moisture in the air to condense inside or on the outside of the lens and lead to failure or mold production. Before taking the lens indoors from a cold outdoors location put the lensin a plastic bag or sealed camera bag and remove it only when the lens has warmed up to room temperature.
 CAUTION
 |
|
  |
|
  |
|
  |
|
  |
|
  |
Cleaning
- It is extremely important before cleaning to dust off the lens surface using a lens blower or a soft brush to remove any foreign particles or grit that could scratch the lens.
- Using a clean microfiber lens cloth, gently wipe the lens in a circular motion from the center outwards towards the edges of the glass.
- If stubborn spots remain, put only one or two small drops of ethanol or reputable lens cleaner on the microfiber cloth and repeat the circular cleaning process. DO NOT USE AN ORGANIC SOLVENT SUCH AS PAINT THINNER, ALCOHOL, OR BENZENE.
Included Components
- Front Lens Cap
- Semi-Hard Case
- Rear lens cap
- Instruction Manual
- Lens Hood
- Warranty Card
Attaching the lens
- Remove the rear lens cap and the camera body cap.
- Align the white index mark (dot) on the lens barrel with the white index mark (dot) on the lens mount of the camera.
- Do not press the lens release button on the camera when mounting the lens.
- Insert the lens into the camera mount and rotate it clockwise until it “clicks” and locks in place. Do not insert the lens at an angle.
- Remove the front lens cap when you are ready to shoot.
Detaching the Lens
- Attach the front lens cap.
- While holding down the lens release button on the camera body, rotate the lens counterclockwise until it stops and separates the lens from the body.
- Attach the rear lens cap.
Parts

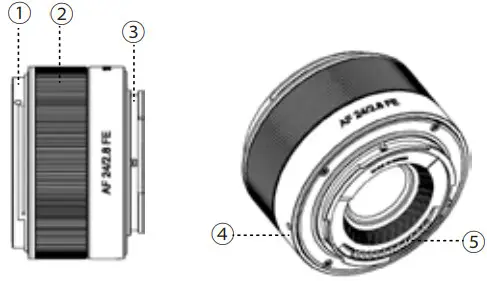
| ①Hood mount②Manual focus ring③Lens mount | ④Lens mounting index⑤Contacts |
Focusing
Sony mirrorless interchangeable lens cameras offer various methods of focusing. For detailed information regarding the available focus mode settings for your particular model, refer to the instruction manual of your camera.
- AF-S (Single-Shot AF): Autofocus operates when the shutter button is pressed halfway down. Once the subject is in focus, the focus is locked. It is suitable for shooting motionless subjects such as landscapes or snapshots.
- AF-C (Continuous AF): Autofocus continues to adjust the focus while the shutter button is pressed and held halfway down. It is suitable for shooting moving subjects such as sports.
- AF-A (Automatic AF): When the shutter button is pressed halfway down, the camera automatically recognizes whether the subject is moving or not, and switches the AF mode between AF-S and AF-C accordingly. Use this mode to shoot various subjects at the same time or to avoid switching the AF mode manually.
- DMF (Direct Manual Focus): This allows you to use manual focus and autofocus in combination. Press the shutter button halfway down to focus automatically. Keep the shutter button halfway down and rotate the focusing ring on the lens to find focus.
- MF (Manual Focus): This allows you instead of the camera to adjust the focus by rotating the focusing ring on the lens. MF is defective when autofocus does not work well such as in macro shooting.
Lens Hood
The supplied hood is designed specifically for the Rokinon AF 24mm F2.8 Compact lens for optimum effectiveness. It should be used at all times to help prevent contrast-reducing fare, provide better contrast, and for added protection.
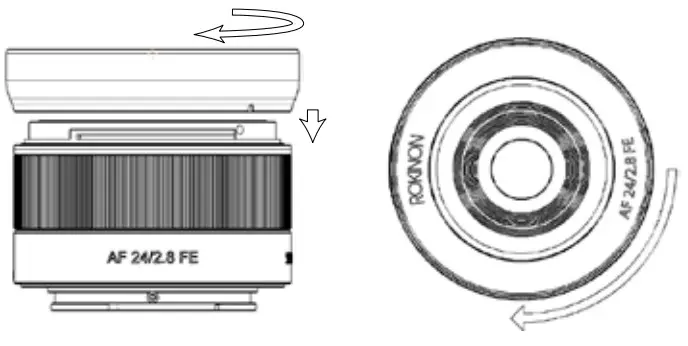
- To mount the hood, align the white index mark (dot) of the hood with the white hood index mark (dot) of the lens and rotate the hood clockwise until you hear and feel it click in place.
To remove the hood, grasp it firmly and turn counter-clockwise.

Product Specifications
| Model name | 10AF24-E | |
| Aperture range | F2.8 — 22 | |
| Angle of View | Full Frame | 82.1° |
| APS-C | 60.0° | |
| Optical construction | 7 elements in 7 groups (including 3 Aspherical and2 High Refractive) | |
| Maximum focusing distance | 9.5″ (0.24m) | |
| Maximum shooting magnification | x 0.13 | |
| Filter size | 49mm | |
| Number of aperture blades | 7 | |
| Maximum diameter X length | 2.43″ x 1.46″ (61.8x 37mm) | |
| Weight | 3.28oz (939) |
– The minimum focus is the distance from the image sensor to the object.– The product specifications and exterior are subject to change without notice.
Contact
Elite Brands Inc.Rokinon DivisionNew York, NY 10005Toll-Free: 800.441.1100Phone: 212.947.7100 [email protected]rokinon.comfacebook.com/rokinonlensesROKINON® is owned and operated solely by Elite Brands Inc.
Notes
References
[xyz-ips snippet=”download-snippet”]


 CAUTION