![]()
USER GUIDE
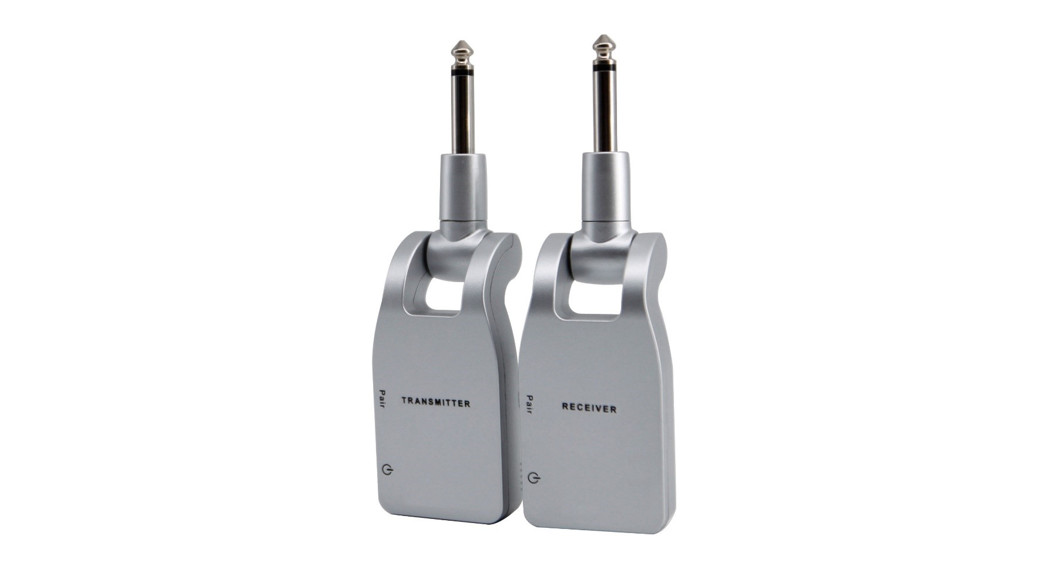
2.4 GHz WIRELESSGUITAR SYSTEMRYWRLSSGTRA
SAFETY & WARNINGS
Charging the devicesUse the USB cable for charging. Attach to an adaptor or power supply (rated 5V/2A) to charge. While charging, ensure that the device is shut down for the most effective and fast charge. Failure to do so may lead to shorter battery life.When the device is not in use, power off to avoid continuous battery consumption.
ConnectionsWhen connecting and disconnecting to guitar or equipment (amps, pedals, etc), ensure the additional equipment is turned off. Turn on the Wireless System first, then pedals, with the amp on last. This will help to prevent damage both to this device and other relevant equipment.
InterferenceOperation is subject to the two following conditions:(1) This device may not cause harmful interference, and(2) This device must accept any interference received, including the interference that may cause undesired operation.
WarningTo reduce the risk of fire or electric shock, do not expose the appliance to rain or moisture.
OVERVIEW
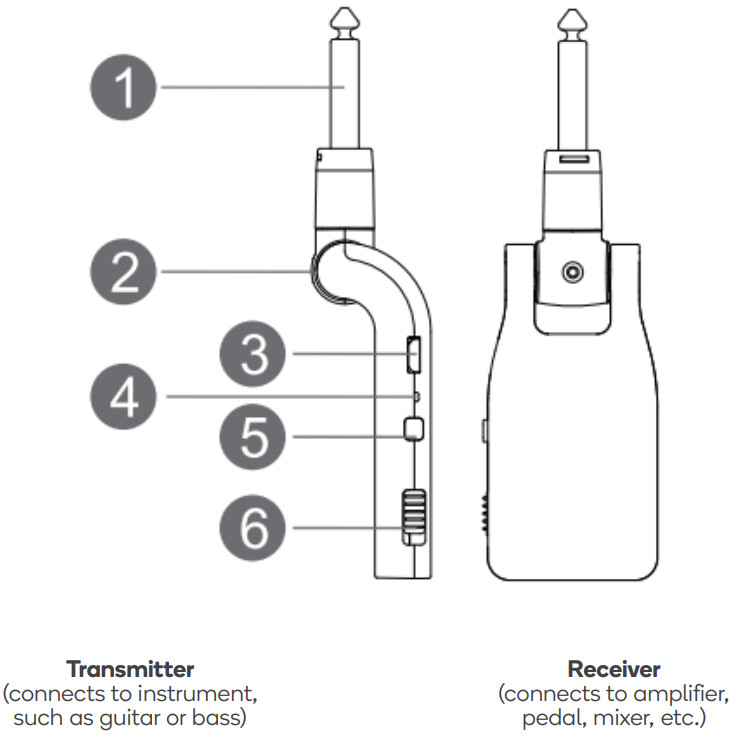
- Input (mono)
- 280° rotating head: adjustable to suit most instrument and amp configurations
- Micro USB port for charging via USB cable
- LED indicator light• RED:o While charging the device, solid red lighto During operation, a red light appears when the battery is low• GREEN:o Solid green light: The device is connectedo Flashing slowly: Device is on, not connected (ready for pairing)o Flashing rapidly: Pairing is in process
- Pairing button: Once powered on, long-press to begin the pairing process
- Power button: Press to turn the device on/off
OPERATION
- Plug the Transmitter into your instrument signal output port (guitar, bass, etc), and plug the Receiver into your output device (amplifier, pedal, mixer, etc) input port.For example:
Instrument > Transmitter >>> Receiver > AmpGuitar > Transmitter >>> Receiver > Pedal > Cable > AmpBass guitar > Transmitter >>> Receiver > Mixing board
- Press the power buttons on each device to turn on the power of both the Transmitter and Receiver. The LED indicator lights of both devices should be green and flashing slowly. This means the devices are not paired but are ready for pairing,
- Press and hold the Pairing button on the Receiver. The LED indicator will begin flashing rapidly.
- Then, press and hold the Pairing button on the Transmitter. The pairing will commence, it may take a few moments. When pairing is successful, the LED indicator lights of both devices will turn to solid GREEN.
- Please charge your Transmitter or Receiver via the Micro USB port when the LED indicator begins to display red. This represents low battery. If the device will not turn on (no LED lights), charge until full battery before trying again.
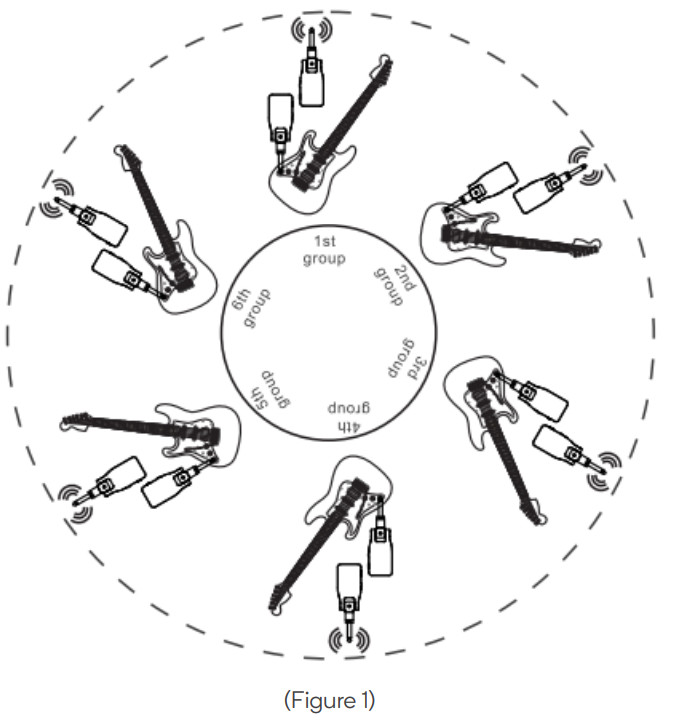
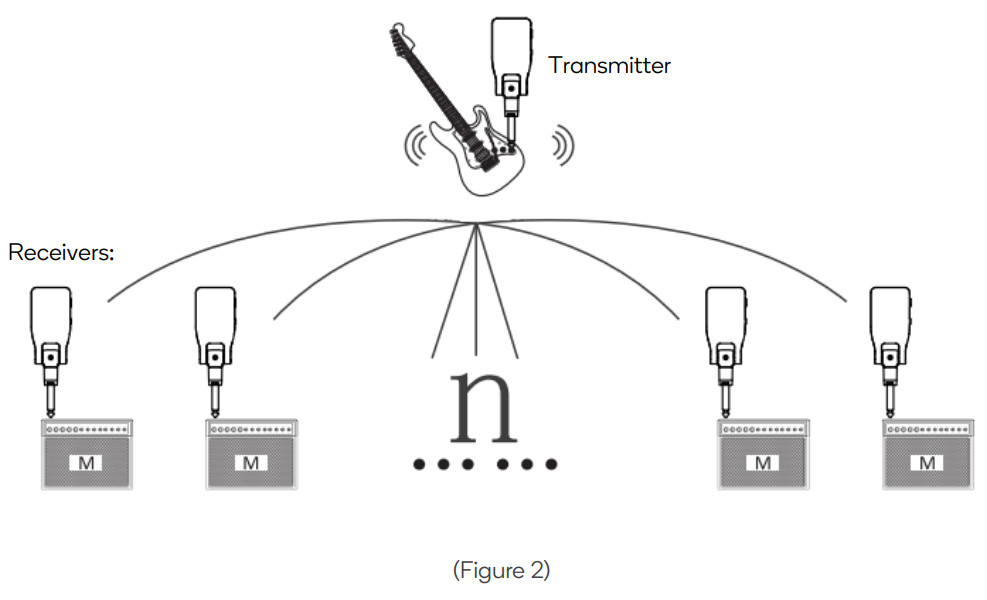
- This wireless system can support:o Six pairs of devices (1x Transmitter and 1x Receiver each) working under the same circumstances without interference (as shown in Figure 1)o One Transmitter sending a signal to several Receivers simultaneously (as shown in Figure 2).
SPECIFICATIONS
| Sample range | 24bit / 48KHz uncompressed digital transmission |
| Latency | <12 ms |
| Range | ?100 feet outdoors, unobstructed |
| THD+ Noise | -98dB |
| Dynamic Range | >105dB(A) weighted |
| Operating Band | 2AGHz ISM Worldwide |
| Frequency response | 20-20KHz, told / -3dB |
| Adjustable angle | 280° |
TROUBLESHOOTING
| Device cannot be powered on and doesn’t work. | If the devices are unused for a long time, or powered off during low battery but not recharged for a long time. the battery enters protection mode to preserve the battery. Charge the battery to full before use. |
| Device can be powered on, but cannot operate, with no sound at alL | Check whether the LED indicator is green. If the LED is flashing, then the Transmitter and Receiver are to paired yet. If the LED is red, charge the devices. |
| Strange noise while In use. | Noise can occur if there is quite strong electromagnetic interference, or if the transmission distance is too far. Try to shorten the transmission distance, and check other devices in operation which may be transmitting electromagnetic interference. |
| Device cannot be charged properly. | The lithium battery enters into protection if it’s in low battery for a long time. Ensure it is charging for over 10 minutes before turning on. |
| How to connect to multiple Receivers from oneTransmitter | White pairing, turn on all Receivers and enter into pairing status. Then, put the Transmitter into pairing status. When the pairing is complete, it will be connected to all of the Receivers. |
Need more information?We hope that this user guide has given you the assistance needed for a simple set-up.For the most up-to-date guide for your product, as well as any additional assistance you may require, head online to help.kogan.com
![]()
[xyz-ips snippet=”download-snippet”]