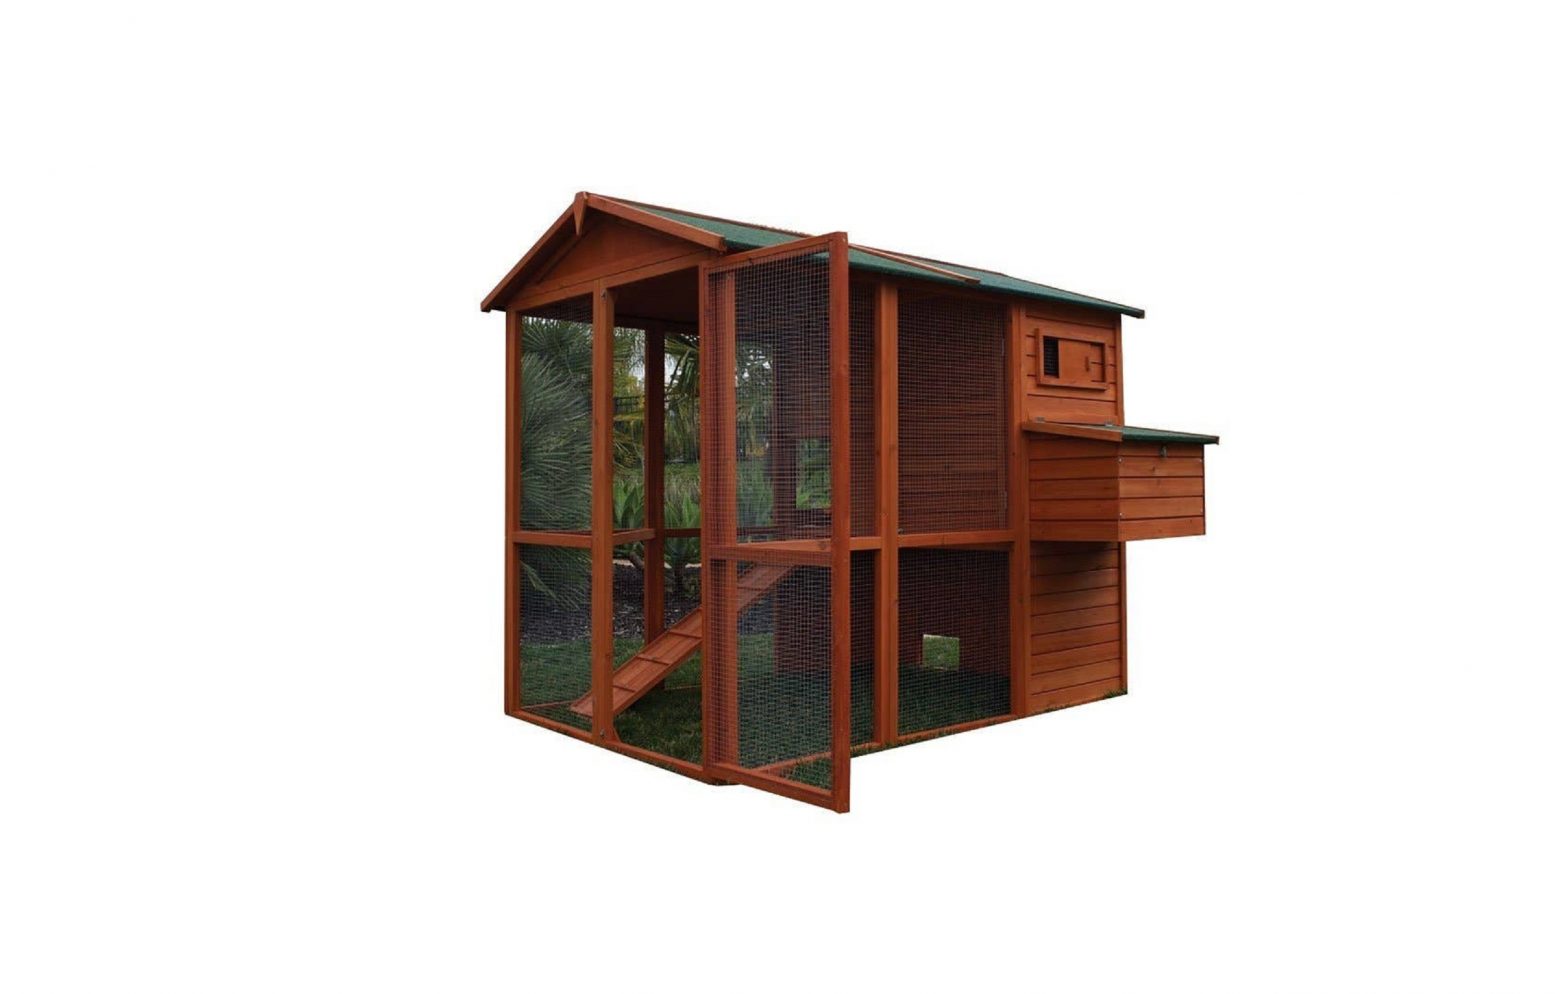
RUGGED RANCH 1081879 Pueblo Grand Walk-in Chicken Coop Installation Guide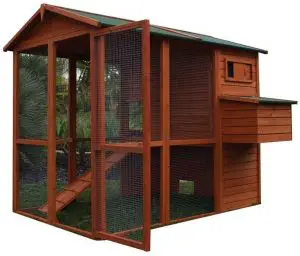

Important Notes: A flat level surface is recommended for assembly.
If any components are missing or damaged, do not return to retailer.Please call Rugged Ranch Products at: 760-734-3748
Assembly Instructions
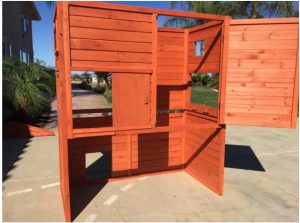
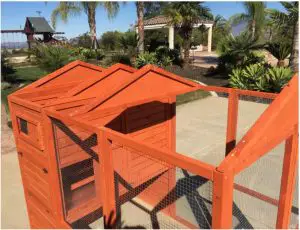
- Assemble Solid Panels 1-5 as shown. There will be a gap between panels 1&2 allowing space for the clean out pan.
- Put in #27 supports for clean out pan, then pan & #9 perches.
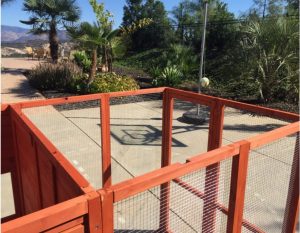
- Attach yard panels. Wire screen goes on the inside of coop, the small wire space is the bottom side of the panel. The first panels are the panels with the notches on the top. The Second panels are the panels with no dowels on the top. The front panel and door have dowels on the top of the panel.
- Attach A-Frame roof trusses. Front and back trusses have single dowels. Notice how middle truss has double dowels. Truss over nesting area has no dowels
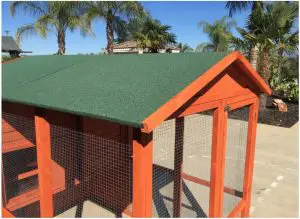
- Attach roof pieces with wood trimed sides facing out.
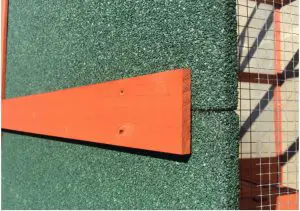
- Finish with roof caps and leak prevention strips.
- Assemble & attach nesting box.
- Attach Yard Nesting perch.
- All Finished!


Visit our webiste to see our complete line of products at www.RuggedRanch.net
References
[xyz-ips snippet=”download-snippet”]