![]()
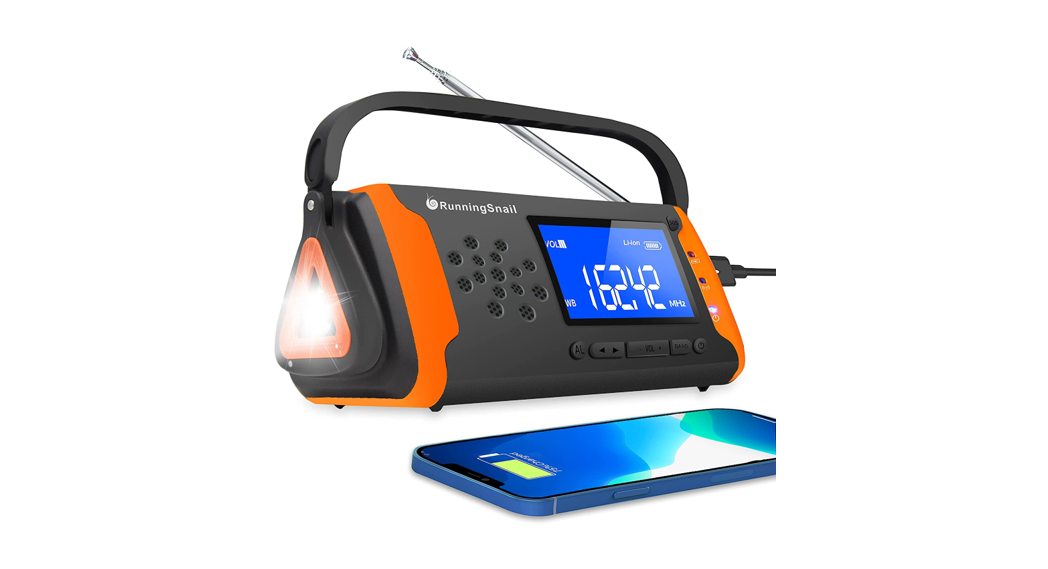
MD-097 Owner’s Manual
Radio
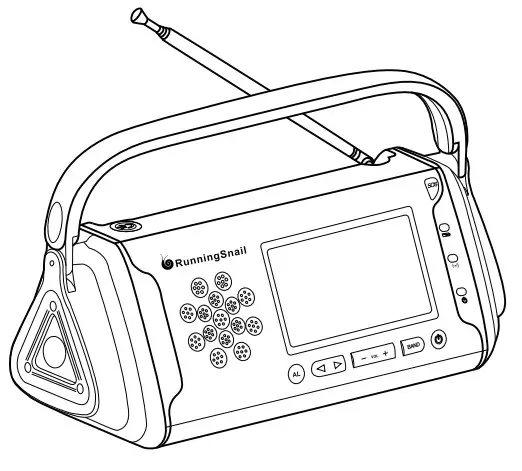
- Turn on the radio by pressing the power button, press it again to turn it off. Press the left or right buttons to navigate between radio stations. Adjust the volume by pressing the volume buttons. The green LED will light up when the radio has found a stable reception/channel. Extend the antenna and adjust the direction to get a better signal. The blue LED will light up when the batteries are being used.

Weather Alert
- When the radio is on, press the “AL” button to switch to weather alert mode. Once receives bad weather information, “ALERT” will flash on the screen and the device will alarm.
- Press button “AL” or “BAND” to exit weather alert mode.
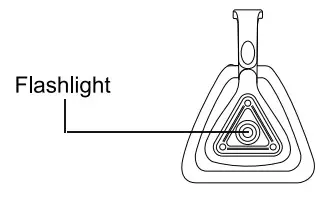
Flashlight
- The flashlight can be turned on by clicking on the light button on the top of the radio. Press it again to turn it off.
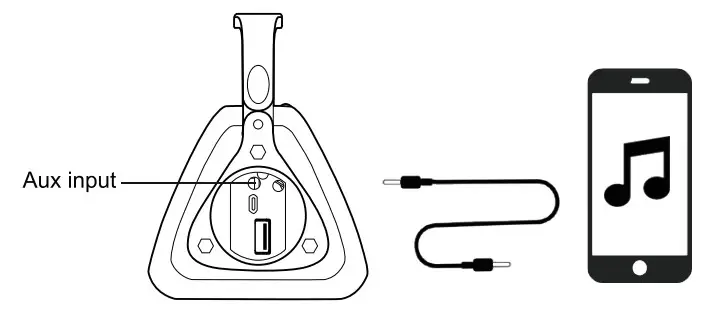
Aux music play
- You can connect audio devices via the 3.5 mm input on the side. Use the included cable and connect one end to the radio and the other to your audio device.
- Press the “BAND” button on the radio to switch to “LINE” AUX music play mode. Select the previous or next song by your phone.
SOS
- The radio has an SOS feature for emergencies that activates a loud siren and a flashing light. Press the SOS button in the top right corner to activate it.
Power the device
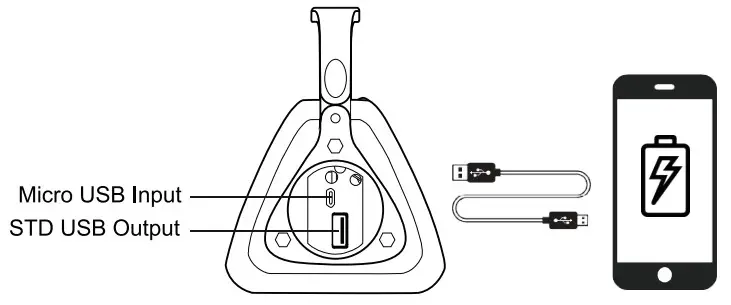
Before powering the radio, make sure you read the safety instructions.A) USB charging
- There are two USB ports located on the short end of the radio behind a small hatch. The micro USB port is used to charge the radio itself (cable included inbox). The red LED indicator will flash when the radio is being charged. stays on when it’s fully charged.
►NOTE: It’s advised to turn off the radio when the device is being charged.
B) Solar poweredThe radio’s battery can be charged by the solar panel on the back of the device. Try to place the device In clear sunlight to let it charges as efficiently as possible. The red LED indicator should light up when the radio is receiving enough sunlight to start charging up. This charging way is mostly used for maintaining the internal battery.
c) Hand crank dynamo
- The radio can also be charged by turning the handle on the bottom of the device and activating the dynamo. The handle can be turned either clockwise or counterclockwise. The red LED should also light up when the handle is being turned. Spin the handle for 3 to 5 minutes at the speed of 130-150 RPM when using the radio for the first time.
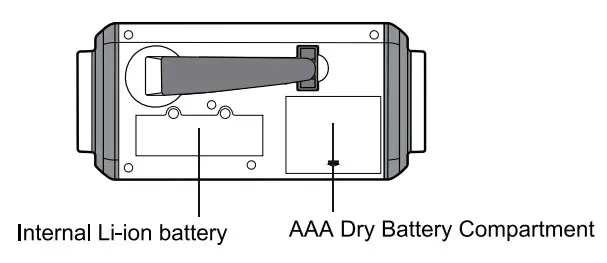
 D) AAA Dry batteries
- Remove the battery compartment cover which is on the bottom of the device, then insert 3 AAA batteries into the compartment.
NOTE:► Ensure the negative (-) end is placed against the spring.► There is a priority to use AAA dry batteries.► Remove the AAA dry batteries when they are not in use.
Phone charging
- The standard port can be used to charge USB devices. It has the capacity to charge 4000 mAh when fully charged. You can also charge your phone by using AAA batteries.
NOTE:►To extend the battery life, it’s suggested to use this function only in emergencies.
Specifications
| Frequency | FM: 87∼108MHz
AM: 520∼1710KHz WB: 162.40∼162.55MHz |
| Battery | 3.7V, 4000 mAh |
| Charging time (solar) | 50 h |
| Charging time (USB) | 6-7 h |
| USB output | 5V, 1A |
| Item weight | 490 g/1.08 lb |
| Item dimensions | 202 x 90 x 80 mm/ 79.52 x 35.4 x 31.5 in |
| Working voltage | 2.7 V – 4.2 V |
| IP rating | IPX3 |
| After fully charged, the device support | Radio listening (medium volume): 18-20 h Aux music play (medium volume): 30-35 h LED lighting: 18 – 20 h
|
Safety instructions
- The radio contains a rechargeable Li-ion battery and the battery can be replaced.
- The device shall not be exposed to dripping or splashing, and objects filled with liquids should not be placed on the device.
- No naked flame sources, such as lit candles should be placed on the device.
- Crank the dynamo for 3-5 minutes to activate the battery for initial use.
- Get it fully charged before using.
- To extend the life of the device, charge it once every three months when it’s idle.
- Do not charge the device in high-temperature areas like a car
Warranty
- The device has a full 18-month warranty against manufacturing defects from the date of purchase.
Packing list
Radio x 1Audio Cable x 1Micro USB Cable x 1User Manual x 1MD-097 Owner’s Manual
[xyz-ips snippet=”download-snippet”]