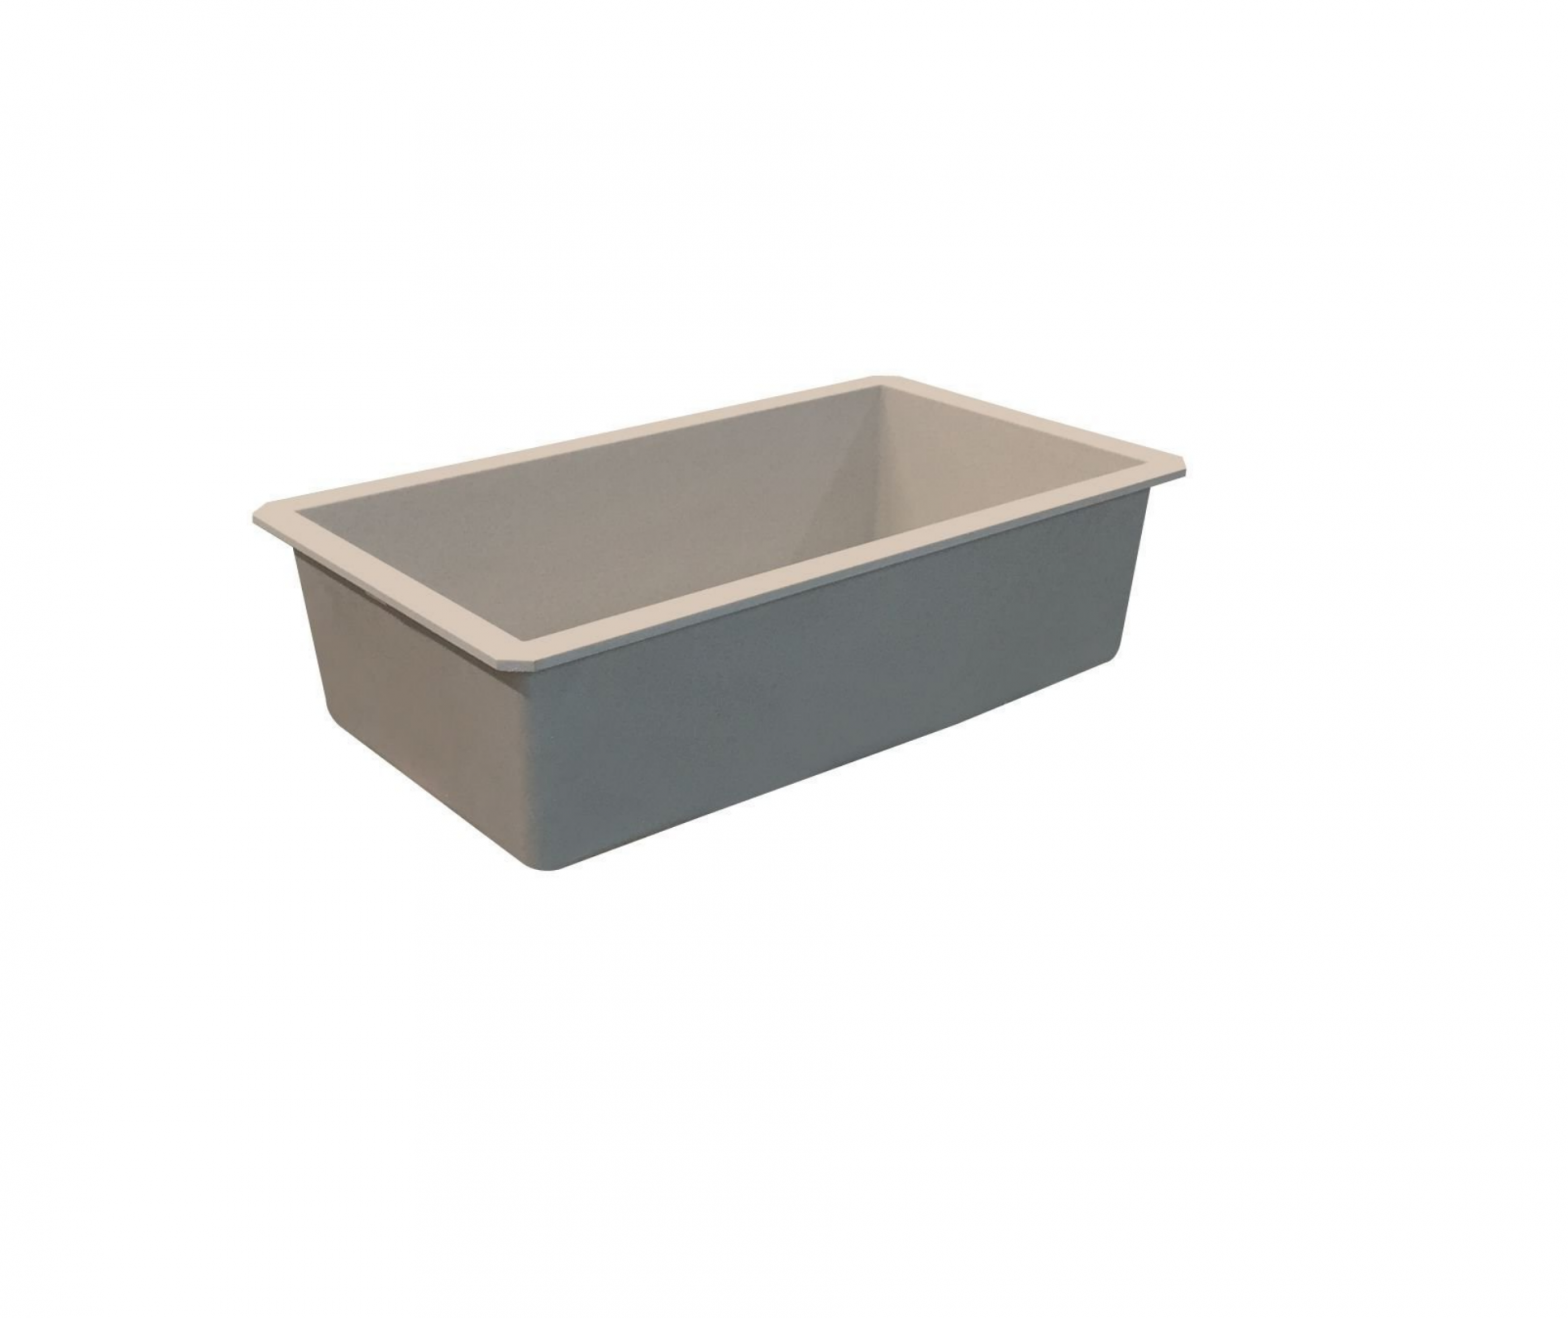
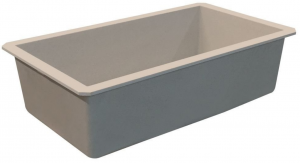
RUVATI Granite Composite Kitchen Sinks
 ATTENTION INSTALLER
- Read these instructions carefully before installation. Inspect sink for damages.
- Ruvati recommends that installation of sinks be done by a professional installer.
- Sink edges may be sharp and can cause accidental injury to installer if not careful. Wear cut-resistant protective gloves during installation
- Templates are only provided as a guide. Place template on sink to ensure the template will give you the proper cutout for the sink. Ruvati is not responsible for improper sink or countertop installation. Ruvati is not liable for any damages to sink or countertop or personal injury during installation.
- The instructions in this guide are for installation in a standard granite, marble, cultured stone or laminate countertop. For any specialty countertop follow recommendations of countertop manufacturer or fabricator.
MATERIALS AND TOOLS NEEDED
- Plumber’s Putty
- Sink
- Sink Mounting Clips
- Silicon Caulk
- Philips Head Screwdriver
- Jigsaw or Keyhole Saw
- Pencil
- Sink Cut-Out Template
INSTALLATION OPTIONS
Ruvati sinks can be installed either with a 1/4” reveal, flush fit, or with a negative reveal (overhang).
1/4” RevealThe countertop edge sits approximately 1/4” back from the edge of the sink and exposes the rim of the sink.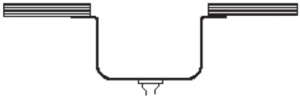
Flush FitThe countertop meets the edge of the sink, fitting flush with the sink b
1/4” OverhangThe countertop extends 1/4” over the edge of the sink on all sides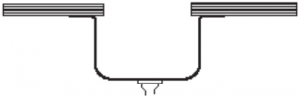 .
.
NOTE: The following instructions are for solid stone countertop (granite, marble or cultured stone) countertops.
- Place template on countertop. Position it such that the sink will have proper clearance from cabinet.
- Trace a line around the template.Determine what “reveal” you want your sink to have (see previous page) and based on that, adjust the line accordingly. Cut along the line.
- Turn the countertop upside down, and mark evenly-spaced positions for the anchors for the mounting clip. We recommend 3 mounting clips for the sink sides 20” and longer, and 2 mounting clips for the shorter sides.
- Using a 1/4″ drill-bit equipped with a depth stop, drill 1/4″ wide and 3/8″ deep holes into the countertop. Tap the brass inserts into the holes, split end first.(Note: If you are using a wooden countertop use a proper wood screw (not provided) instead of the stud. Screw the Mounting Clip securely to the wooden countertop)
- Clean the underside of the countertop and the rim of the sink. Using a good quality silicone caulk, apply silicone caulk evenly around the rim of the sink.
- Place sink over the countertop opening. Attach the mounting clips and tighten the screws until mounting clips are snug against sink.
- Check alignment of sink to countertop opening and move slightly if you have to.
- Tighten down screws evenly without overtightening. Remove excess silicone.INSTALATION IM ZERO REVEAL MONT
 INSTALATION IM ZERO REVEAL MONT
Care and Maintenance
- Clean regularly with dish-washing detergent and warm water.
- Make a habit of drying your sink after use. This is not necessary, but a good practice, and will ensure that no build up of limescale occurs.
- Food stains such as wine, coffee, tea, should be removed immediately using warm water and detergent. Stubborn stains can be removed by rubbing with alcohol and rinsed off with water.
- Never place extremely hot pots directly on the sink surface. Use a potholder. The bottom of a pot just removed from the burner can reach temperatures over 600° C and can cause permanent damage.
- Never pour gasoline, acid, alkali, bleach or any solvents in general into or onto the sink because they can interact with the material of the sink and damage it.
- Never use a steel wool pad, or abrasive cleaning material to clean your sink. Doing so may damage the sink’s surface and cause discoloration.
- Never let soap or other household cleaners dry on the surface of the sink. Most products contain additives which will affect the finish of the sink.
- Never use abrasive cleaning powders on the sink. This can damage the surface.
- Never let drain cleaners come in to contact with the sink.
RUVATI LIMITED LIFETIME WARRANTY
This product has been manufactured and inspected to the highest possible quality standards. Ruvati sinks carry a limited lifetime warranty for residential use.
Should you experience any defects in materials or workmanship within the warranty period, we will repair or replace the defective product, subject to the following conditions:
- Any claim made under this warranty must include a copy of a valid proof of purchase showing the date and place of purchase.
- Our obligation under this warranty is to the original purchaser only, and may not be transferred.
- Product replacement does not include shipping costs or labor installation costs.
- This warranty applies to residential installations only.
- Ruvati reserves the right to examine product in question and its installation prior to replacement.
- If an identical replacement product is not available, Ruvati reserves the right to replace the defective product with a similar product.
NOTE: Accessories such as rinse grids, cutting boards, strainers are not covered by this warranty.
This warranty gives you specific legal rights, and you mayalso have other rights which vary from state to state. This warranty relates to defects in manufacture, materials or workmanship in a Ruvati granite kitchen sink supplied for installation into domestic premises in the United States. It does not extend to :
- Damage resulting from failure to maintain the product in accordance with the Care and Maintenance instructions in this manual.
- Normal wear and tear, scratches or accidental damage.
- Faults arising from improper use and/or installation.
- Defects in accessories, strainers and rinse grids.
All incidental or consequential damages are specifically excluded. No additional warranties, express or implied are given, including but not limited to, any implied warranty of merchantability or fitness for a particular purpose.
Some states do not allow the exclusion or limitation of incidental or consequential damages or limitations on how long an implied warranty lasts, so the above limitations or exclusions may not apply to you.
This warranty gives you specific legal rights, and you may also have other rights which vary from state to state.

References
[xyz-ips snippet=”download-snippet”]