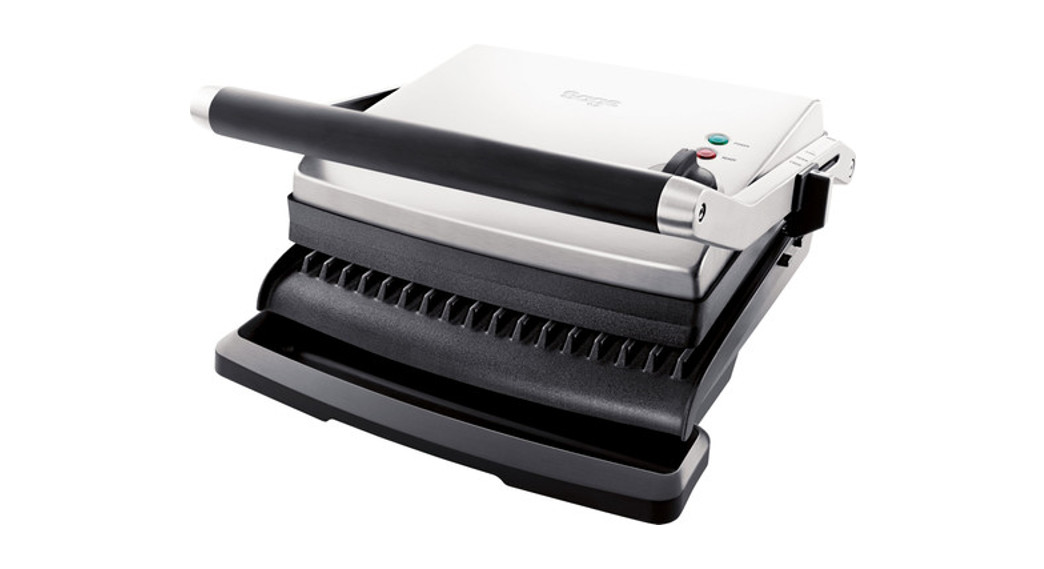
![]() the Adjusta Grill ™BGR200
the Adjusta Grill ™BGR200
 QUICK GUIDE
SAGE® RECOMMENDS SAFETY FIRST
At Sage® we are very safety-conscious.We design and manufacture appliances with your safety foremost in mind. In addition, we ask that you exercise a degree of care when using any electrical appliance and adhere to the following precautions.IMPORTANT SAFEGUARDS
READ ALL INSTRUCTIONS BEFORE USE AND SAVE THEM FOR FUTURE REFERENCE
- A downloadable version of this document is also available at sageappliances.com
- Before using the first time ensure your electricity supply is the same as shown on the label on the underside of the appliance.
- Remove and safely discard any packaging materials before first use.
- The appliance is for household use only. Do not use the appliance for anything other than its intended use. Do not use it in moving vehicles or boats. Do not use outdoors.Misuse may cause injury.
- Fully unwind the power cord before operating.
- Position the appliance on a stable, heat resistant, level, dry surface away from the edge and do not operate on or near a heat source such as a hot plate, oven, or gas hob.
- Do not let the power cord hang over the edge of a bench or table, touch hot surfaces or become knotted.
- Position the appliance at least 20cm from walls or heat/steam sensitive materials and provide adequate space above and on all sides for air irculation.
- Ensure the power cord does not become trapped between the upper and lower hot plates of the appliance during use or storage.
- Do not leave the appliance unattended when in use.
- The appliance is not intended to be operated by the means of an external timer or separate remote control system
- Do not place anything on top of the grill when the lid is closed, when in use, and when stored.
 The appliance is marked with a HOT surface symbol. The lid and other surfaces will be hot when the appliance is operating and for some time after use. To prevent burns always use insulated oven mitts or use handles or knobs where appropriate.
 - Always ensure the appliance is turned OFF, unplugged at the power outlet and has been allowed to cool before cleaning, moving or storing.
- Do not use the appliance if the power cord, plug, or appliance becomes damaged in any way?If damaged or maintenance other than cleaning is required, please contact Sage Customer Service or go to sageappliances.com
- Any maintenance other than cleaning should be performed by an authorised Sage ® service centre.
- Children shall not play with the appliance.
- The appliance can be used by children aged 8 or older and persons with reduced physical, sensory or mental capabilities or a lack of experience and knowledge, only if they have been given supervision or instruction concerning the use of the appliance in a safeway and understand the hazards involved.
- Cleaning of the appliance should not be carried out by children unless they are 8 years or older and supervised.
- The appliance and its cord should be kept out of reach of children aged 8 years and younger.
- The installation of a residual current safety switch is recommended to provide additional safety when using all electrical appliances.Safety switches with a rated operating current of not more than 30mA are recommended.Consult an electrician for professional advice.The symbol shown indicates that this appliance should not be disposed of in the normal household waste.It should be taken to a local authority waste collection centre designated for this purpose or to a dealer providing this service.For more information, please contact your local council office.To protect against electric shock, do not immerse the power plug, cord or appliance in water or any liquid.
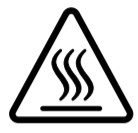 The appliance is marked with a HOT surface symbol. The lid and other surfaces will be hot when the appliance is operating and for some time after use. To prevent burns always use insulated oven mitts or use handles or knobs where appropriate.
 The symbol shown indicates that this appliance should not be disposed of in the normal household waste.It should be taken to a local authority waste collection centre designated for this purpose or to a dealer providing this service.For more information, please contact your local council office.
SAVE THESE INSTRUCTIONS
GETTING TO KNOW YOUR NEW APPLIANCE
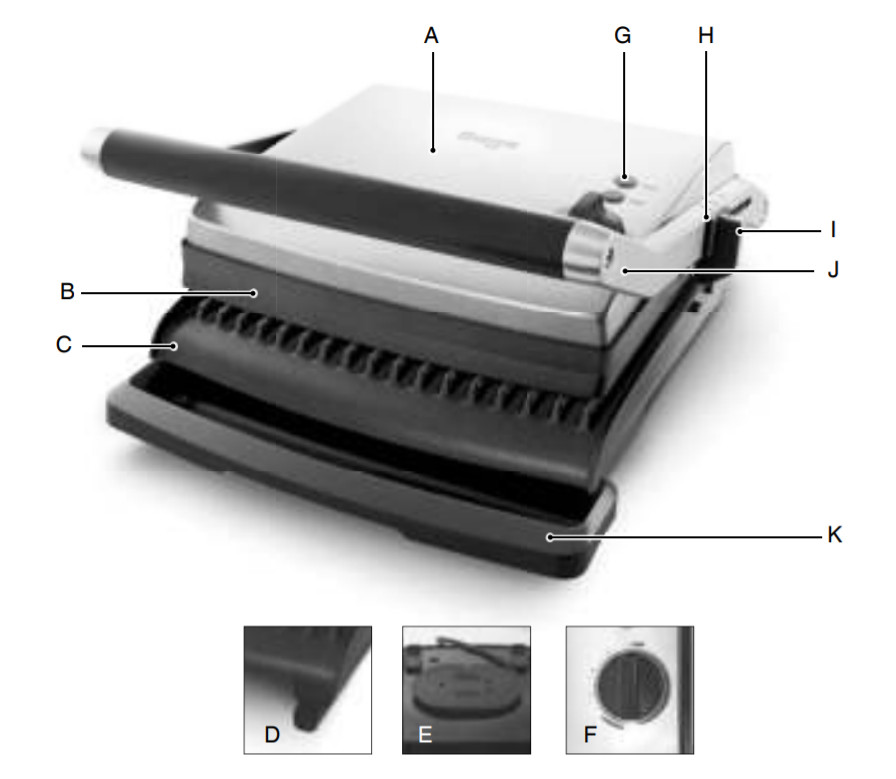
| A. 2200 watt elementB. Floating hinged top plateC. Durable non-stick cooking platesD. Angle adjust non-slip feetE. Convenient cord storage in baseF. Variable temperature control dial | G. POWER and READY lightsH. Adjustable grilling height control clip with 7 settingsI. Locking storage clipJ. Heavy-duty die-cast armsK. Removable drip tray |
![]() Rating Information220–240V~ 50–60Hz 1850–2200W
Rating Information220–240V~ 50–60Hz 1850–2200W
OPERATING YOUR NEW APPLIANCE
BEFORE FIRST USERemove and safely discard any packaging material or promotional labels before using your grill for the first time. Check that the cooking plates are clean and free of dust. If necessary, wipe over with a soft damp cloth. Dry thoroughly.NOTEWhen using the grill for the first time you may notice a fine smoke haze. This is caused by the heating of some of the components. There is no need for concern.The grill can be used as a grill for searing meats and vegetables or as a sandwich press for toasting pieces of bread and focaccias. It also features an adjustable height control feature which allows you to fix the top plate to a range of positions above the bottom plate.TO USE AS A GRILL
- Insert the power plug into a 220-240V power outlet and turn the power ON. The red POWER light will illuminate.
- Turn the variable temperature control to SEAR for fast heat up. Allow the grill to pre-heat with the top cooking plate in the closed position until the green READY light illuminates.
- When the grill has preheated, place the foods to be cooked onto the bottom cooking plate. Always place foods towards the rear of the bottom cooking plate.NOTEThe grill can be used to cook foods in the open or closed position.
- Close the top cooking plate. The top cooking plate has a floating hinge that is designed to evenly press down on food.The top plate must be fully lowered to achieve grill marks on the selected foods.
- Grilling times will depend on the food being cooked.
- Once the food is cooked, use the handle to open the grill and raise the top cooking plate. Remove food with the help of a plastic or wooden spatula. Never use metal tongs or a knife as these can cause damage to the non-stick coating.
TO USE AS A SANDWICH PRESS
- Insert the power plug into a 220-240V power outlet and turn the power ON.The red POWER light will illuminate.
- Turn the variable temperature control to the SANDWICH setting. Allow the grill to preheat with the top cooking plate in the closed position until the green READY light illuminates.
- When the sandwich press has pre-heated, place the sandwich onto the bottom cooking plate. Always place sandwiches towards the rear of the bottom cooking plate.
- Close the top cooking plate. The top plate must be fully lowered to cook sandwiches.
- Once the sandwich is cooked, use the handle to open the grill and raise the top cooking plate. Remove the sandwich with the help of a plastic or wooden spatula.Never use metal tongs or a knife as these can cause damage to the non-stick coating.
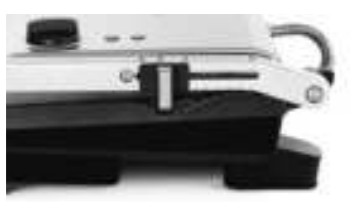
USING THE ADJUSTABLE GRILLING HEIGHT CONTROL FEATUREThe adjustable height control feature allows you to fix the top plate to a range of positions above the bottom plate. This allows your grill to be used to grill delicate ingredients such as fish and hamburger buns without squashing. It can also be used for toasting open sandwich melts and snacks where you don’t need to apply the height of the top plate.
- Turn the variable temperature control to SEAR or SANDWICH setting and allow the grill to pre-heat until the green READY light illuminates.
- Place food to be grilled or your sandwich to be melted on the bottom plate.
- Move the adjustable height control clip on the right-hand side of the grill to the desired height.
- Slowly lower the top plate until it rests on the adjustable height control clip.
- The top plate will radiate the desired heat to lightly grill foods or melt ingredients such as cheese. Grilling and toasting times will be a matter of taste. It will depend on the height of the top plate.
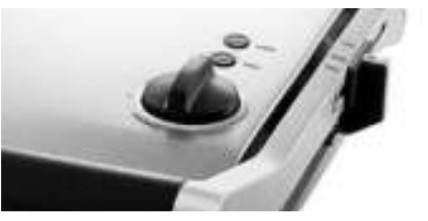
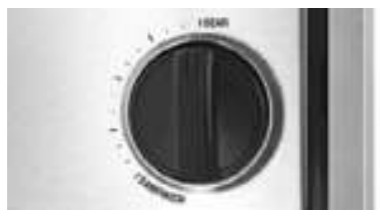
USING THE ANGLE ADJUST NON-SLIP FEETYour grill features unique extendable feet which are designed to level the bottom plate when cooking foods such as sausages. This ensures the sausages do not roll off the hotplate but still drain the maximum amount of fat while cooking.VARIABLE TEMPERATURE CONTROL DIALThe grill features a variable temperature control dial which allows a variety of foods to be cooked. With the dial set on SEAR, the temperature is correctly suited to grill meats or other foods.
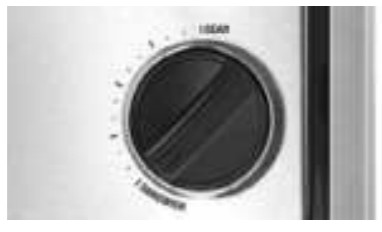 With the dial set on SANDWICH, the temperature is correctly suited to toasting sandwiches. The variable temperature control dial allows you to select a setting suited to the foods which are being cooked.
CARE & CLEANING
Before cleaning, switch the power off at the power outlet and then remove the power plug. Allow your grill to cool before cleaning. The grill is easier to clean when slightly warm.Always clean your grill after each use to prevent a build-up of baked-on foods.Wipe cooking plates with a soft cloth to remove food residue. For baked-on food, residue squeezes some warm water mixed with detergent over the food residue then clean with a non-abrasive plastic scouring pad.CLEANING THE DRIP TRAYRemove and empty the drip tray after each use and wash the tray in warm, soapy water. Avoid the use of scouring pads or harsh detergents as they may damage the surface. Rinse and dry thoroughly with a clean, soft cloth and replace.Alternatively, the drip tray can be cleaned in the dishwasher.DURABLE NON-STICK COATINGCooking on a non-stick surface minimises the need for oil, food does not stick and cleaning is easier. When cleaning the non-stick coating, do not use metal (or other abrasive) scourers.Wash with warm soapy water. Remove stubborn residue with a non-abrasive plastic scouring pad or nylon washing brush.NOTEDo not use spray-on non-stick coatings as this will affect the performance of the non-stick surface on the cooking plates.
STORAGETo store your grill:
- Switch off the grill and unplug the power cord from the power outlet.
- Allow the grill to fully cool.
- Slide the height control clip towards the front handle to the LOCK position so that the top and bottom cooking plates are locked together.
- Click the removable drip tray into place.
- Wrap the power cord in the cord storage area below the grill.
- Store on a flat, dry level surface.
NOTEThe storage clip should not be used to clamp down the top plate when food is on the grill.
GUARANTEE
2 YEAR LIMITED GUARANTEESage Appliances guarantees this product for domestic use in specified territories for 2 years from the date of purchase against defects caused by faulty workmanship and materials.During this guarantee period, Sage Appliances will repair, replace, or refund any defective product (at the sole discretion of Sage Appliances).
All legal warranty rights under applicable national legislation will be respected and will not be impaired by our guarantee. For full terms and conditions on the guarantee, as well as for instructions on how to make a claim, please visit www.sageappliances.com.
Switzerland+41 (0)800 009 933Belgium+32 (0)800 54 155Spain+34 (0)900 838 534
![]() www.sageappliances.comRegistered in Germany No. HRB 81309 (AG Düsseldorf).Registered in England & Wales No. 8223512.Due to continued product improvement, the products illustrated or photographed in this document may vary slightly from the actual product.Copyright BRG Appliances 2019.SGR200 UG3 A19
www.sageappliances.comRegistered in Germany No. HRB 81309 (AG Düsseldorf).Registered in England & Wales No. 8223512.Due to continued product improvement, the products illustrated or photographed in this document may vary slightly from the actual product.Copyright BRG Appliances 2019.SGR200 UG3 A19
References
[xyz-ips snippet=”download-snippet”]