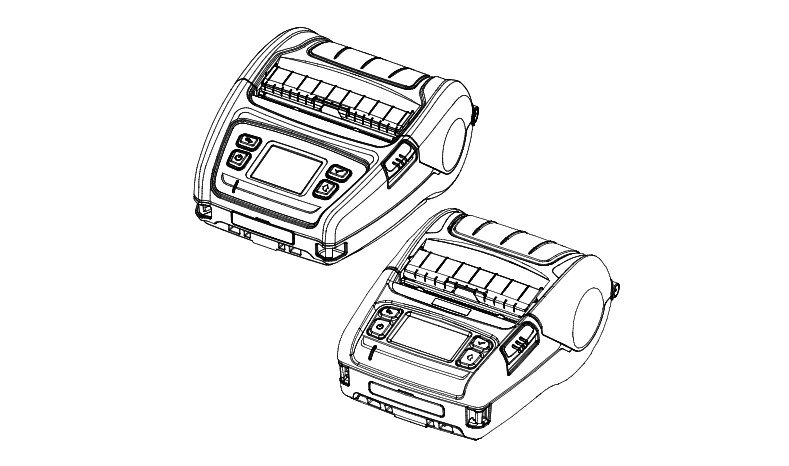

Wireless LAN Connection ManualPV3/PV4
BARCODE PRINTERVer. 1.00
Manual Information
This Wireless LAN manual provides information on the connection of wireless network with the barcode printer.
We at SATO maintain ongoing efforts to enhance and upgrade the functions and quality of all our products. In following, product specifications and/or user manual content may be changed without prior notice.
Precautions
2-1 The printer has to be within 100m(Outdoor) from AP(Access point) to connect Wireless LAN. Although 35m is able to communicate in door, Wireless LAN could be affected by the environment to be shortened.The printer’s LCD shows the connection status of the Wireless LAN.![]() – Indicates that the Wireless LAN is connected normally
– Indicates that the Wireless LAN is connected normally![]() – Indicates that the Wireless LAN password is wrong
– Indicates that the Wireless LAN password is wrong![]() – Indicates that the AP of the set SSID is not nearby
– Indicates that the AP of the set SSID is not nearby
2-2 The maximum separating distance may be shortened if transmission obstacles, such as cement walls, are present
2-3 If a device (such as a microwave oven, wireless LAN, etc.) that uses the same frequency is present, the transmission may be interrupted. Separate the printer and Bluetooth-enabled device from such interrupting devices by a distance of at least 5m.
How to Connect
Wireless LAN can be configured through the printer’s Wireless LAN interface. Likewise,Wireless LAN can also be configured though the printer’s Serial/USB interfaces.
(1) Connecting Printer
1) Serial / USB cableConnect Serial/USB cable to Printer, PC device.When Serial cable use, baudrate between Device and printer should be the same.
2) Wireless LANConnect to the AP (Access Point) configured in Infrastructure mode in order to connect to the LAN/wireless network

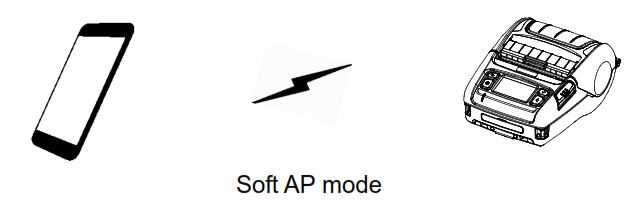
In order to configure the network between the wireless host device and the printer, set the printer to Soft AP Mode.
(2) Checking Network Setting
Self-test
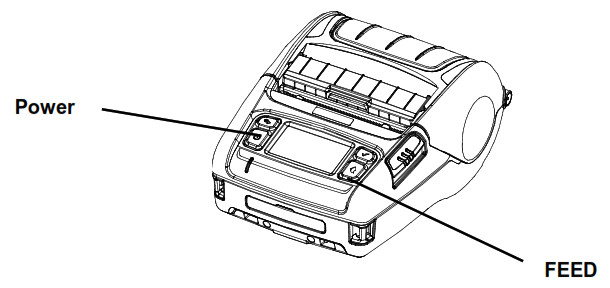
While the printer is turned off, turn on the printer while pressing the feed button.The printer setting values will then be printed.
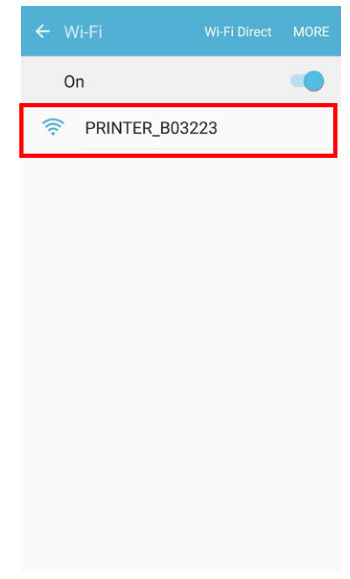
3-1 Android Soft AP mode (default)1) Select “Wi-Fi”.

2) Select the printer to connect
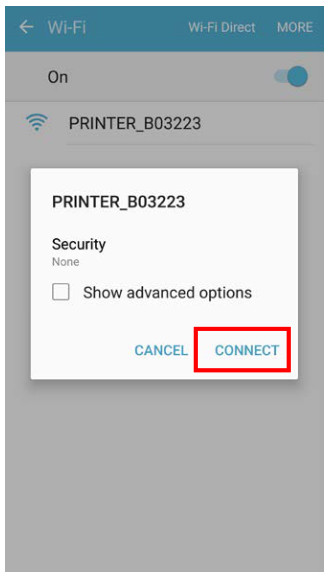
3) Select “CONNECT”.
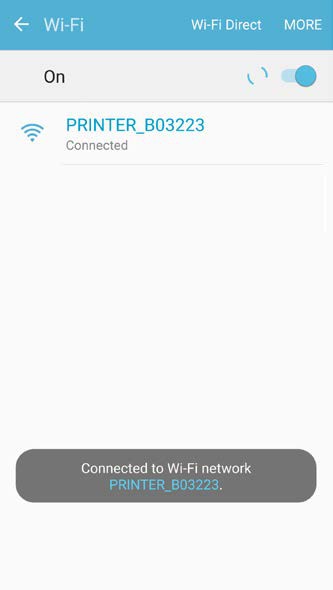
4) Wi-Fi communication is available.
3-2 iOS Soft AP mode (default)
1) Select “Wi-Fi”.
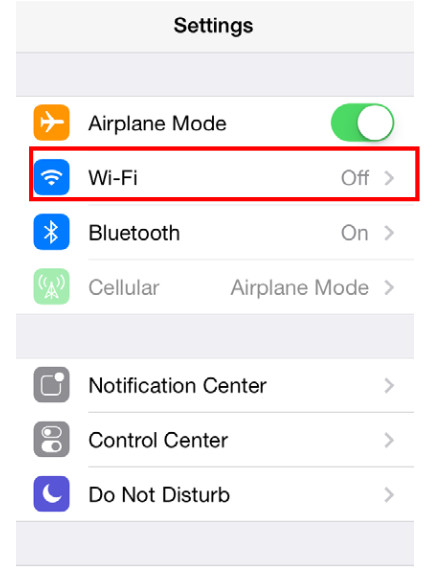
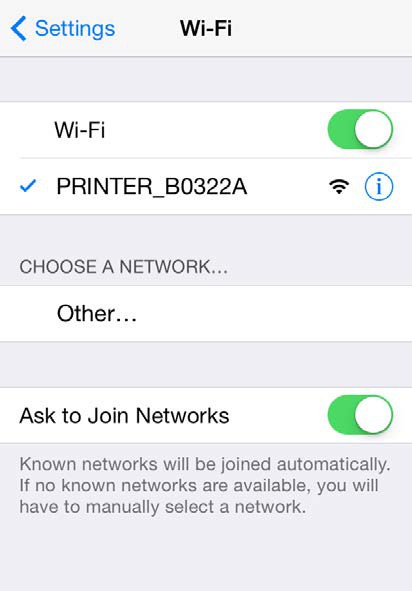
2) Wi-Fi ON and Select the printer to connect
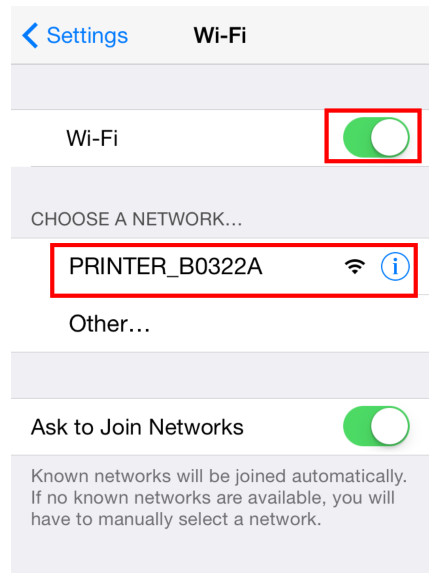
3) Wi-Fi communication is available
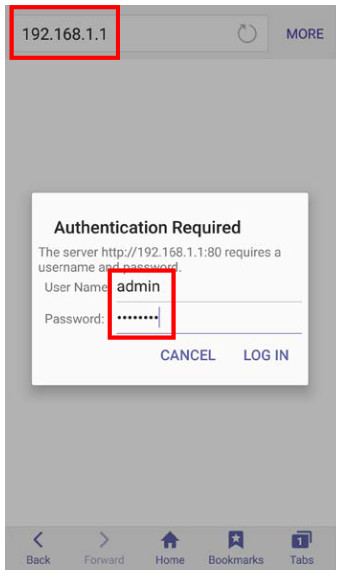
3-3 How to change infrastructure mode1) Enter the IP address of the printer in the address bar, and the following login window will pop up. Enter the ID and Password set for the printer, and then click [LOG IN] (Default User Name: admin, Password: password)
2) Select “Wireless” to change Wireless LAN mode.
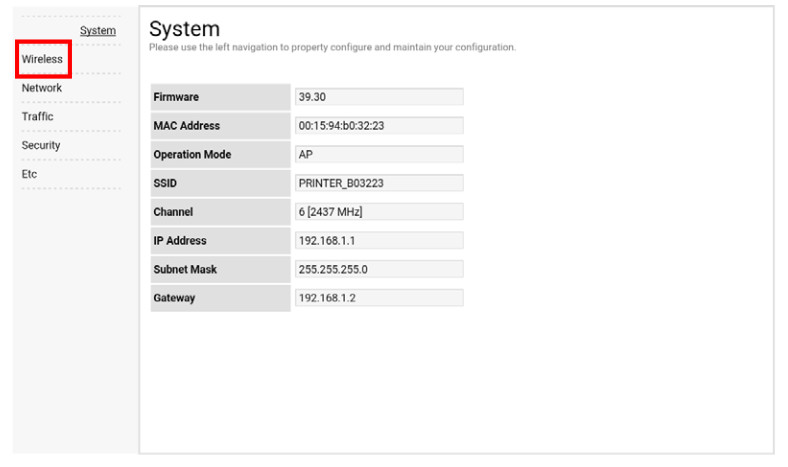
3) Select “infrastructure”, and set SSID, WLAN Security Type.
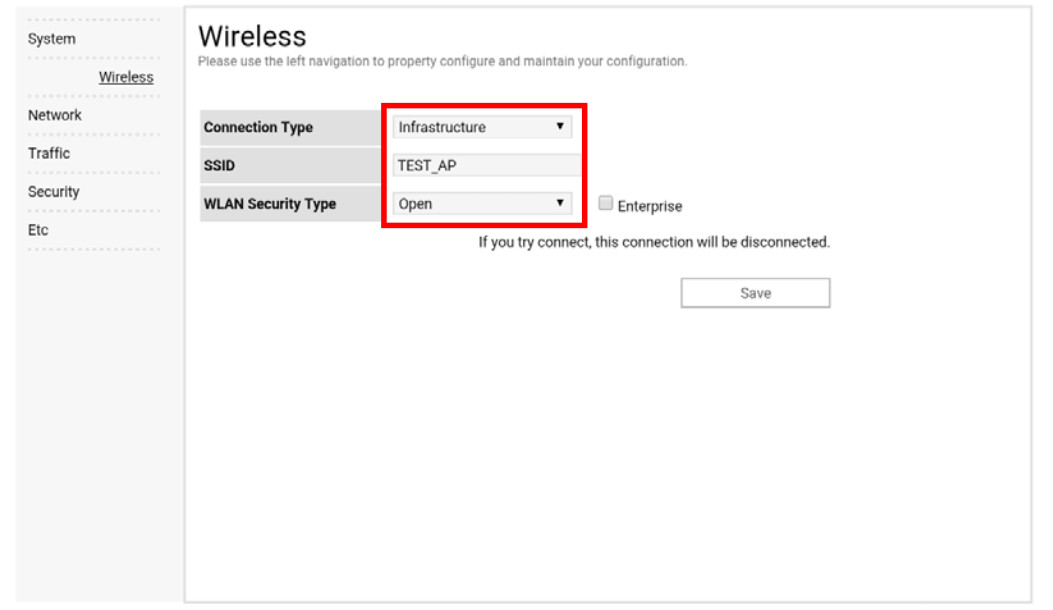
4) Reboot the Printer.
Factory Reset
This function changes the Wireless LAN settings of the printer to the initial factory settings.
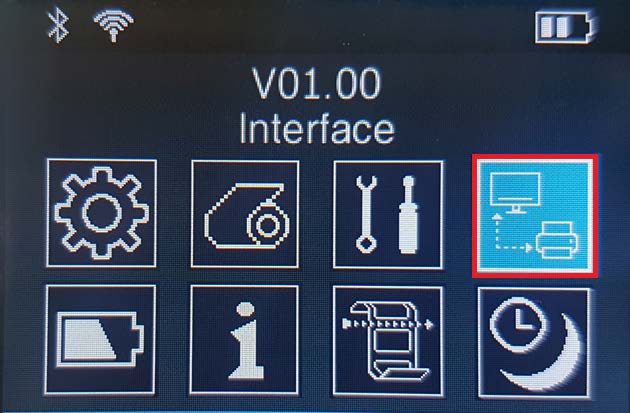
MethodSelect the wireless interface on the printer’s LCD screen.Wireless LAN Factory reset is available in
WLAN> ON / OFF> Factory Reset

PV3
WLAN>WLAN Factory reset
PV4
When the printer is turned off, the Wireless LAN setting is applied as the factory default
Factory Reset Values
| System | Printer Name | *Printer model |
| Printer Port Num | 9100 | |
| User ID | admin | |
| User Password | password | |
| Enc / Auth | Encryption | None/Open |
| Network | Network Mode | Soft AP mode |
| SSID | PRINTER {MAC address} | |
| Inactivity time | 10 | |
| IP Assignment Method | Manual (DHCP server) | |
| IP, Subnet, Gateway | IP . 192.168.1.1Subnet : 255.255.255.0Gateway : 192.168.1.2 |
Specification
| Feature | Implementation |
| Operation Mode | Infrastructure, Soft AP, Ad-hoc, Wi-Fi Direct |
| Wireless Standard | IEEE 802.11b/g/n, IEEE 802.11a/b/g/n |
| Range | Up to 100m free space (Outdoor) |
| Security | WEP64/128 |
| WPA1/2 — PSK | |
| WPA 1/2 — Enterprise(EAP-TLS, EAP-TTLS, PEAP, LEAP, EAP-FAST) | |
| Management | Net Configuration tool, HTTP, Smart connection APP |
Copyright
© SATO CORPORATION. All rights reserved.
This user manual and all property of the product are protected under copyright law. It is strictly prohibited to copy, store, and transmit the whole or any part of the manual and any property of the product without the prior written approval of SATO CORPORATION.The information contained herein is designed only for use with this SATO product. SATO is not responsible for any direct or indirect damages, arising from or related to use of this information.
• The SATO logo is the registered trademark of SATO CORPORATION.• All other brand or product names are trademarks of their respective companies or organizations.
SATO maintains ongoing efforts to enhance and upgrade the functions and quality of all our products.In the following, product specifications and/or user manual content may be changed without prior notice.
Caution
Some semiconductor devices are easily damaged by static electricity. You should turn the printer “OFF”, before you connect or remove the cables on the rear side, in order to guard the printer against static electricity. If the printer is damaged by static electricity, you should turn the printer “OFF”.
Ver. 1.00
[xyz-ips snippet=”download-snippet”]