![]()


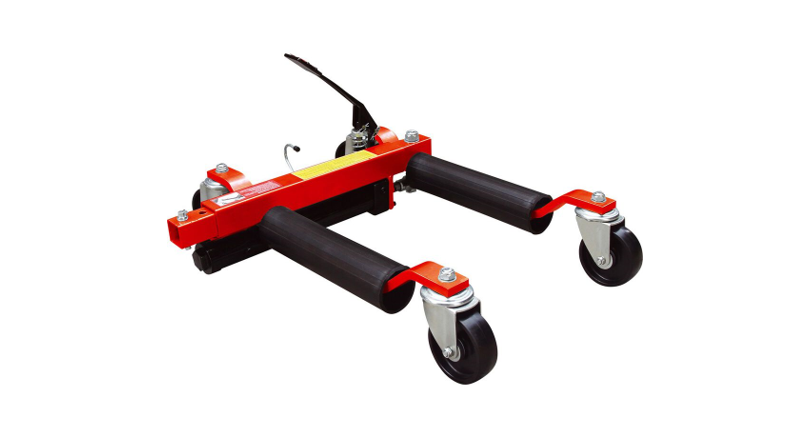
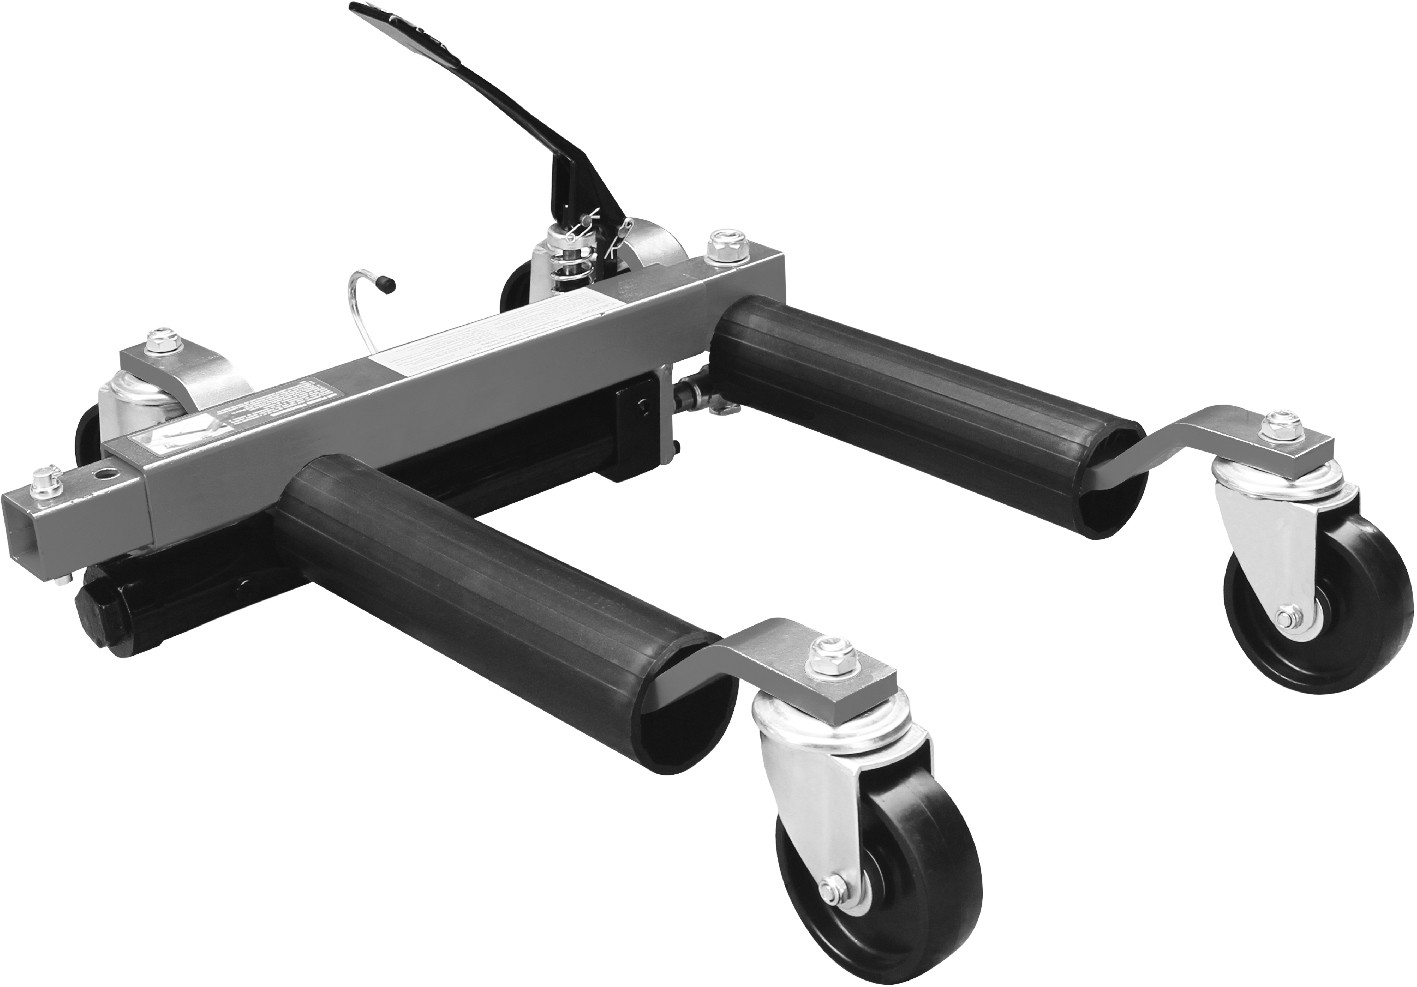
HYDRAULIC VEHICLE POSITIONING JACKOwners Manual
 PLU 128776
WARRANTY
his product is guaranteed against defects for a period of 12 months from the date of purchase. This warranty is provided by Super Cheap Auto Pty Ltd ACN 085 395 124 (Supercheap Auto) of 751 Gympie Rd Lawnton QLD 4501 Ph (07) 3482 7500. Supercheap Auto will offer a repair, replacement product, or store credit if the product is assessed as being defective during the warranty period.To claim under this warranty, take this product to the Front Service Desk of your nearest Supercheap Auto store. For store locations, visit www.supercheapauto.com.au (AUS) or www.supercheapauto.co.nz (NZ). You will need your receipt or proof of purchase. Additional information may be requested of you to process your claim. Should you not be able to provide proof of purchase with a receipt or a bank statement, identification showing your name, address, and a signature may be required to process your claim. This product may need to be sent to the manufacturer to assess the defect before determining any claim. Faults or defects caused by product modification, misuse, and abuse, normal wear and tear, or failure to follow user instructions are not covered under this warranty. Our goods come with guarantees that cannot be excluded under the Australian Consumer Law. You are entitled to a replacement or refund for a major failure and for compensation for any other reasonably foreseeable loss or damage. You are also entitled to have the goods repaired or replaced if the goods fail to be of acceptable quality and the failure does not amount to a major failure.Any expenses incurred relating to the return of this product to the store will normally have to be paid by you. For more information contact your nearest Supercheap Auto store. The benefits to the consumer given by this warranty are in addition to other rights and remedies of the Australian Consumer Law in relation to the goods and services to which this warranty relates.
WARNING
Read all the instructions and warnings first before attempting to operate this Jack.1. DO NOT operate jack on surfaces that are not flat. Jack must be used on hard, level surfaces only. The vehicle may shift as soon as the jack lifts the tyre from the surface.2. DO NOT overload the jack beyond the Maximum Load Capacity (680kg per unit).3. DO NOT start the vehicle’s engine, or drive with the jack in use. Jacks are designed for hand maneuvering of vehicles only.4. DO NOT use a jack to lift tires wider than 300mm (Tyre size indicated on tire sidewall as width (mm)/xxRxx e.g. 275/50R17 for a 275mm wide tire).5. DO NOT attempt to push jack over obstacles. They are designed to be used on hard, level, and smooth surfaces only.6. After lifting, be sure to always secure the locking pin in place. To lower the vehicle remove the pin before the release valve.
FOR SAFE USAGE OF THIS PRODUCT WE RECOMMEND THE FOLLOWING STEPS BE TAKEN:
- The jack should be used on a hard, level surface and be free to roll.
- The un-lifted wheels should be chocked until the vehicle is ready to be maneuvered.
- No person should remain in a vehicle that is being jacked.
- The jack should be used for maneuvering a vehicle only.
- No person should get under a vehicle that is supported only by a jack.
- The vehicles owner’s manual should be consulted prior to the jacking of the vehicle.
OPERATING INSTRUCTIONS
1. Place the jack on the floor and depress the pedal to release the pedal lock hook. Remove the locking pin from the frame.2. Open the release valve by turning counterclockwise. Expand the jack by hand enough to place one arm on either side of the tire and position it so both rollers are in contact with the tire tread. Install Jack so that the unit is parallel to the sidewall of the tire to be lifted. ‘
IMPORTANT – Leave approximately 20mm of clearance between the sidewall of the tire and the face of the jack. If the jack is misaligned, it is possible that the tire will be forced to hit the axle of the Jack and not the rollers, or the face of the jack will come into contact with the face of the wheel. This may damage the wheel being lifted or the jack which will void the warranty.
3. Close the release valve by turning clockwise to a snug-tight position.4. To lift, depress the foot pedal with smooth, even strokes. Cycle pedal until the tire is lifted from the surface by approx. 25mm.5. After achieving desired height secure the locking pin in place before moving the vehicle. Repeat the process on the remaining tires and maneuver the vehicle as required.6. To release the jack, remove the pinout from the frame and open the release valve by turning counter-clockwise SLOWLY. Jack may be removed when rollers disengage from the tire.
AIR PURGE PROCEDURE
During shipment, after topping up the oil or a prolonged time without use, air may get into the hydraulic system causing poor lifting performance. It will be necessary to perform a system air purge procedure as follows:
 Depress the foot pedal rapidly several times.
- Carefully and slowly remove the oil filler plug (Refer to Figure 1) a little bit to release the trapped air.
- Replace the oil filler plug and check for proper pump action.
- The hydraulic vehicle positioning jack will now be ready to use.
 Depress the foot pedal rapidly several times.
TO ADD OIL
Place the hydraulic vehicle positioning jack with the oil filler plug be horizontally then remove the oil filler plug. Fill until oil is level with the filler plug hole. It is recommended to use a good grade Hydraulic Fluid (ISO 10-15 or equivalent).
MAINTENANCE
Regular maintenance is recommended. Lubrication of the jack is critical. Any contaminants like dirt, rust, etc may damage the internal components of the hydraulic assembly. Ensure that the wheels are cleaned and are free of any dirt etc before use. Doing this will prevent possible damage to the wheels.PLEASE FOLLOW THE BELOW STEPS WHEN LUBRICATING THE VEHICLE POSITIONING JACK:1. Check and maintain the ram hydraulic oil level. Only use hydraulic jack oil. Do not use motor oil, brake, or transmission fluids as these will destroy the seals.2. Lubricate the ram, ram linkage, and foot pump with light machine oil.3. Lubricate the castors and the axles with bearing grease.4. Check and maintain the ram every three months for signs of rust or corrosion. Clean the ram with an oiled cloth. When not in use, always leave the ram inside the ram cylinder. Doing this will prevent the ram from being exposed to dirt and other contaminants.5. Clean all surfaces and maintain all labels and warnings.
PARTS LIST OF HYDRAULIC VEHICLE POSITIONING JACK
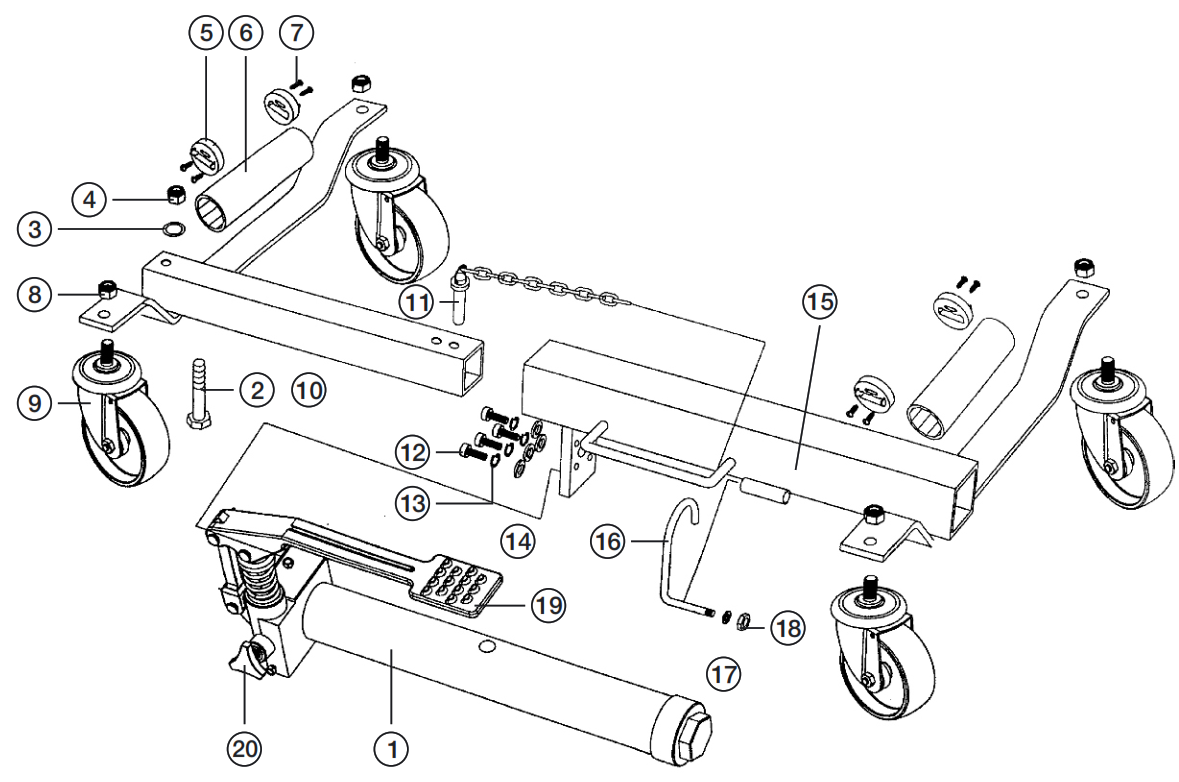
| Ref # | Description | QTY | Ref # | Description | QTY |
| 1 | Ram Assembly | 1 | 11 | Locking Pin with Chain | 1 |
| 2 | Bolt M16 x 115 | 1 | 12 | Screw M6 x 20 | 4 |
| 3 | Flat Washer 16 | 1 | 13 | Lock Washer 16 | 4 |
| 4 | Nut M16 | 1 | 14 | Flat Washer 16 | 4 |
| 5 | Roller Raceway | 4 | 15 | Right Frame | 1 |
| 6 | Roller | 2 | 16 | Pedal Locking Hook | 1 |
| 7 | Raceway Lock Screw | 8 | 17 | Washer for Hook | 1 |
| 8 | Lock Nut M12 | 4 | 18 | Nut for Hook | 1 |
| 9 | Swivel Castor | 4 | 19 | Foot Pedal | 1 |
| 10 | Left Frame | 1 | 20 | Release Valve | 1 |
![]() WARNING: DO NOT GET UNDER A VEHICLE THAT IS SUPPORTED BY A JACK – USE VEHICLE SUPPORT STANDS.
WARNING: DO NOT GET UNDER A VEHICLE THAT IS SUPPORTED BY A JACK – USE VEHICLE SUPPORT STANDS.
Manufactured and packaged for SRGS PTY LTD ABN 23 113 230 050751 Gympie Road, Lawnton, Queensland 4501, AustraliaMADE IN CHINA
![]() Recyclable Paper
Recyclable Paper
References
[xyz-ips snippet=”download-snippet”]