INSTALLATION INSTRUCTIONS
FOR
1. Safety Information
Read the precautions and instructions in this manual before installing and using this lock. Save this manual for future reference.

A. Do not attempt to disassemble any internal components of the lockset. Doing so will void the limited warranty.
B. Do not drop or hit the lockset. Too much shock may result in permanent damage.
C. Do not use pins or sharp objects to press the keypad.
D. Always create a backup of information you wish to keep (programming code, user codes, etc.)
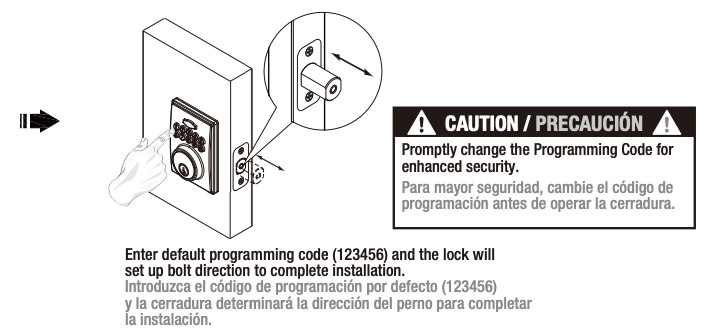
E. Promptly change the programming code before operating this lockset for enhanced security.

A. Remove locks, or do not install locks, prior to painting your door.
B. Periodically clean with mild soap and a soft cloth only.
C. Do not use any abrasives or chemical products containing alcohol, benzene, acids, and avoid using sharp or abrasive objects to clean this lockset.
D. Do not allow any water or liquids into the lockset during installation.
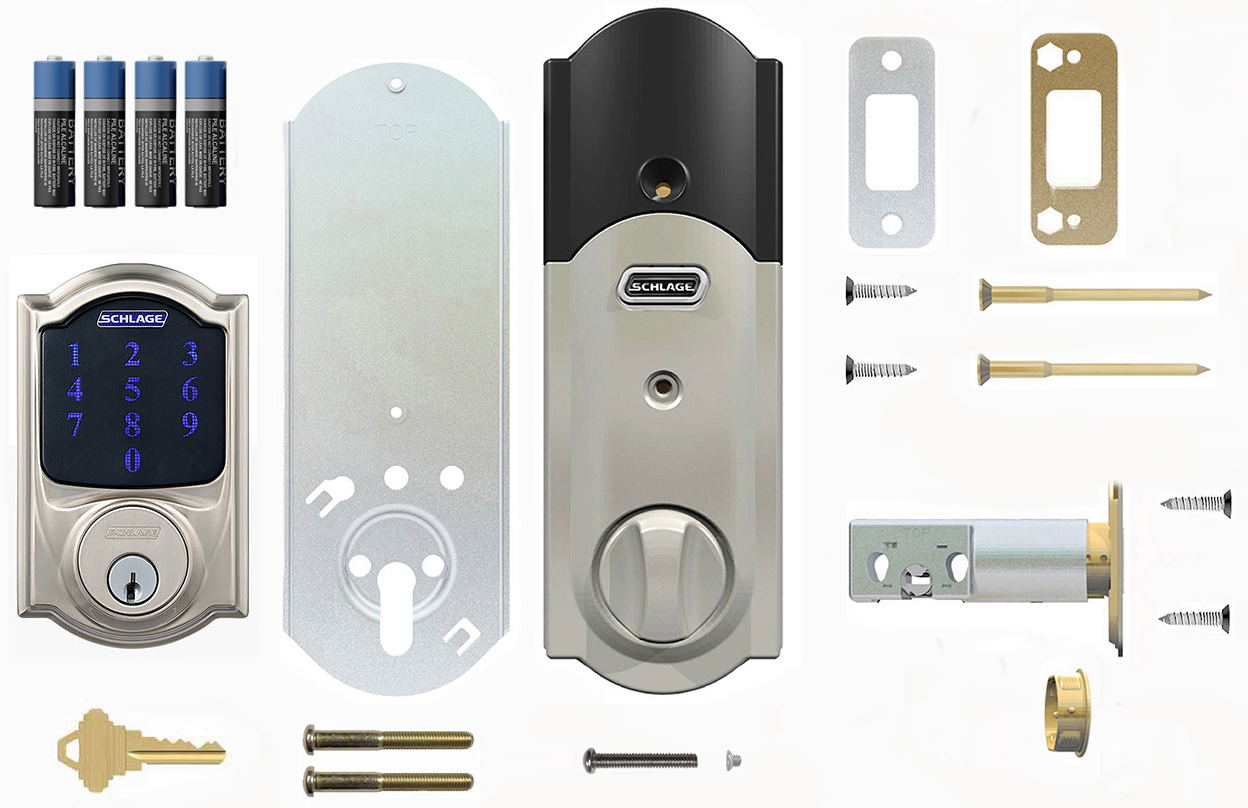
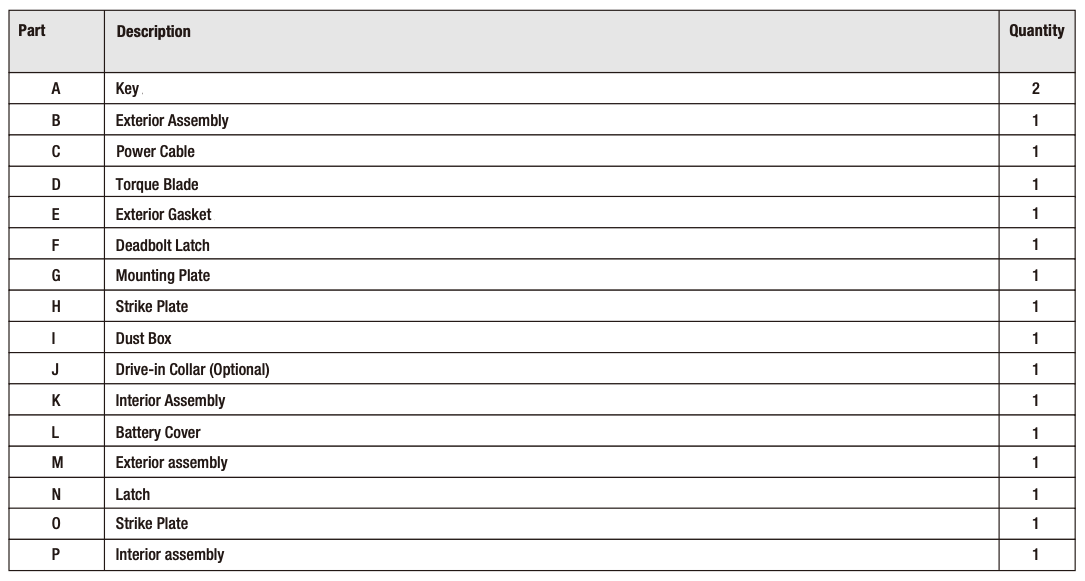
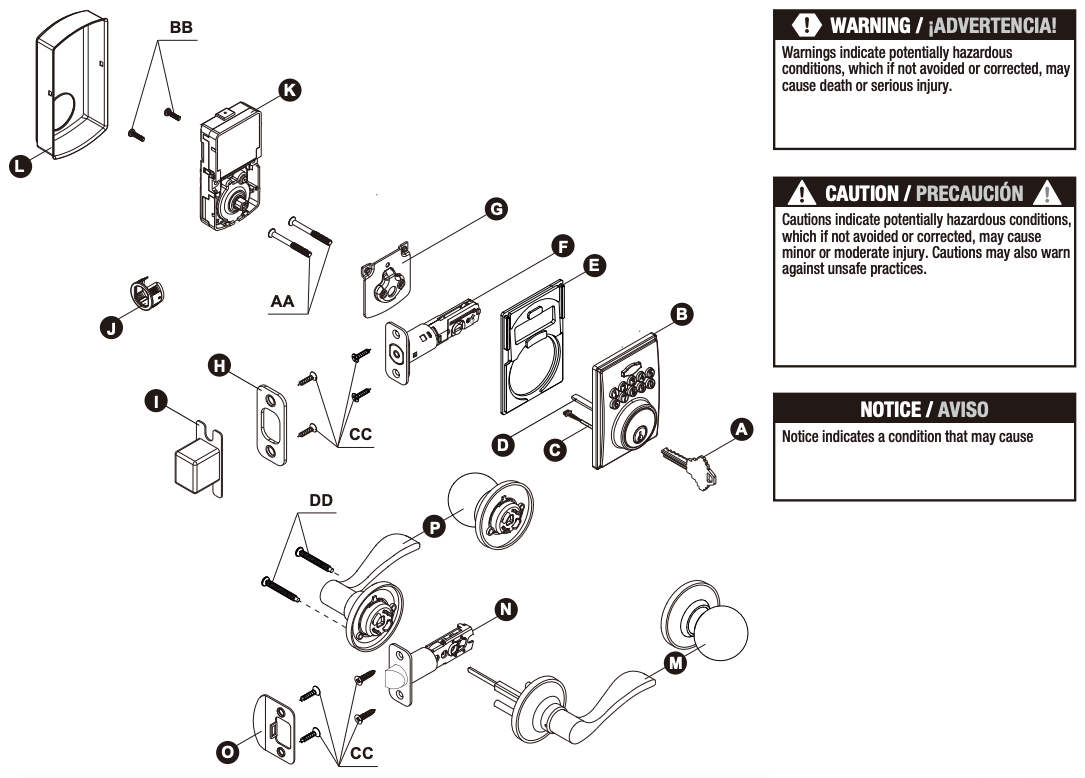
2. Pre-installation – Tools Required / Hardware Included


3. Pre-Installation — Door Preparation

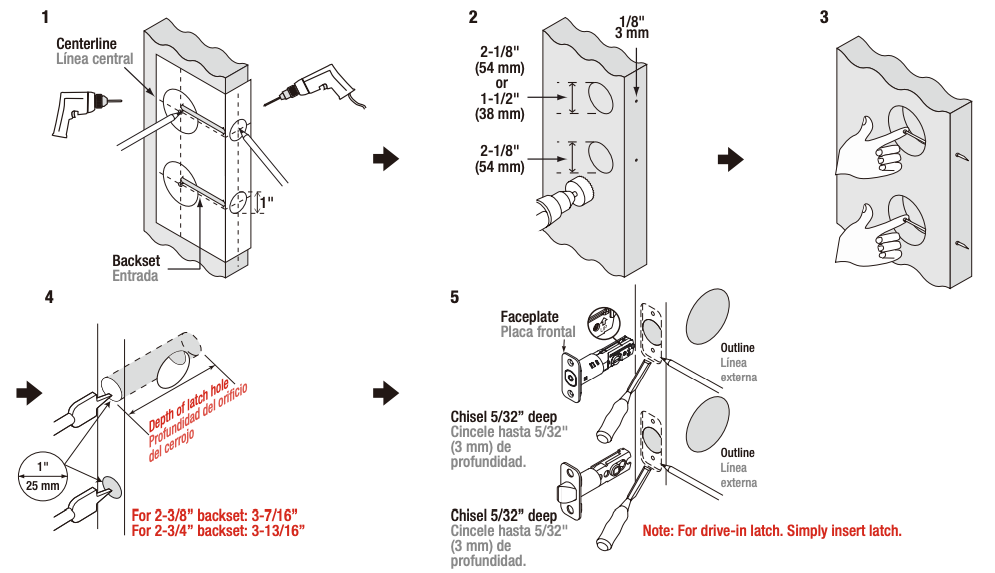
1. Using the template, mark the door and drill the holes, and chisel out a mortise.

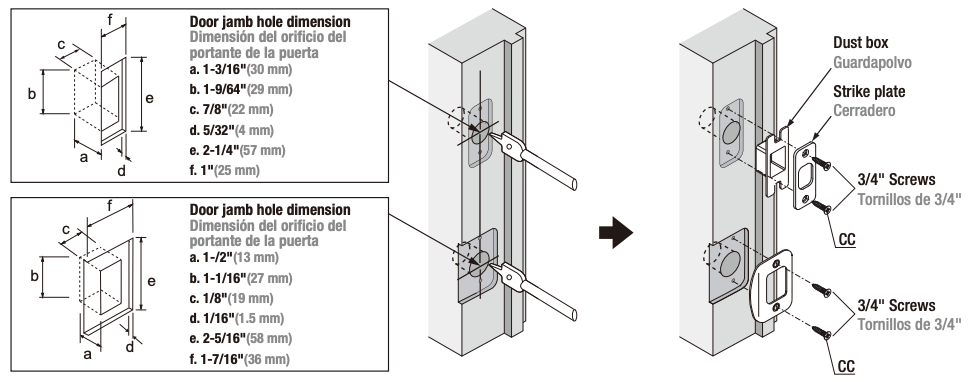
2. Prepare the door jamb – using the strike plate as a pattern, drill the latch and screw holes, and chisel out a mortise until the strike plate fits flush

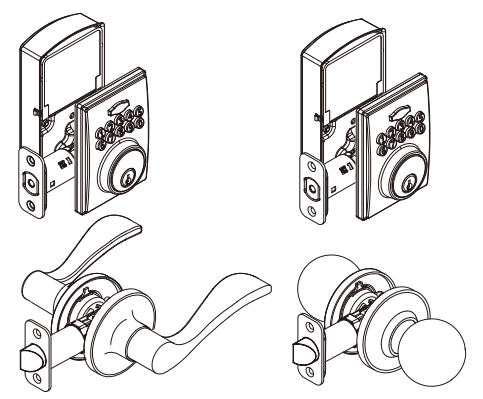
SWITCHING THE HANDLES (IF DESIRED)

4. Installation
1. INSTALLING THE LATCH
A. Attach the correct faceplate
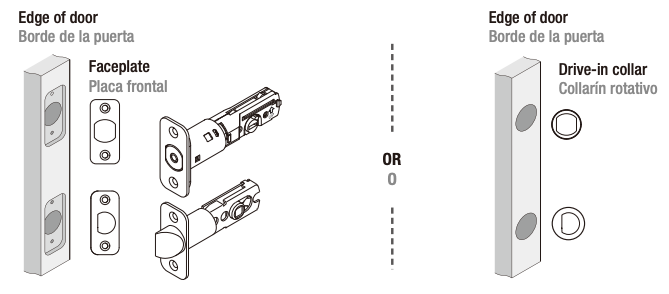

B. Set the latch backset length


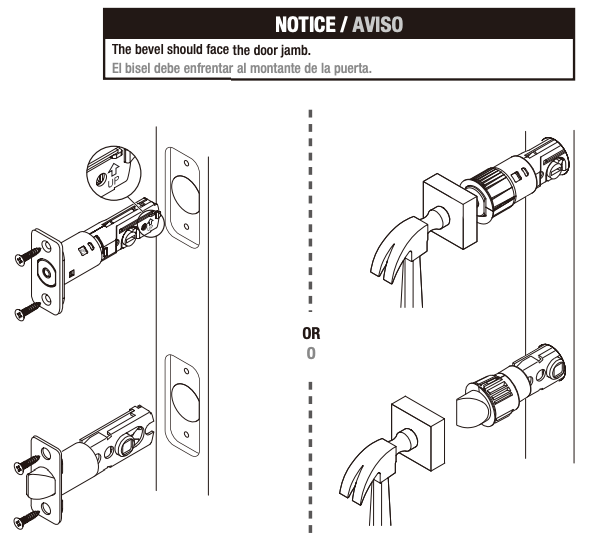
C. Install the latch
2. INSTALLING THE LOCK ASSEMBLIES
A. Door bore options

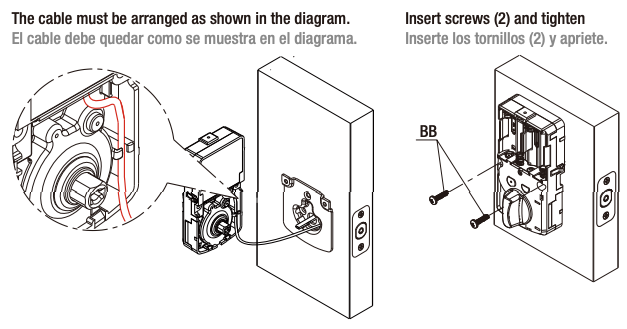
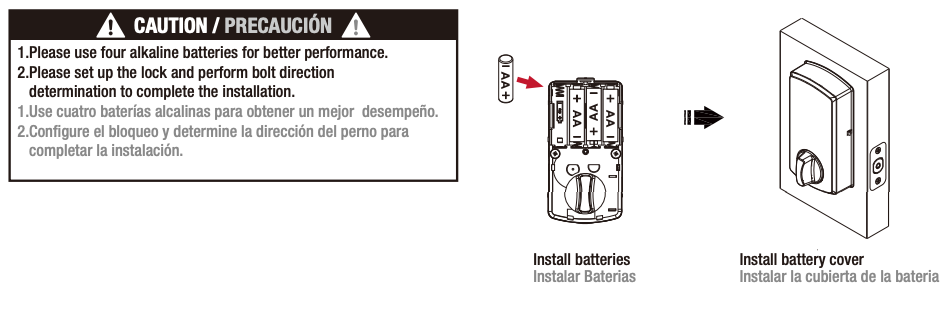
B. Install the lock assemblies


TEMPLATE PLANTILLA


Schlage Smart Lock Installation Manual – Schlage Smart Lock Installation Manual –
[xyz-ips snippet=”download-snippet”]

