sensio Triotone Connex Instructions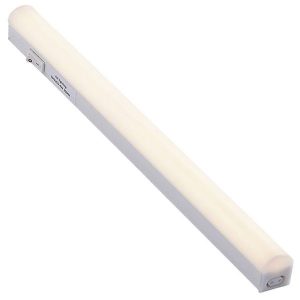
Impotant: Please read these instructions before commencing installation and retain for future reference.
Components
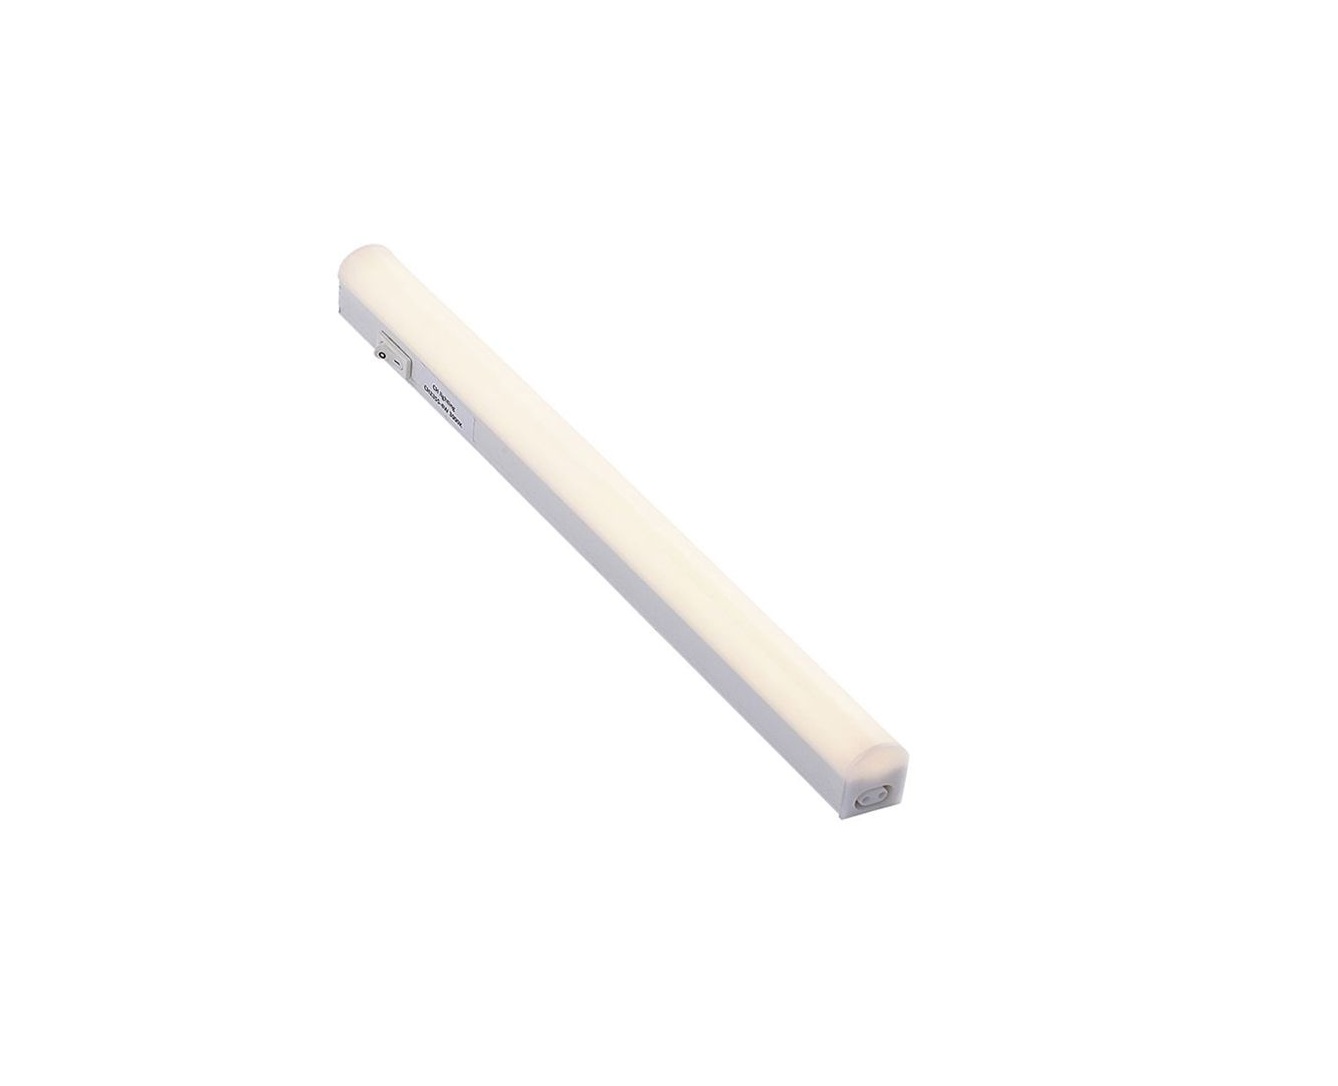
 1 x Connex Light
- 2 x Mounting Brackets
- 2 x Screws
- 1 x Instructions Manual
- 1 x Pencil
- 1 x Screwdriver
 1 x Connex Light
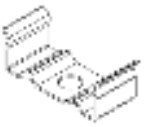 2 x Mounting Brackets
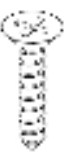 2 x Screws
 1 x Instructions Manual
 1 x Pencil
 1 x Screwdriver
Important Safety Information
Please read these instructions carefully before attempting to install this product. It is advisable to keep these instructions in a safe place for future reference.
We recommend that you consult a qualified electrician.All electrical installation must be carried out in accordance with current IEE wiring regulations (BS7671).
“These products must not be modified,if any modification are made,it may invalidate the warranty and may render the product unsafe.”
- If in doubt installation must be carried out by a qualified electrician.
- Install on smooth flat surface(s) only.
- Do not exceed or stretch the cable length of each LED wire.
- This product is IP20 Rated.
Product Wattage
| Product Code |
Wattage |
| SE100390 |
3W |
| SE100490 |
5W |
| SE100590 |
9W |
| SE100090 |
12W |
Safety Instructions
- Before commencing installation or maintenance,isolate the main electrical supply for the appropriate circuit at the fuse board.
- This product is only suitable for connecting to a 240V SOHz supply.
- The lights should be mounted onto a secure surface.
- Suitable for furniture lighting.
- When the lamp expires the fitting must be replaced
- Class II Double Insulation Protection.
Waste Electrical & Electronic Equipment (WEEE)The symbolon the product,or on the document accompanying the product, the crossed out wheelie bin symbol,indicates that this product may not be treated as household waste.Instead it shall be handed over to the applicable collection point for the recycling of electrical and electronic waste.
Sensio House,Unit 7, Speedwell Road, Whitwood,Castleford,West Yorkshire,WFlO SPY
Visit: www.sensio.co.uk
Technical drawings for illustration purposes only,Sensio had the right to change any information without prior notice. Make sure you check all hole cut outs before work commences.
Installation
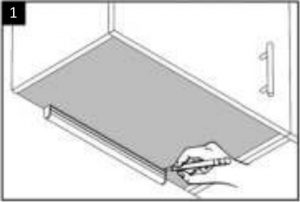
- Using a pencil mark the desired position for the connex under the cabinet.
- Using a pencil. mark where the fixing brackets will be positioned. one at either end to take the weight of the light evenly.
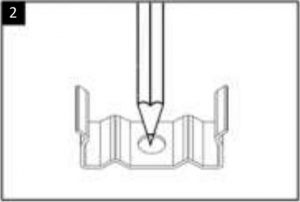
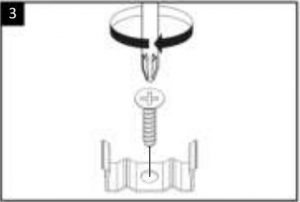
- Fix the brackets to the desired position using the screws included.
- If you are installing a run of Connex lights connect the lights by inserting the male-end into the female-end.Note:This can be achieved with the connection cable as well.
- Clip the Connex into the two fixing brackets to secure it in position.
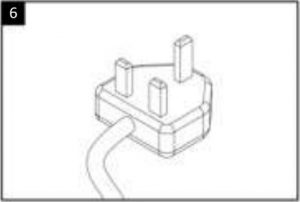
- Finally,connect the Connex directly to 240V mains supply or 13A plug. If you are creating a run of Connex lights,you only need to connect the Connex at the start of the run.
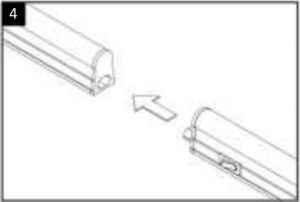 Note:This can be achieved with the connection cable as well.
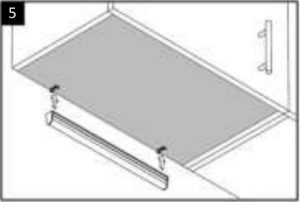
Function
Colour Change Function
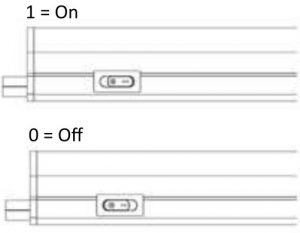
The Connex has three colour functions, which are cool white,natural white and warm white. To cycle through the colours simply turn the Connex on and off using the switch located at the side.Note: When multiple Connex lights are linked,each light must be set individually.
Memory Function
The Connex has a memory function to remember what colour you have selected. When the Connex is switched off at the mains, wait at least S seconds before switching it back on and the colour will be remembered. The ON/OFF switch located at the side of the Connex must remain ON for this feature to work.
Maintenance & Care
- Ensure that the power is disconnected prior to cleaning.
- To keep the finish of this product,wipe over with soft cloth periodically.
- Do not use harsh chemical solvents,this may dis-colour or damage the finish.
Sensio house, Unit 7 Speedwell Road, Whitwood, Castleford, West Yorkshire, WF10 5PY
Technical drawings for illustration purposes only, Sensio had the right to change any information without prior notice, make sure you check all hole cut outs before work commence.
References
[xyz-ips snippet=”download-snippet”]