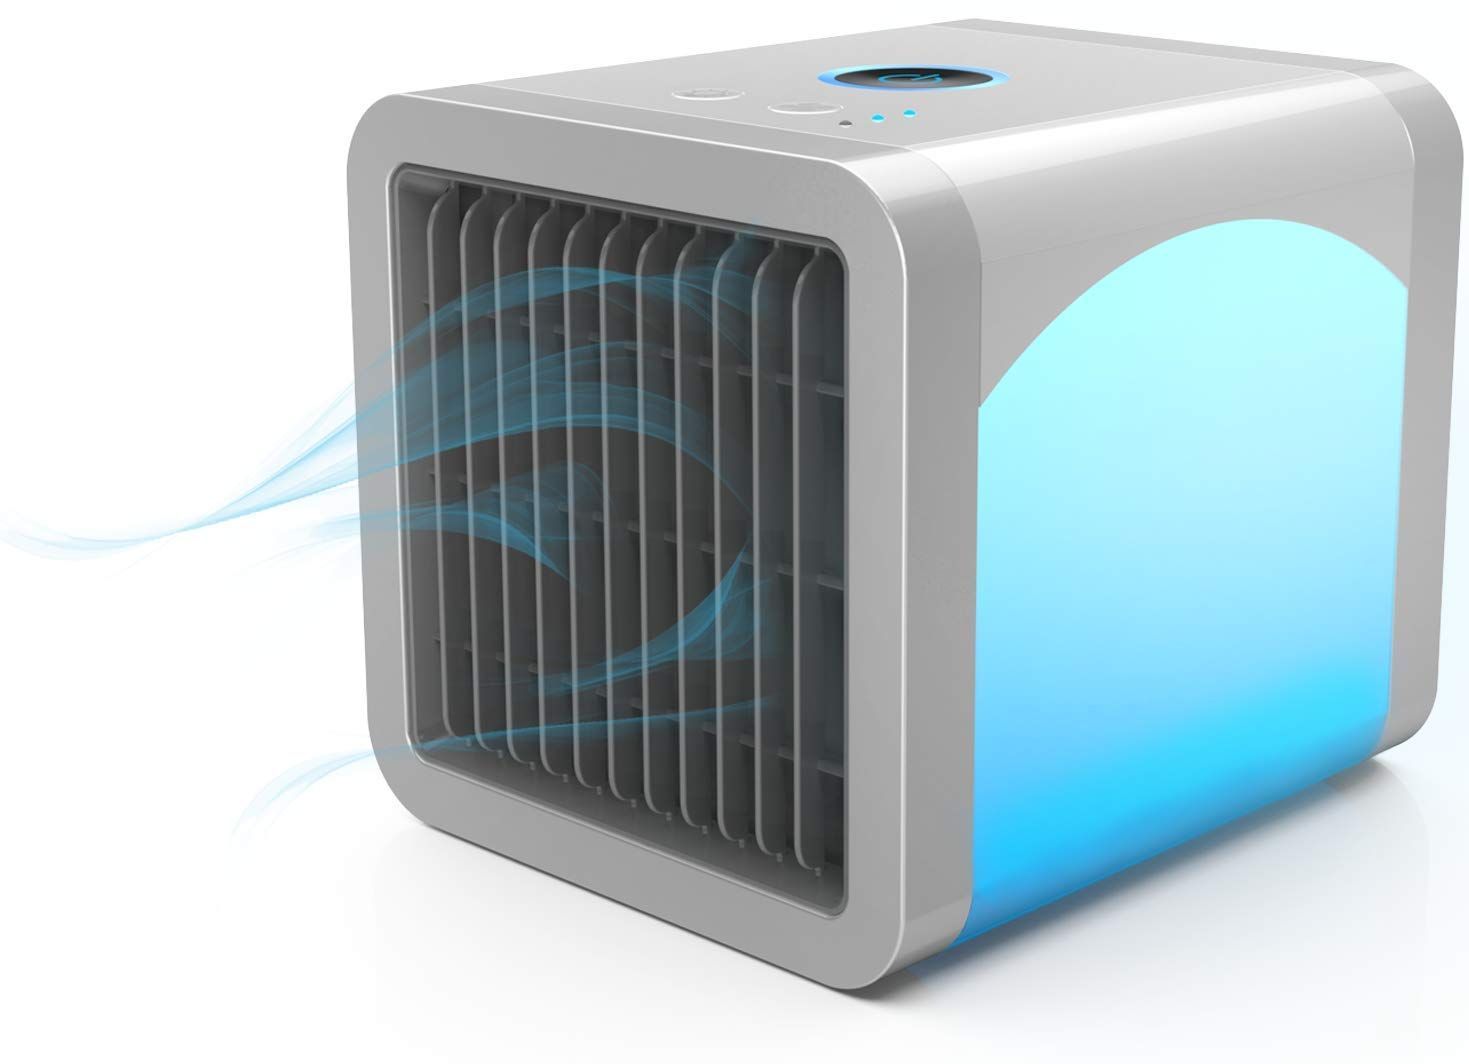
SHARPER IMAGE Personal Evaporative Cooler
Thank you for purchasing the Sharper Image Personal Evaporative Cooler. Pleaseread these instructions carefully and store them for future reference.
FEATURES
- Desktop fan, air cooler and humidifier in one
- Cools spaces up to 45 sq. ft.
- Chemical free and eco friendly
- Operates with or without water
- Color-changing night light / mood light with brightness control
- Sleek, stylish design
- Optional aromatherapy (scented oil not included)
- Plugs into an AC outlet
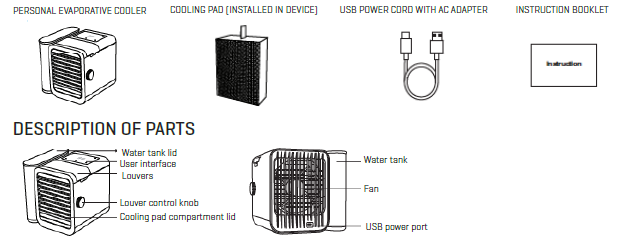
PACKAGE CONTENTS
INTRODUCTION
The Personal Evaporative Cooler uses a built-in fan plus the scientific principles of evaporation to create a natural cooling effect, without harmful chemicals. The amount of cooling will depend on two factors: the indoor humidity and the current room temperature.For example:
- At 30% indoor humidity and a room temperature of 77°F, the air output temperature will be 60°F
- At 40% indoor humidity and a room temperature of 77°F, the air output temperature will be 62°F
- At 30% indoor humidity and a room temperature of 86°F, the air output temperature will be 66°F
- At 40% indoor humidity and a room temperature of 86°F, the air output temperature will be 69°F
- At 30% indoor humidity and a room temperature of 95°F, the air output temperature will be 72°F
- At 40% indoor humidity and a room temperature of 95°F, the air output temperature will be 75.5°F
The Personal Evaporative can operate with or without water. However, it will only cool the air if there is water in the tank. If there is no water in the tank, this device will operate as a fan only, circulating room temperature air. In addition to the fan and cooling functions, this device can also be used as a night light, humidifier and aromatherapy diffuser.Tip: For maximum cooling, fill the tank with ice cold water. You can also add ice cubes if you like.
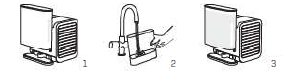
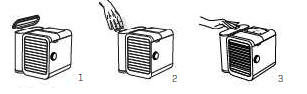
FILLING THE WATER TANK
METHOD 1:
- Hold the two top sides of the water tank and lift it upwards with your hands.
- Open the lid and fill the tank from a faucet.
- Replace the lid and replace the tank by sliding it back into place, following the built-in grooves.
METHOD 2:
- While the tank is still attached to the device, open the lid of the water tank.
- Using a bottle or cup, fill the water tank.
- Replace the lid of the water tank.
GETTING STARTED
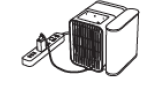
- After the tank has been filled, place the device on a flat, level surface. Plug the device into an AC outlet. At this time, the screen display will be in OFF/STANDBY mode. Keep the device in OFF/STANDBY mode for 15 minutes. This will allow the Cooling Pad to become saturated with water. Do not fill the tank without the Cooling Pad in place.Tip: after the Cooling Pad is saturated, refill the tank to increase the run time by approximately 2 hours
- Place the device 1.5 to 3 feet away from the user, at a 45° angle. Short press the POWER button to activate the device.
- Rotate the louver control knob to adjust the direction of the air output.

EXPLANATION OF FEATURES
TOUCH KEYS
The three touch keys below the display screen (“-”, “+” and POWER) are used to operate the various functions of the Personal Evaporative Cooler.
Short press the POWER button to turn the device On or Off.
WIND SPEED
- Short press the “-” or “+” button to decrease or increase wind speed by one level.
- Long press the “-” or “+” button to decrease or increase wind speed continuously.
- The wind speed level will be shown on the display screen. The wind speed ranges from 1 to 99.
NATURAL MODE
Long press the “-” and POWER buttons simultaneously to enter Natural Mode. In Natural Mode, the device gradually changes wind speed to simulate natural wind. The symbol “H” will appear on the display screen.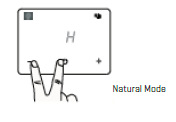
SLEEP MODE
Long press the POWER and “+” buttons simultaneously to enter Sleep Mode. In Sleep Mode, the wind speed gradually decreases until it turns off. The symbol “SO” will appear on the display screen.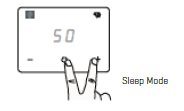
SET TIMER
While the device is operating, long press the POWER button 2 seconds to enter Timer Mode. The screen will flash for 5 seconds while you set the timer. At the same time, a dot in the upper right corner will illuminate. While the screen is flashing, press the “-” or “+” buttons to set the timer from 1 hour to 12 hours. After you set the timer, the screen will go back to showing the wind speed.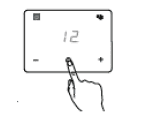
CANCEL TIMER
If you decide to cancel the timer, long press the POWER button 2 seconds to reenter Timer Mode. At that point, use the “-” button to reset the timer to 0 hours. After flashing for 5 seconds, the dot will turn off and the screen will go back to showing the wind speed.
SELECTING THE NIGHT LIGHT COLOR
The Night Light is independent from the cooling functions of this device, and can operate whether the fan is on or off. Press the button in the top left corner to turn on the night light. Each time you press the button, the color will change. The color order is: White > Purple > Red > Green > Blue > Cyan > Light Blue > Multi > Off.
ADJUSTING THE BRIGHTNESS
Long press the button to adjust the light from brighter to darker. Long press the button a second time to adjust the light from darker to brighter. Release the button when you reach your desired brightness level.
HUMIDIFYING A ROOM
The Personal Evaporative can also humidify the air in dry rooms. For maximum humidification, point the device toward the center of the room and adjust the louvers to the highest angle.
RELAXING AROMATHERAPY
For optional aromatherapy, add a few drops of your favorite scented oil into the filled water tank. Note: scented oil is not included. Visit SharperImage.com for a selection of organic, non-toxic essential oils (Item No. 201106).
RESTORING FACTORY SETTINGS
In the unlikely event of a system malfunction, it may be necessary to reboot the device and restore the original factory settings. To do this, insert the power cord, then short press the POWER button to turn on the device. Then, long press the POWER button for 3 to 10 seconds. After a successful reset, the wind speed will default to 80.
CLEANING AND MAINTENANCE
The Personal Evaporative Cooler can be cleaned as needed with a soft, thin cloth. Always make sure the device is unplugged and completely dry inside before you start to clean it.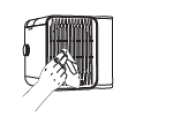
- Disconnect power cord from the device.
- Remove the water tank and wipe clean with a soft cloth.
- Wipe the body of the device with a soft cloth.
- Wipe the device grilles with a soft cloth.
- Wipe the air outlet with a soft cloth.
- Replace the water tank.
Tip: If you will not be using this device for a long time, dry it completely and store in a cool, dry place. Empty the water tank and run it at full wind speed for 4 hours to dry out the Cooling Pad. When fully dry, store the device in the original packaging if possible.
GENERAL SAFETY WARNINGS
- Use only the power cord and AC adapter that came with this device.
- Plug this device into an AC outlet. A computer USB port may not provide sufficient power.
- Fill the water tank with clean water only.
- Do not fill the water tank without the Cooling Pad in place.
- Do not splash the user interface. If water spills onto the body of this device, unplug it and let it dry for 24 hours before using it again.
- Do not insert foreign objects into the device.
- Do not place chemicals or flames on or near the device.
- Keep this device away from high heat and direct sunlight.
- Do not immerse this device in water or any other liquid.
- Do not block the air inlet or output.
- Do not attempt to modify or repair this device. There are no user-serviceable parts.
- This device is not a toy. Keep out of reach of children.
SPECIFICATIONS
- Product size: 7.7” L x 7” W x 7.1” H
- Weight (without water): 2.8 lbs.
- Model no.: Sharper Image Item No. 207377
- Input: DC 5V 2A
- Max power consumption: 7W
- Power cord: USB Type-C 1.2m
- Maximum cooling area: 4m2 (43 sq. ft.)
- Water tank capacity: 1000ml
- Water consumption: 6-10 hours
- Cooling duration: 7-13 hours
TROUBLESHOOTING GUIDE
| PROBLEM | POSSIBLE CAUSE | SOLUTION |
| Device does not turn on. | • Device is not connected to power supply.
• Insufficient power is being supplied. |
• Check all cable connections. Plug cable into an AC outlet.
• Plug power cable into an AC outlet or power supply ≥ 2A. |
| Device suddenly decreases in speed or shuts off. | • Power supply shortage. | • Check all cable connections. Plug cable into an AC outlet or power supply ≥ 2A. |
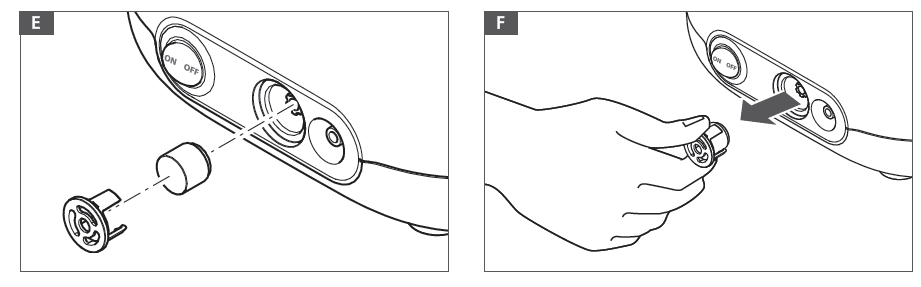
| No cold air is coming out of the device. | • Water tank is empty.
• Floating plate is stuck in the water inlet hole. |
• Fill water tank and let sit for 15 minutes before restarting.
• Empty all water from the device, then shake it with two hands to make sure the water inlet hole is not covered. Refill the tank and restart the device. |
| Device is not sufficiently cooling your area. | • Water tank is empty.
• Device is too far from the user. • Indoor humidity is > 70%. |
• Fill water tank and let sit for 15 minutes before restarting.
• Move the device closer to the user. Adjust the wind speed and louvers to suit your comfort level. • The room is too humid for evaporative cooling. Run a dehumidifier or wait until the humidity is lower. |
| Cooling Pad is not absorbing water. | • Water tank has been seated incorrectly.
• Cooling Pad needs more time to absorb water. |
• Remove water tank and replace it, making sure to follow the guide grooves.
• After filling the tank, allow 15 minutes for the Cooling Pad to become fully saturated before turning on this device. |
| Water is on or around the device. | • Device has been pushed or shaken, or is tilted. | • Follow the instructions above for cleaning and drying this device.
• Make sure the device is on a flat, level surface. |
| Device is still not working. | • The internal components have experienced a rare malfunction. | • Reset this device to the original factory settings as described earlier in this guide. |
WARRANTY/CUSTOMER SERVICE
Sharper Image branded items purchased from SharperImage.com include a 1-year limited replacement warranty. If you have any questions not covered in this guide, please call our Customer Service department at 1 (877) 210-3449. Customer Service agents are available Monday through Friday, 9:00 a.m. to 6:00 p.m. ET.![]()
References
[xyz-ips snippet=”download-snippet”]